
Top 25 Fudge Recipes: Classic Chocolate to No-Bake Favorites
Updated July 2, 2026 · Curated by Chefadora
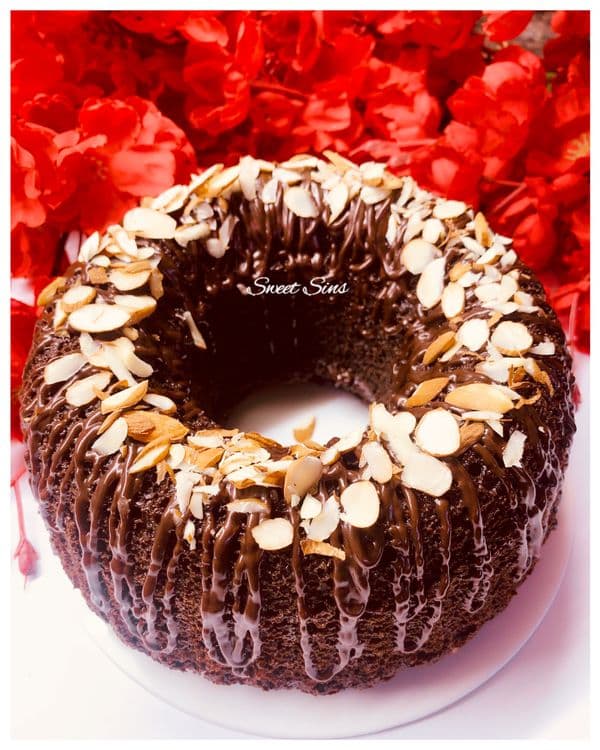
Fudge recipes are proof that a handful of pantry staples — chocolate, sugar, butter and condensed milk in most cases — can turn into something genuinely special with barely any technique required. This collection spans the full range: classic and easy fudge you can make in one pot, cookies and brownies that borrow fudge's dense chewiness, protein and lighter versions for when you want the flavor without quite the same richness, and even a couple of full cakes built on the same idea.
What most fudge recipes have in common is that they live or die on two things: getting the base properly melted and combined without seizing, and then setting it for long enough that it firms up into clean, cuttable squares rather than a soft, sticky mess. The good news is that fudge is a forgiving category compared to most candy-making — very few of these recipes need a candy thermometer, and the no-bake, three-ingredient versions below are about as low-stakes as baking gets.
Four clusters make up this page: fudge cakes and mug cakes, fudge cookies and brownies, protein and healthy fudge, and classic and easy fudge, which is the largest group and the best place to start if you have never made fudge before. Chocolate is the dominant flavor throughout, though you will also find walnut, white chocolate, lemon and other variations that show how far the basic method stretches.
As with the rest of this site, treat this page as a reference to return to rather than a single read-through. Every recipe links through to full ingredients and method on Chefadora, and the guides below cover what actually decides whether fudge turns out smooth and clean-cutting or grainy and stuck to the pan — melting the base properly, knowing when to stop stirring, setting it right, and cutting and storing it once it is firm.
Fudge Cakes and Mug Cakes
Fudge cakes borrow the name and the dense, moist intensity of classic fudge but land in cake form instead of a cut, set block — a full layered chocolate fudge cake at one end of this cluster, and a single-serve mug cake ready in a couple of minutes at the other. What unites them is texture: these are meant to be rich, damp and closer to a brownie than a light, airy sponge, which usually comes down to using more fat and less flour-raising power than a standard cake recipe calls for. Overbaking is the main risk with any fudge-style cake, since the entire point is a moist, dense crumb, and a few extra minutes in the oven dries that out fast — pull it slightly before a toothpick comes out fully clean, since residual heat finishes the job as it cools. A rich chocolate glaze or ganache poured over the top while the cake is still a little warm reinforces the fudge character further and gives it that glossy, indulgent finish. These are the recipes to reach for when a plain block of fudge feels like too little occasion and a full layer cake feels like too much effort. A cake tester or toothpick inserted a couple of inches from the center, rather than dead center, gives the most honest read on doneness in a dense, fudgy cake. Standouts here include CHOCOLATE FUDGE CAKE and Chocolate Fudge Cake, plus Super Moist Chocolate Fudge Cake.
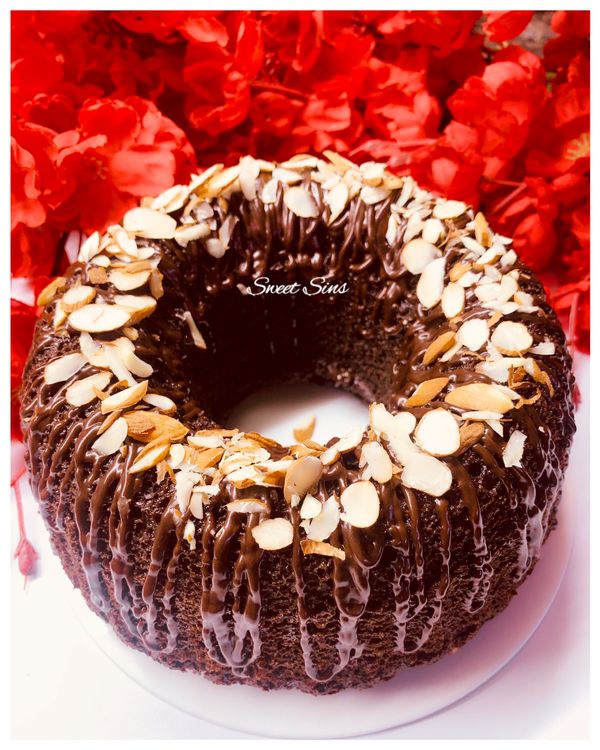

- English
- Vegetarian
- Dessert
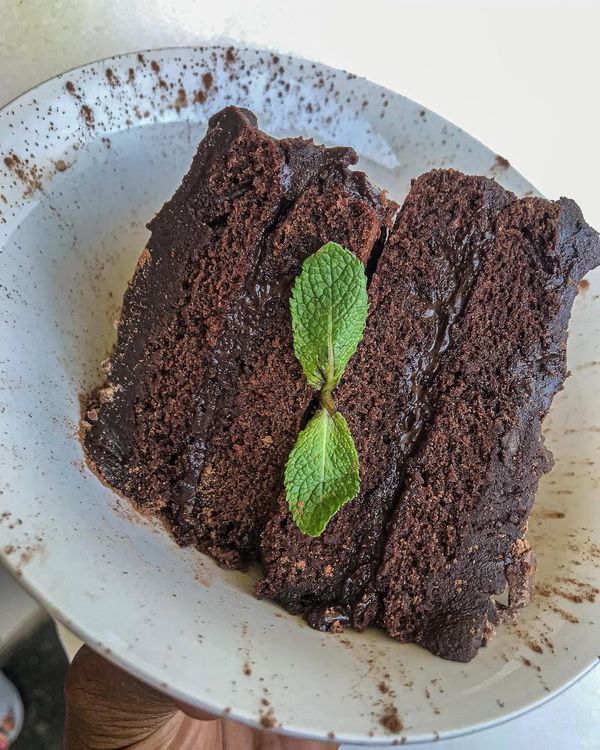
- Western
- Eggetarian
- Dessert
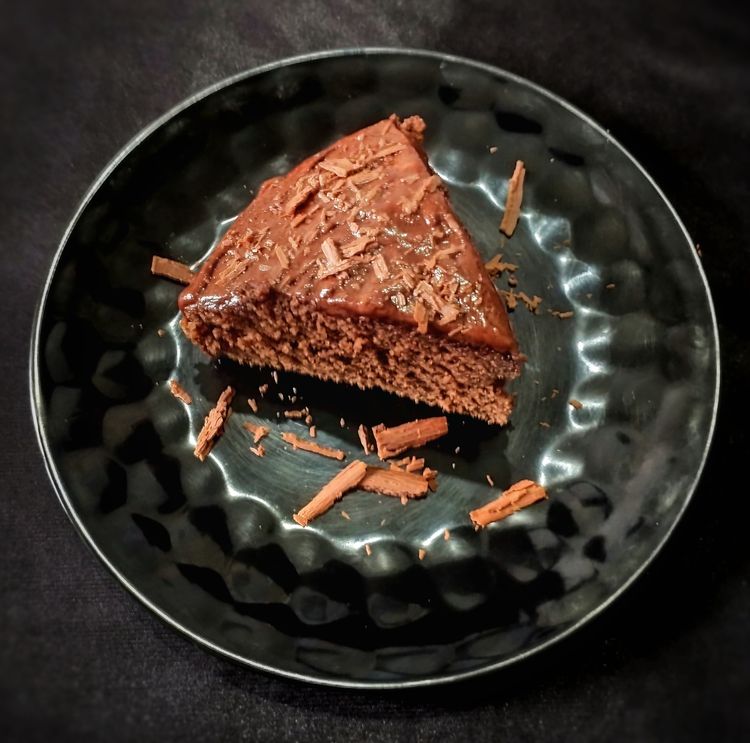
- International
- Nut-Free
- Dessert


- American
- Vegetarian
- Snack
Fudge Cookies and Brownies
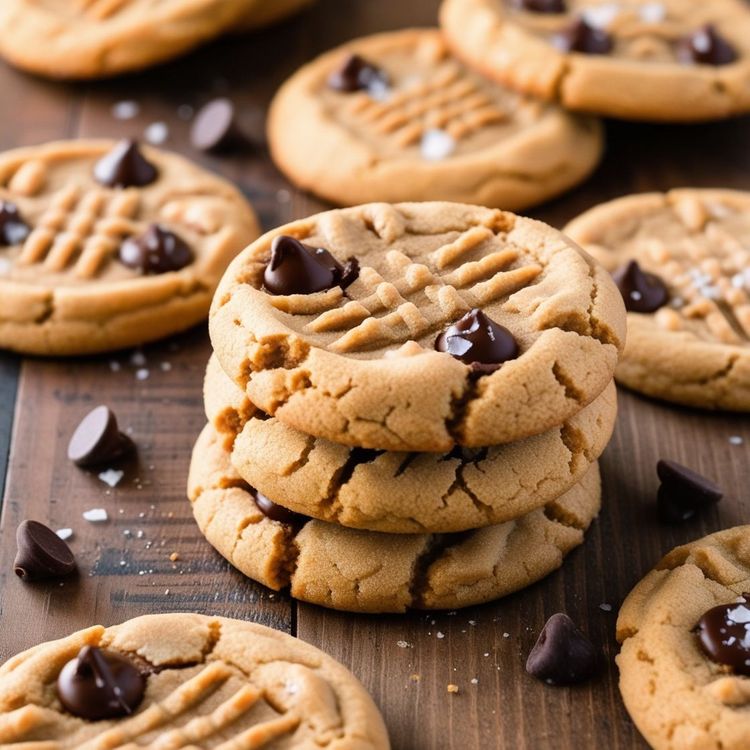
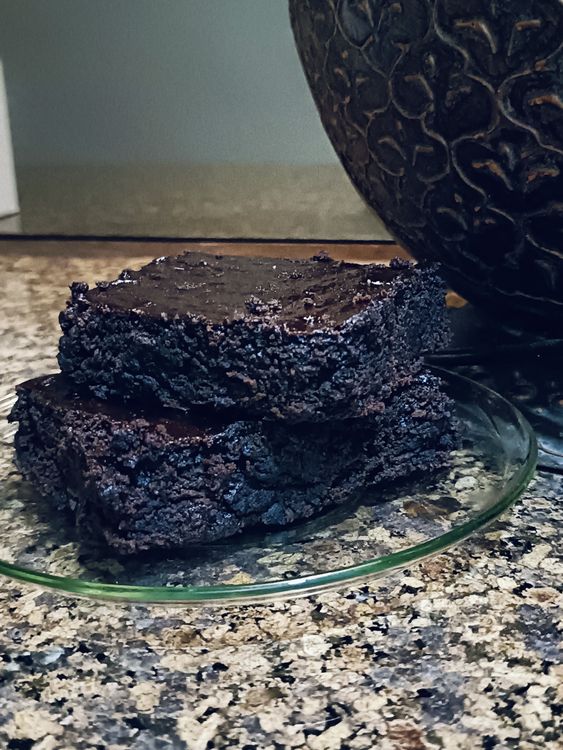
Cookies and brownies are fudge's closest relatives in the baking world, and this cluster covers recipes that lean hard into that overlap — either mixing chunks of fudge straight into a cookie dough, or pushing a brownie's texture all the way toward dense and fudgy rather than lighter and cakey. The technical difference between a fudgy and a cakey brownie usually comes down to the ratio of fat and sugar to flour, and to how much air gets beaten into the eggs before the dry ingredients go in — more of the former and less of the latter is what gives you that dense, almost underbaked-looking center that fudge lovers actually want. Slightly underbaking rather than overbaking is the general rule across this whole cluster: pull cookies and brownies while the center still looks a touch soft, since they continue cooking on the hot pan after they come out of the oven. If you like the intensity of fudge but want something you can eat with your hands rather than cutting into neat squares, this is the cluster to start with. Let both cool fully on the pan before serving where possible — cutting or biting into either while still hot makes them seem underdone even when they are exactly right. Standouts here include S’mores Fudge Cookies and Chocolate Fudge Brownies, plus Peanut Butter Fudge Cookies Recipe.


- American
- Eggetarian
- Dessert


- American
- Eggetarian
- Snack

- American
- Eggetarian
- Breakfast
- American
- Vegan
- Dessert
Protein and Healthy Fudge
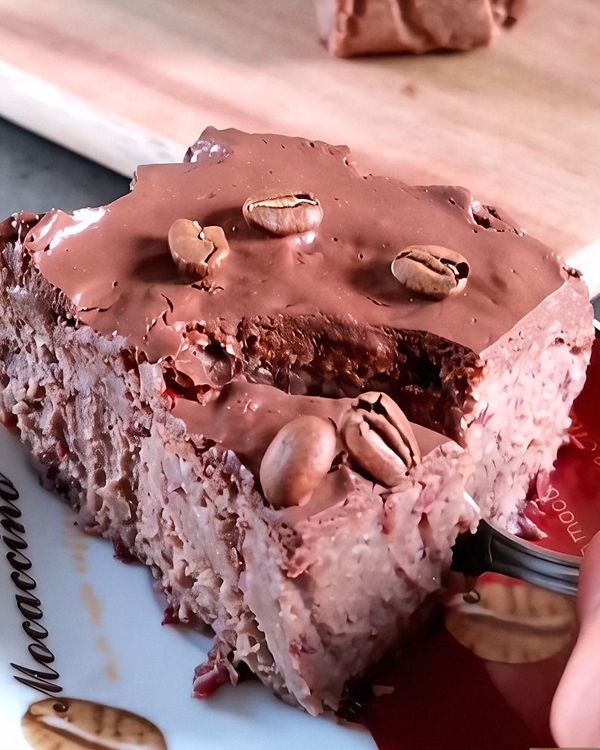
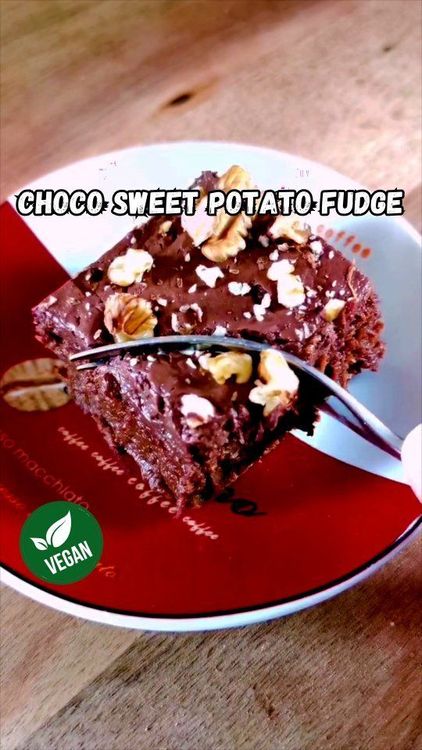
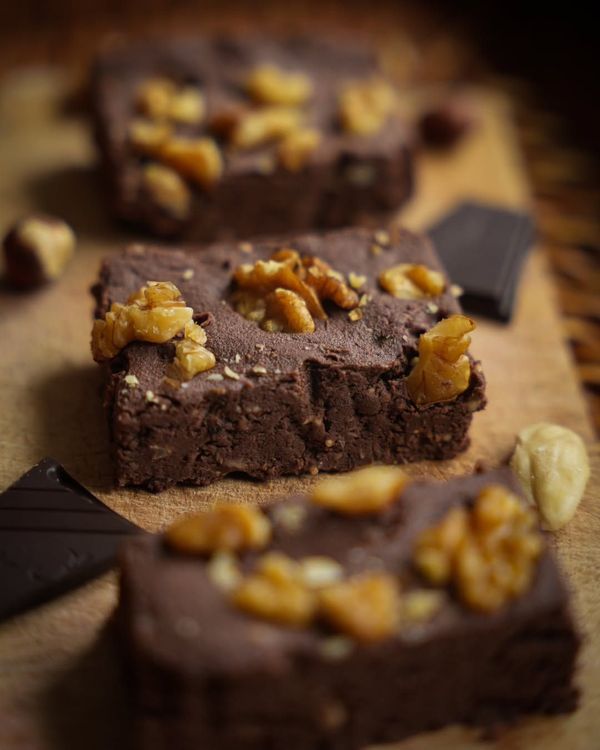
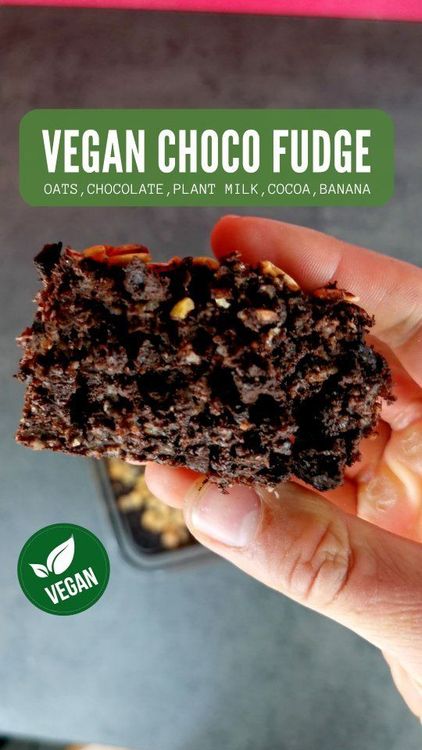
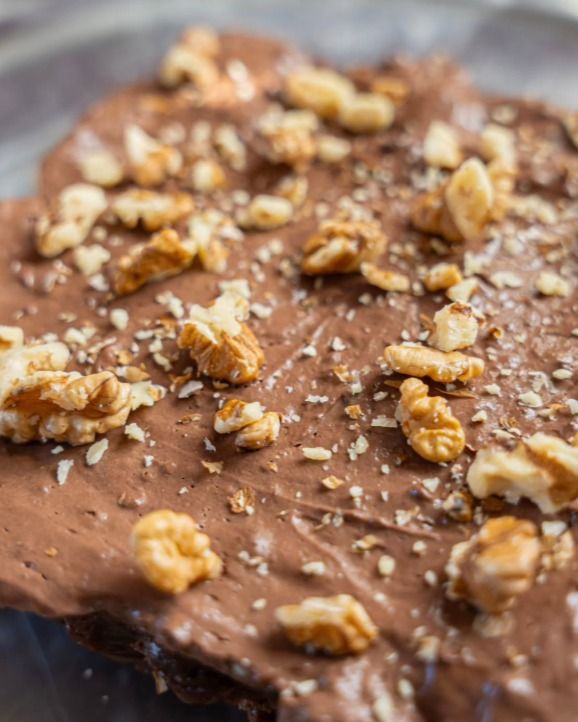
Fudge's short, simple ingredient list — usually just a fat, a sweetener and a binder — makes it unusually easy to rework into something lighter or higher in protein without losing the format entirely, and this cluster covers exactly that: recipes built around protein powder, sweet potato or other whole-food swaps in place of straight sugar and condensed milk. The texture takes more careful handling here than in classic fudge, since protein powder in particular can turn a batch dry, chalky or crumbly if the ratio of wet to dry ingredients is not adjusted to account for it. A little extra nut butter, yogurt or additional liquid usually fixes a too-dry batch, added gradually until the mixture holds together and presses smoothly into the tin. These recipes still set in the fridge like classic fudge and cut the same way, so the method is familiar even though the ingredient list looks different — a good option when you want the flavor and format of fudge without quite the same sugar and dairy load. Check the label on your protein powder before you start, since some blends are considerably sweeter than others and can throw off the sugar balance of an otherwise well-tested recipe. Standouts here include Easy Vegan Protein Bars with Fudge Top and Healthy & Easy Chocolate Fudge, plus Choco - Sweet Potato Protein Fudge.


- International
- Vegetarian
- Breakfast
- Fusion
- Vegan
- Snack
- International
- Vegetarian
- Snack
- International
- Vegetarian
- Breakfast
- Fusion
- Vegan
- Snack
Classic and Easy Fudge
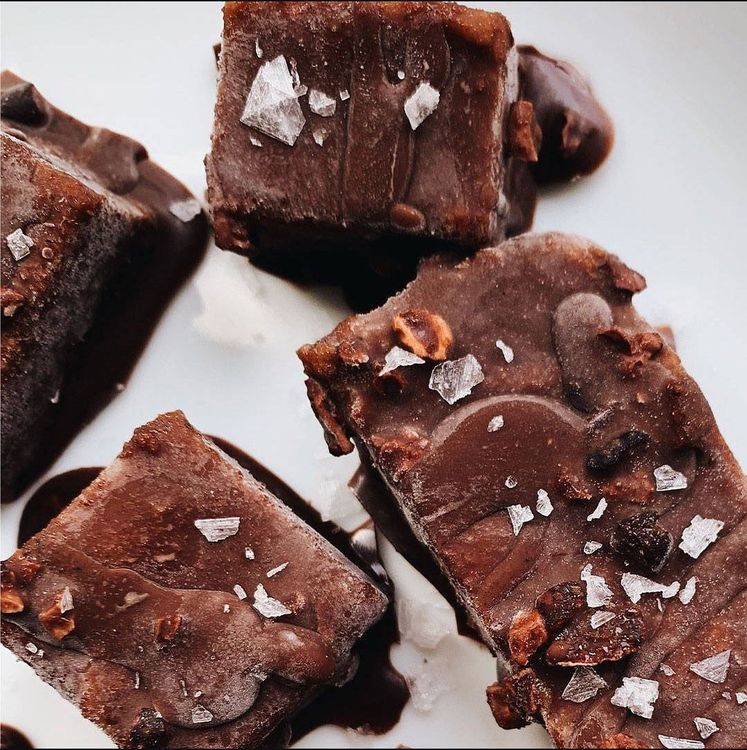
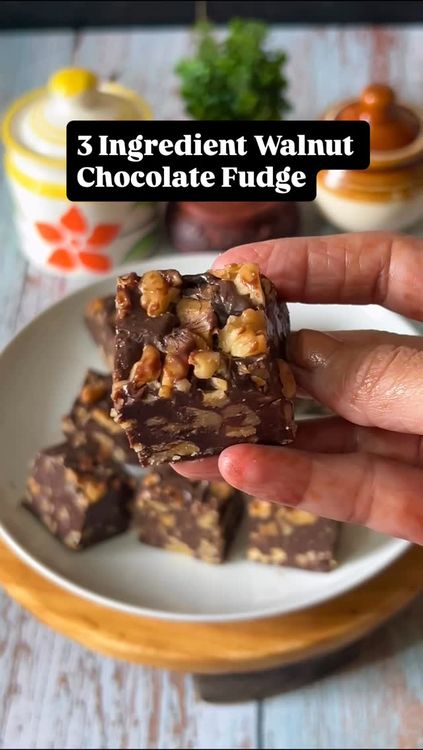
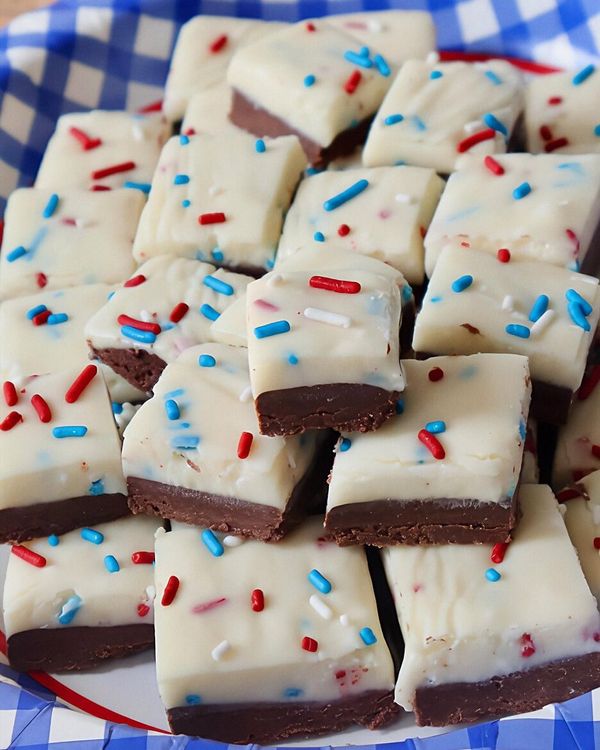
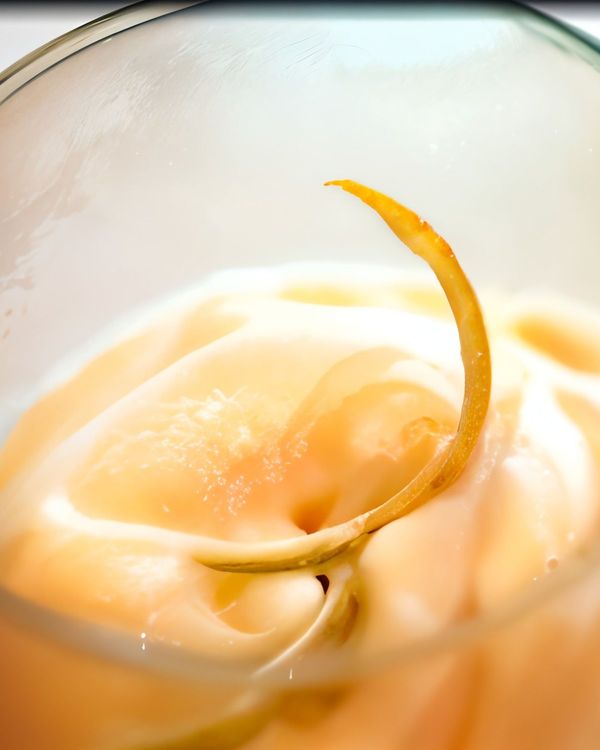
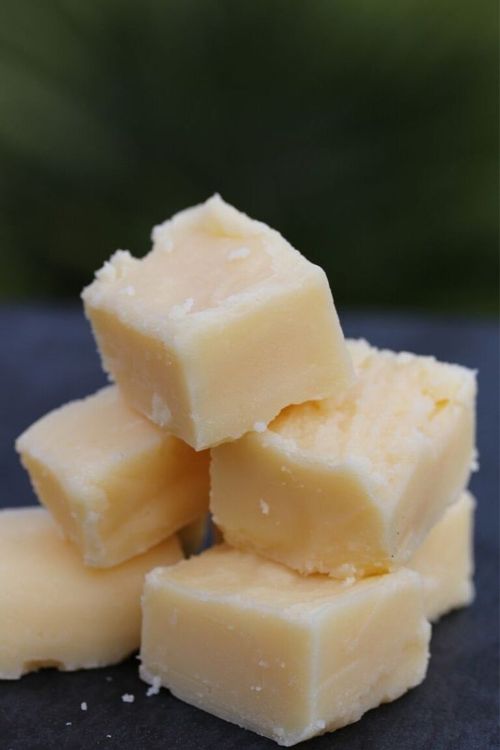
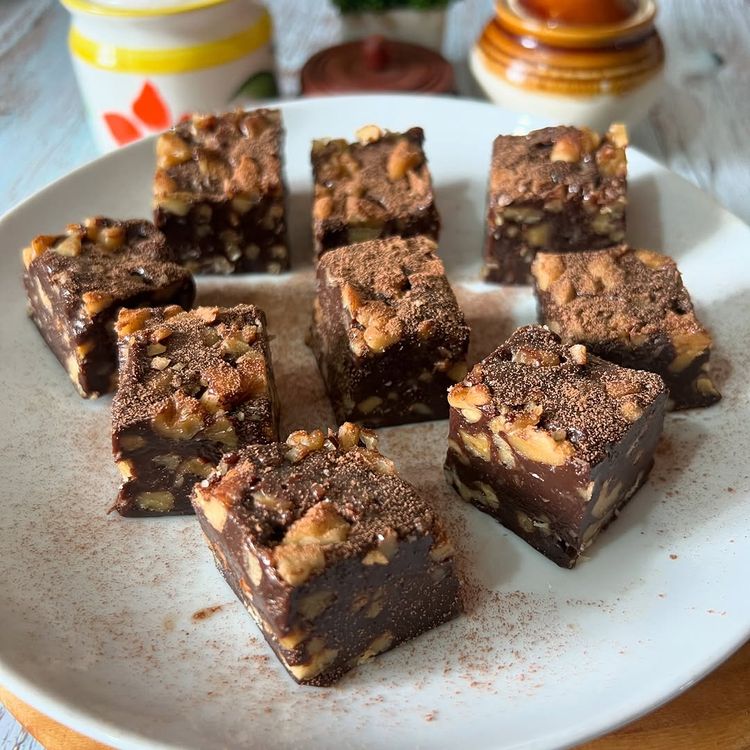
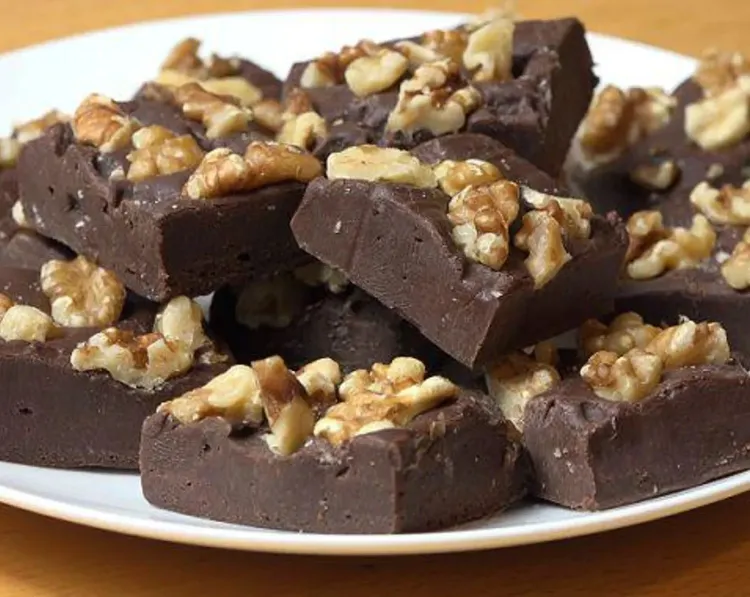
This is the largest cluster on the page and the best starting point if you have never made fudge before, since it covers the classic, most forgiving versions — three-ingredient microwave fudge, no-bake condensed-milk styles, and simple mix-ins like walnut or white chocolate that need nothing more than melting, stirring and patience while it chills. None of these require a candy thermometer or precise temperature work; the entire method is melt gently, combine fully, pour, and wait for the fridge to do the rest. What separates a great result from a mediocre one within this cluster comes down to the fundamentals covered in the guides above: keeping the melting equipment bone dry, not rushing the heat, and giving the fudge genuinely enough time to set before cutting into it. Because the ingredient list is so short in most of these recipes, quality matters — good chocolate and real butter make a noticeably better fudge than budget substitutes, since there is nowhere for a mediocre ingredient to hide in a recipe this simple. Once you are comfortable with the base method, this is also the easiest cluster to riff on — swap in a different mix-in each time and you effectively have a new recipe with the same reliable technique underneath. Standouts here include Himalayan Pink Salt Chocolate Fudge Bites and White Chocolate M&M Fudge, plus Walnut Chocolate Fudge – 3 Ingredients Only!.

- Fusion
- Vegetarian
- Snack


- American
- Vegetarian
- Dessert
- International
- Vegetarian
- Snack
- American
- Vegetarian
- Snack
- Brazilian
- Vegetarian
- Snack
- Mexican
- Eggetarian
- Dessert
- American
- Vegetarian
- Snack
- American
- Vegetarian
- Snack

- American
- Vegetarian
- Snack
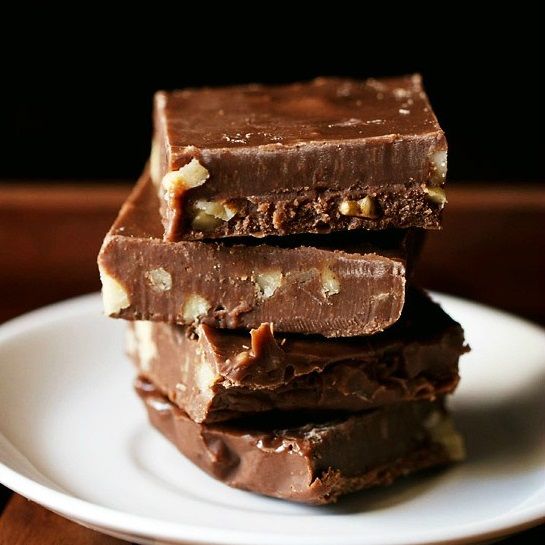
- American
- Vegetarian
- Dessert
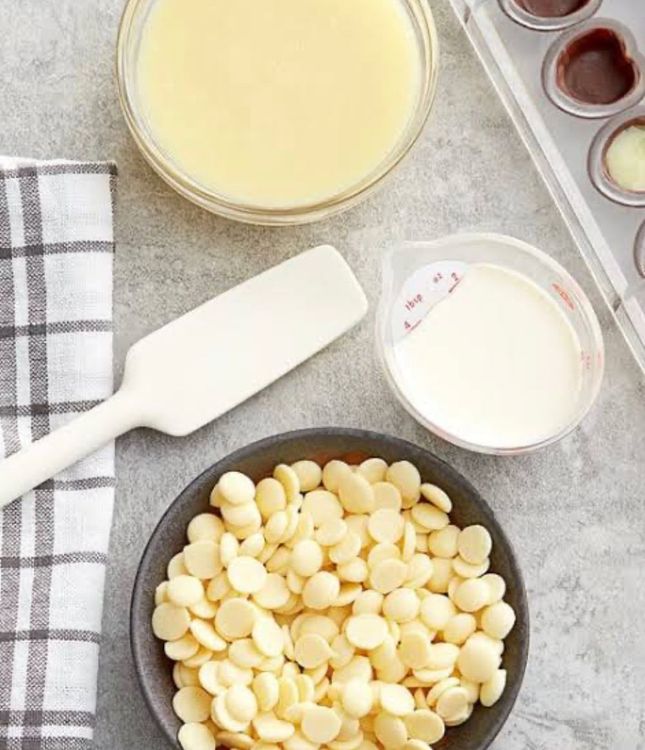

- American
- Vegetarian
- Snack
Melting the Base Without Seizing or Splitting
Chocolate seizes — turns from smooth and glossy to grainy and stiff almost instantly — when even a small amount of water gets into it while melting, so keep your bowl, spoon and pan completely dry and never cover melting chocolate, since condensation from steam is a common culprit. Melt gently, either in short bursts in the microwave, stirring between each, or over a pan of barely simmering water, never letting the bowl touch the water directly.
For condensed-milk fudge, the sweetened condensed milk and chocolate (or butter and sugar) are heated together gently until fully smooth and glossy, stirring more or less constantly once things start to melt so nothing catches or scorches on the bottom of the pan. Low and slow beats fast and hot every time here — a scorched base cannot be rescued and will taste bitter and grainy no matter how well the rest of the recipe goes.
If chocolate does seize, a small amount of warm cream or a knob of extra butter stirred in vigorously can sometimes bring it back to a usable, if not perfectly glossy, consistency — worth trying before you tip the batch out and start again. Prevention is far more reliable than any fix, though, so the real lesson is dry equipment and gentle, patient heat from the start.
Getting the Set Right: Soft, Firm or Fudgy
Fudge sets through cooling and, in cooked versions, through sugar crystallization — the reason old-fashioned recipes call for beating the mixture as it cools, which encourages tiny, smooth sugar crystals to form rather than large, gritty ones. Condensed-milk and no-bake fudges set purely by chilling, which is more forgiving and part of why they have become the more popular home method.
Line your tin with parchment or foil with an overhang before you pour, so the whole block lifts out cleanly once set rather than needing to be dug out and cut in the pan. Press the mixture into an even layer with a spatula or the back of a spoon, tapping the tin on the counter a few times to release air bubbles and settle it flat before it goes into the fridge.
Most fudge needs at least two hours in the fridge to set firm enough to cut cleanly, though overnight is safer and gives the most reliable, dense texture. Resist cutting it early — fudge that looks set on top can still be soft in the middle, and cutting too soon gives you a mess of smeared edges instead of clean squares.
Cutting, Storing and Fixing Problem Batches
Use a large, sharp knife and cut with a single firm push down rather than a sawing motion, which drags and smears the top layer instead of cutting cleanly through. Warming the knife blade briefly under hot water and wiping it dry between cuts helps it glide through, especially with a denser, chocolate-heavy fudge that tends to stick.
Store fudge in an airtight container with layers separated by parchment paper, at room temperature for one to two weeks in a cool spot, or in the fridge for up to a month if your kitchen runs warm. Most fudge also freezes well for up to three months — wrap pieces individually or layer with parchment, and thaw in the fridge rather than at room temperature to avoid condensation forming on the surface.
If a batch turns out grainy, it is almost always down to sugar crystallizing too early or too coarsely — stirring too much during the initial melt, or not dissolving the sugar fully before it cooled, are the usual causes. If it will not set at all, it is often under-cooked or the ratios were off; a soft batch can sometimes be rescued by gently remelting it with a touch more chocolate or a spoon of condensed milk and starting the set again.
Add-Ins, Flavors and Gifting
Nuts, dried fruit, crushed cookies or pretzels, and swirls of peanut butter or caramel all fold into fudge easily — stir most add-ins in right at the end, off the heat, so they do not overcook or sink entirely to the bottom before the mixture sets. A flaky sea salt scattered over the top just before it firms up is one of the simplest upgrades to almost any chocolate fudge.
Flavor extracts (vanilla, peppermint, orange) go in at the very end too, since heat cooks off their aroma if added too early in the melting process. For citrus versions like lemon fudge, use zest for real flavor rather than relying on extract alone, and add it toward the end so the oils stay bright rather than turning bitter from prolonged heat.
Fudge is one of the easiest homemade gifts there is: cut it into neat squares, layer in a tin or box with parchment between layers, and it travels and keeps well for a week or two without refrigeration. A mix of two or three flavors in one box — classic chocolate, a nut version and something like white chocolate or lemon — makes a better gift than a single large block of one flavor.
Pro Tips from the Test Kitchen
- Keep every bowl, spoon and pan completely dry when melting chocolate — even a drop of water can make it seize.
- Melt chocolate gently in short microwave bursts or over barely simmering water, stirring often so nothing scorches.
- Line your tin with parchment or foil with an overhang so the set fudge lifts out clean instead of sticking.
- Give fudge at least two hours in the fridge, ideally overnight, before cutting — it can look set on top while still soft underneath.
- Cut with one firm push of a sharp knife rather than sawing, which smears the top edge.
- Warm the knife blade under hot water and wipe it dry between cuts for cleaner squares.
- Stir add-ins like nuts or crushed cookies in at the very end, off the heat, so they do not sink or overcook.
- Add flavor extracts and citrus zest at the end of cooking — heat cooks off their aroma if added too early.
- Store fudge airtight with parchment between layers; it keeps a week or two at room temperature or up to a month chilled.
- Rescue a soft batch that will not set by gently remelting it with a little extra chocolate or condensed milk, then chilling again.
Frequently Asked Questions
Why did my fudge turn out grainy?
Grainy fudge is almost always caused by sugar crystallizing too early or too coarsely, usually from stirring too much during the initial melt or not fully dissolving the sugar before the mixture cooled. Keep stirring gentle and consistent rather than vigorous, and make sure any sugar is fully melted and smooth before you move on to the cooling and setting stage.
Why won't my fudge set?
Soft, unset fudge is usually under-cooked, or the ratio of chocolate to condensed milk or butter was off, leaving too much liquid fat for the mixture to firm up properly. Give it longer in the fridge first — at least two hours, ideally overnight — before assuming it has failed. If it genuinely will not firm up, gently remelt it with a little extra chocolate or condensed milk and chill it again.
Can I make fudge without a candy thermometer?
Yes — most modern condensed-milk and no-bake fudge recipes do not need one at all, which is part of why they have become the standard home method. A thermometer matters more for old-fashioned, traditionally cooked sugar-syrup fudge, where hitting a specific temperature determines the set, but the easier three-ingredient and microwave styles skip that step entirely.
How long does homemade fudge last?
Stored airtight with parchment between layers, fudge keeps about one to two weeks at room temperature in a cool spot, or up to a month in the fridge. It also freezes well for up to three months — wrap pieces individually and thaw in the fridge to avoid condensation forming on the surface.
Why did my chocolate seize when making fudge?
Seizing happens when even a small amount of water gets into melting chocolate, turning it from smooth to stiff and grainy almost instantly. Keep every bowl, spoon and pan completely dry, and avoid covering melting chocolate, since condensation from trapped steam is a common cause. A little warm cream or extra butter stirred in vigorously can sometimes rescue a seized batch.
What is the difference between fudge and chocolate bark or truffles?
Fudge is set in a slab and cut into squares, with a dense, smooth, slightly grainy-in-a-good-way texture from sugar crystallization or a condensed-milk base. Bark is chocolate poured thin and broken into shards, usually studded with nuts or dried fruit, while truffles are rolled individually around a soft ganache center. All three share a similar ingredient list but very different textures and shapes.
Can fudge be made vegan or dairy-free?
Yes — swap the condensed milk for a coconut condensed milk or full-fat coconut cream reduced with sugar, use a dairy-free chocolate, and replace any butter with a plant-based alternative or coconut oil. The technique stays exactly the same; only the specific ingredients change, and several recipes in this collection are built this way from the start.
How do you cut fudge into clean squares?
Use a large, sharp knife and cut straight down in one firm motion rather than sawing back and forth, which smears and drags the top surface. Warming the blade briefly under hot water and wiping it dry between cuts helps it glide through cleanly, especially with a dense, chocolate-heavy batch that tends to stick to the knife.
Can you freeze fudge?
Yes, fudge freezes very well for up to about three months. Wrap individual pieces or layer them with parchment paper in an airtight container, and thaw in the fridge rather than at room temperature, which helps avoid condensation forming on the surface and making the fudge sticky or damp.
What can I add to fudge for extra flavor?
Nuts, dried fruit, crushed cookies, pretzels or a swirl of peanut butter or caramel all work well stirred in near the end, off the heat, so they do not overcook or all sink to the bottom. A scattering of flaky sea salt on top just before it sets is one of the simplest and most effective upgrades for a classic chocolate fudge.
Every fudge recipe on this page comes down to the same two moments: melting the base gently and patiently so it stays smooth rather than seizing or scorching, and giving it enough time to set properly before you cut in. Get those two steps right and the rest — flavor, add-ins, whether it is a classic block or folded into a cookie or cake — is really just personal preference.
Start with a classic, easy fudge if you have never made it before, then branch into the cookies, cakes or protein versions once you have the base method down. Save your favorites to a Chefadora cookbook as you go, and keep a batch of something simple in the fridge — fudge is one of the few desserts that genuinely improves after a day or two as the flavors settle.
Related
- Fudge
- Chocolate
- No-Bake
- Dessert
- Homemade Gifts
- Easy Dessert
- Sweets
Popular Searches
- Best fudge recipes
- Easy fudge recipes
- Quick fudge recipes
- Healthy fudge recipes
- Simple fudge recipes
- Homemade fudge recipes
- Delicious fudge recipes
- Popular fudge recipes
- fudge recipe
- easy fudge
- chocolate fudge
Marnirni-apinthi Building, Lot Fourteen,
North Terrace, Adelaide, South Australia, 5000
Australia
