
Top 23 Biryani Recipes: Chicken, Vegetable, Mutton and More
Updated June 22, 2026 · Curated by Chefadora
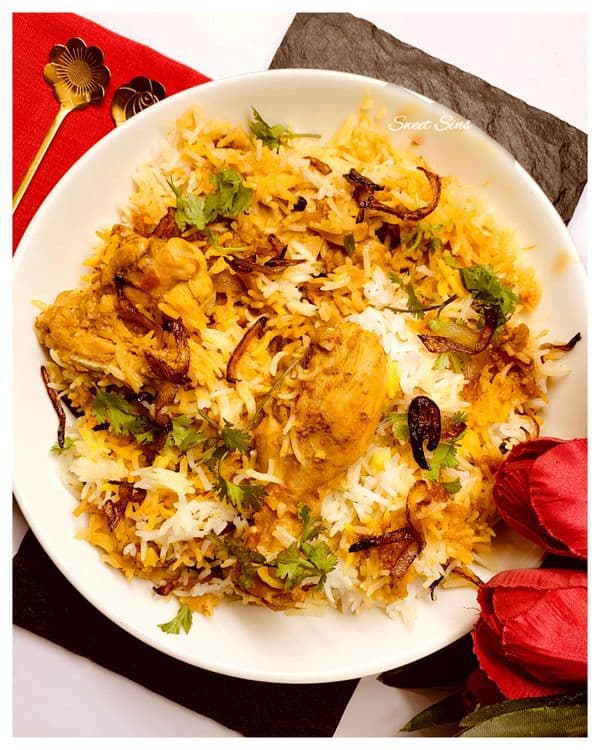
Biryani recipes are the showpiece of South Asian cooking — layered, fragrant rice cooked with marinated meat or vegetables until every grain is separate and perfumed with whole spices, saffron and fried onions. The recipes below span the styles worth knowing: everyday chicken biryani, vegetable and paneer versions, slow mutton and egg, plus the masalas and raitas that complete the plate.
What separates a great biryani from a heavy, mushy one is almost entirely technique, not a secret ingredient. The rice must be the right kind, soaked and par-cooked precisely; the meat marinated and cooked so it is tender; and the two brought together and finished on dum — a sealed, gentle steam that lets the flavors marry without overcooking the grains.
You will find four clusters here: chicken biryani, vegetable and paneer, the richer mutton-egg-seafood group, and the masala and raita sides. The base method is shared across all of them, so once you have cooked one successfully, the rest are variations on the same rhythm of marinate, par-boil, layer and steam.
Use this as a working reference. Every recipe links to full ingredients and steps on Chefadora, and the guides below cover the make-or-break decisions — which rice and how to cook it, how to layer, how to run a proper dum, and how to fix the things that go wrong.
Chicken Biryani
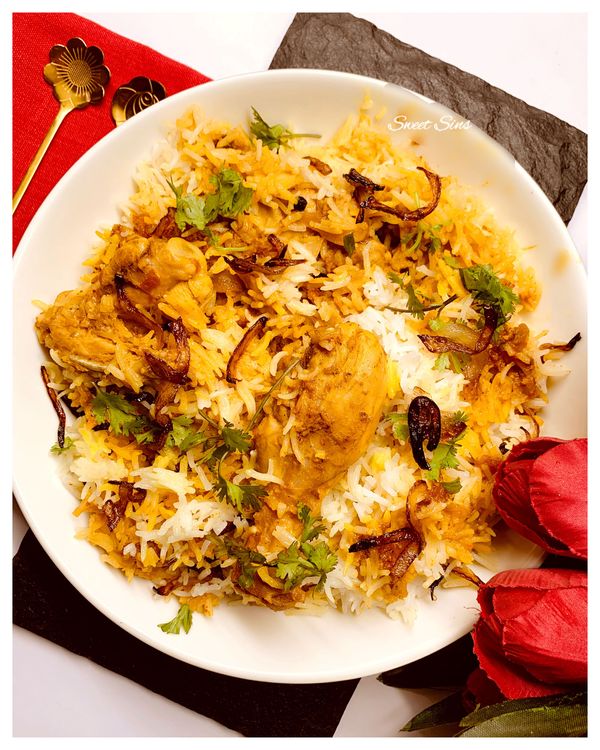
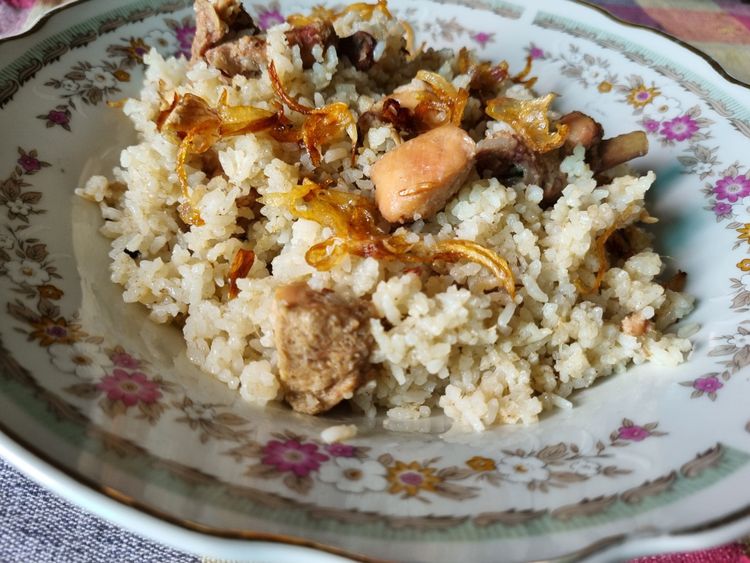
If you are learning this dish for the first time, start with chicken. It cooks quickly, forgives small mistakes, and teaches you the rhythm everything else depends on. Marinate the chicken properly in yogurt, ginger-garlic, and spice for at least an hour so it stays tender and seasons all the way through; thick set yogurt clings better than runny. Par-cook your basmati separately in well-salted water until it is about 70 percent done, still firm at the center, because it will keep steaming in the pot. Then layer rice over the gravy, seal the lid, and let it finish on a low dum for 20 to 25 minutes. The most common error is fully boiling the rice before layering, which leaves you with mush; pull it early and trust the steam to do the rest. Rest the pot off the heat for 10 minutes before you fluff and serve, since that pause lets the grains firm up and separate cleanly instead of clumping together. Standouts here include CHICKEN BIRYANI and Chicken Biryani, plus Sylhet's Award-Winning Chicken Akhni Biryani with Beresta.

- Indian
- Non-Vegetarian
- Dinner


- Indian
- Non-Vegetarian
- Dinner
- Bangladeshi
- Non-Vegetarian
- Lunch


- Indian
- Non-Vegetarian
- Main Course


- Indian
- Non-Vegetarian
- Dinner
Vegetable & Paneer Biryani
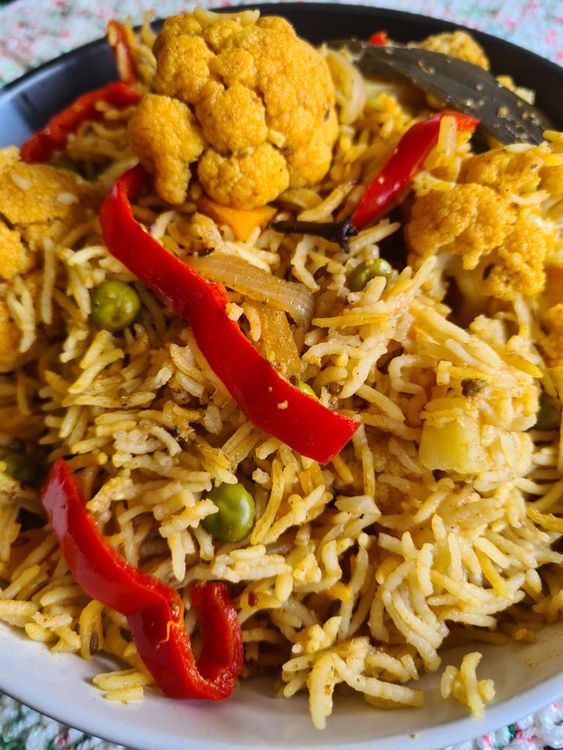
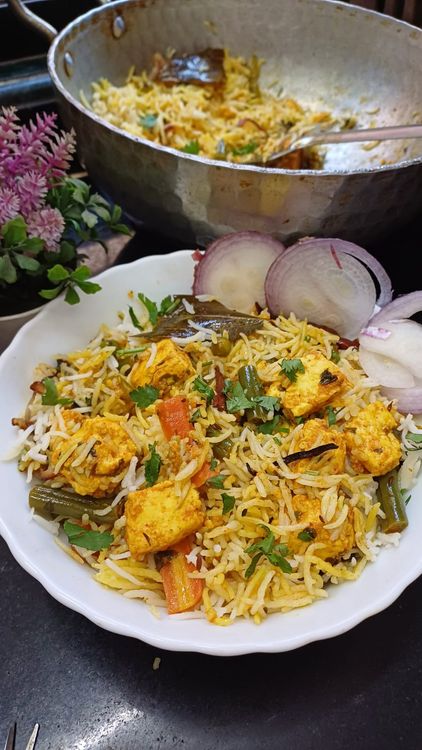
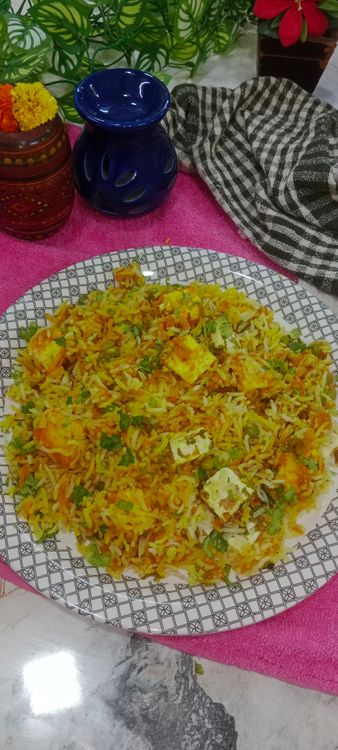
Without meat juices to carry flavor through the pot, these versions live or die on how you build each layer. That means seasoning at every stage rather than hoping the final steam will pull it together. Salt the vegetables as they fry, season the rice water generously, and taste the gravy before it ever meets the rice. Aromatics do the heavy lifting here, so do not skimp on properly browned fried onions, fresh mint, and a handful of chopped coriander tucked between layers. For paneer, sear or briefly soak the cubes in warm salted water so they stay soft instead of squeaking. Keep your vegetables in larger pieces and slightly undercooked before layering; they will soften during the dum and hold their shape rather than collapsing. A scant 1:1 ratio of rice to mixed vegetables keeps the dish generous without going stodgy. Finish with saffron milk and a drizzle of ghee for richness that meat would otherwise provide. Standouts here include Veg. Amritsari Biryani and Vegetable Biryani, plus Achari Paneer Biryani.


- Indian
- Vegetarian
- Dinner

- Indian
- Vegetarian
- Lunch
- Indian
- Vegetarian
- Lunch

- Indian
- Vegetarian
- Dinner
- Indian
- Vegetarian
- Dinner
Mutton, Egg & Seafood Biryani
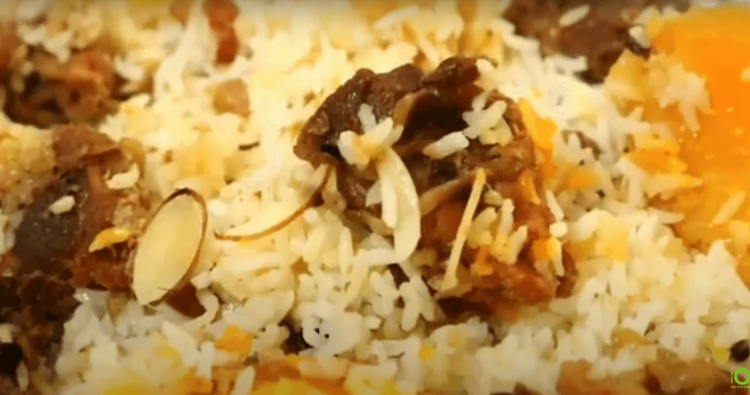
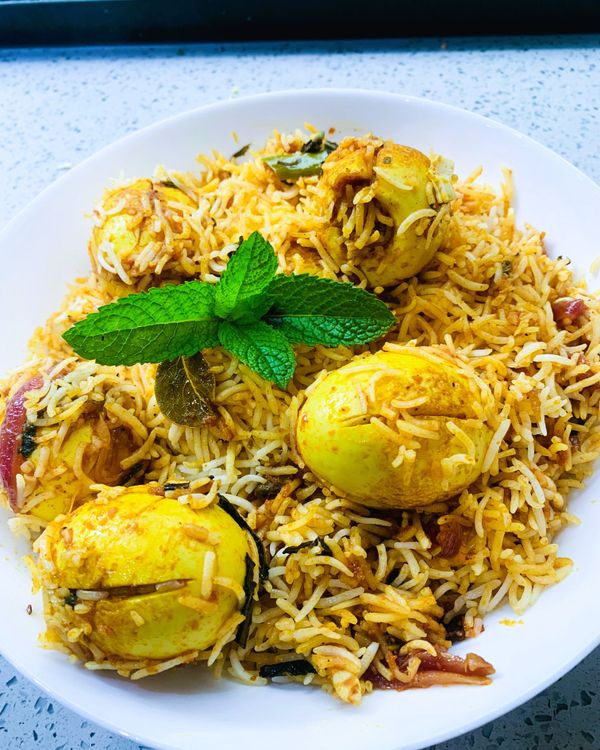
These are the slower, deeper end of the repertoire, built on mutton, eggs, or prawns rather than fast-cooking poultry. The guiding principle is matching the cook time of the protein to the rice. Tougher cuts like mutton need a real head start: pressure-cook or braise the meat until it is nearly fork-tender before it goes anywhere near the par-boiled grains, or the rice will be ruined long before the meat gives in. Prawns swing the other way, turning rubbery in minutes, so add them barely cooked and let the dum finish them gently. Eggs are easiest, but fry them lightly and slash the surface so the masala clings. Marinate red meat in yogurt with a little raw papaya or extra time, ideally 4 to 6 hours, to tenderize. The classic mistake is treating mutton like chicken and layering it raw; give it that longer cook first and the reward is meat that falls cleanly off the bone. Standouts here include Beef kacchi Biryani and Bhatkal Egg Biryani | Konkani Style ❤️, plus Easy Egg Biryani (Anda Biryani).
- Bangladeshi
- Non-Vegetarian
- Lunch

- Indian
- Eggetarian
- Dinner
- Indian
- Eggetarian
- Lunch

- Indian
- Eggetarian
- Main Course
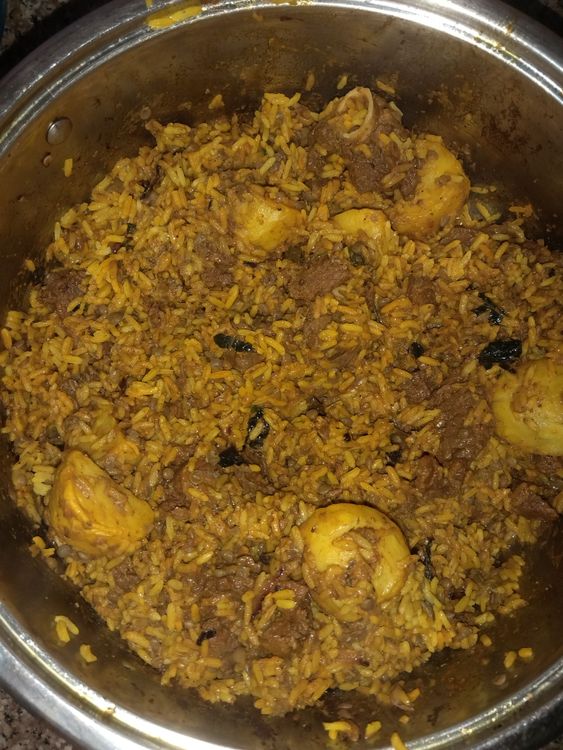
- Indian
- Gluten-Free
- Lunch
Biryani Masala, Raita & Sides
Everything on this part of the page exists to make the main event sing: the spice blends, the gravies, and the cooling accompaniments that turn a plate of rice into a meal. A good homemade masala is genuinely worth batching, because freshly ground whole spices, toasted until fragrant and milled together, beat anything from a jar and keep their punch for weeks in an airtight tin. Get the warm-to-pungent balance right and a single tablespoon can flavor a pot for four. Raita is your counterweight, thick yogurt loosened just enough, with grated cucumber, salt, and a pinch of roasted cumin to cut the richness on the palate. The frequent slip is treating sides as an afterthought and over-thinning the raita, which leaves it watery and bland. Whisk it cold, season it like you mean it, and rest it for 15 minutes so the flavors marry. Master these supporting pieces and your main dish only gets better. Standouts here include Biryani Masala Powder and Authentic Biryani Gravy Recipe | Shorba Recipe , plus Best Onion Tomato Raita | Simple Onion Tomato Raita Recipe | Easy Onion Tomato Raita Recipe for Biryani.
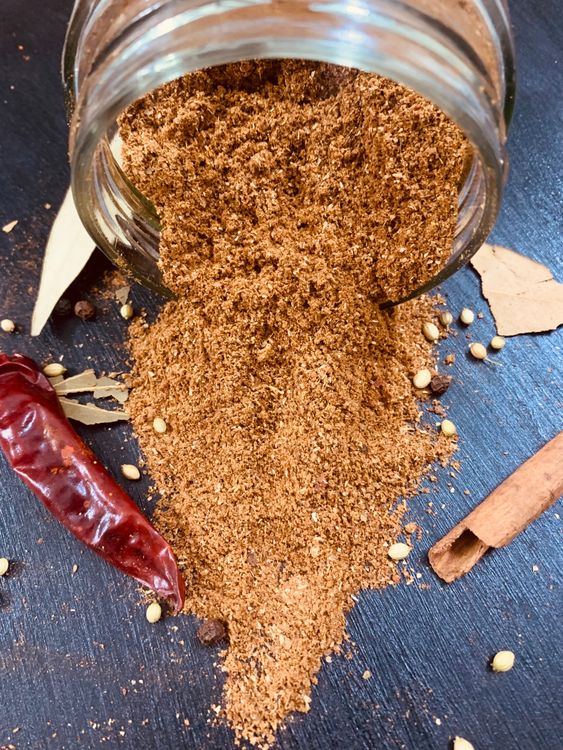
- Indian
- Vegan
- Sauce & Condiment
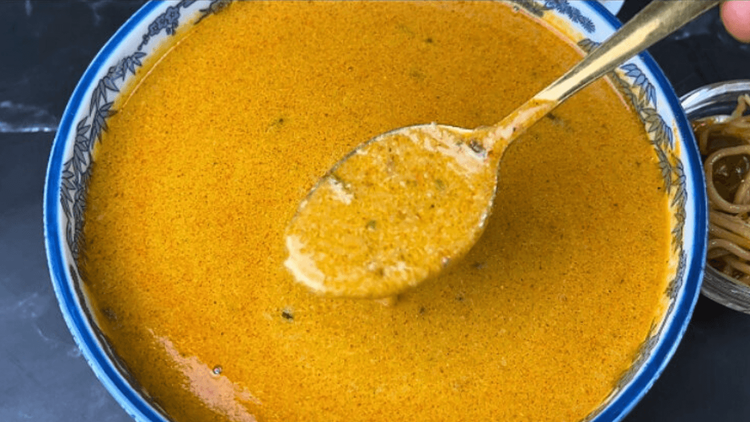

- Indian
- Vegan
- Lunch
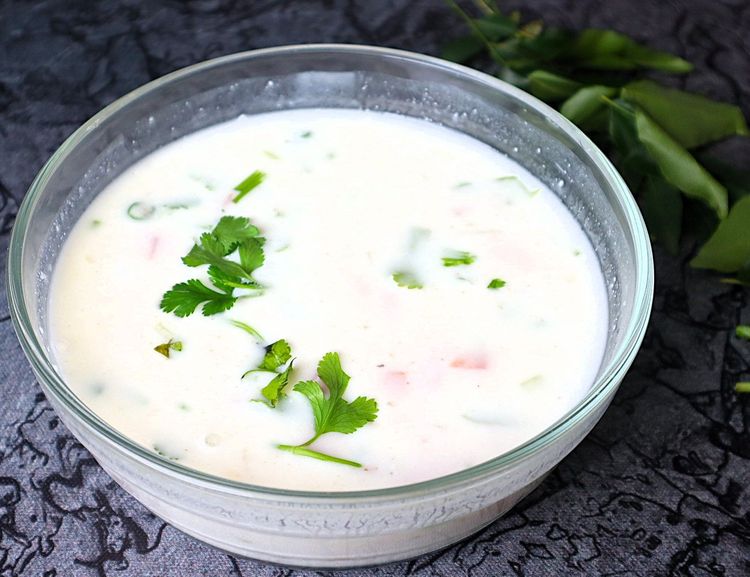
- Indian
- Vegetarian
- Side Dish
More Biryani Favourites
Once the method is in your hands, the fun is in branching out, and these are a few more styles worth a place in your rotation. Every one of them follows the same dependable rhythm you already know: marinate well, par-boil the rice to firm, layer with browned onions and herbs, then steam under a sealed lid until everything melds. What changes is the accent, whether that is a sharper regional spice profile, a different protein, or a smokier finish. Choose your next cook by what you want to practice rather than by novelty alone; a drier, spicier style sharpens your layering, while a richer one teaches patience on the dum. Keep your rice-to-filling balance honest, roughly even by volume, so no single element overwhelms the pot. The mistake to avoid is rushing the steam to save 10 minutes, which always shows in unevenly cooked grains. Pick one, cook it twice, and let each attempt teach you something new. Standouts here include Tiranga Biryani and Easy Biryani , plus Biryani.
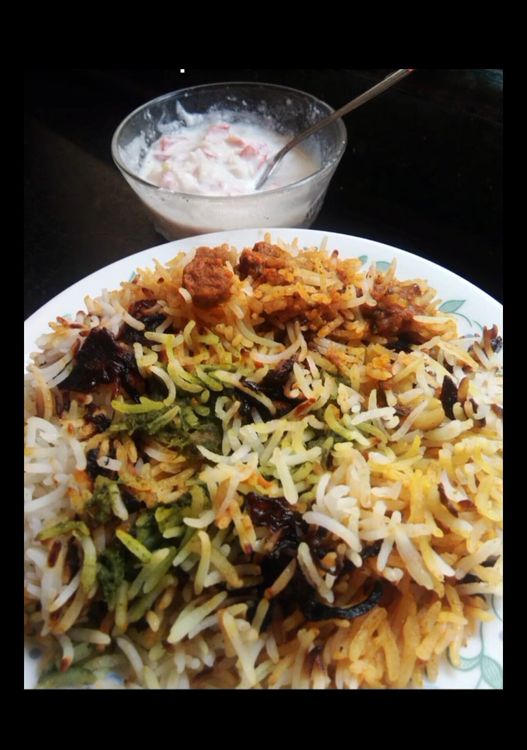
- Indian
- Vegetarian
- Lunch
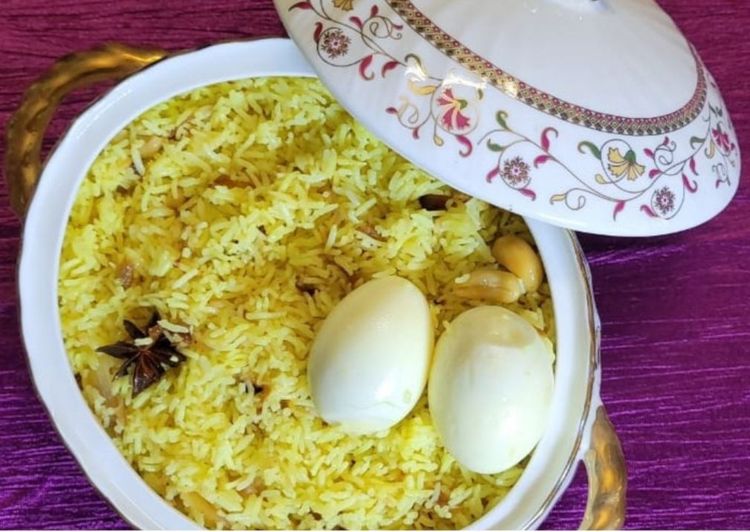
- Indian
- Vegetarian
- Main Course
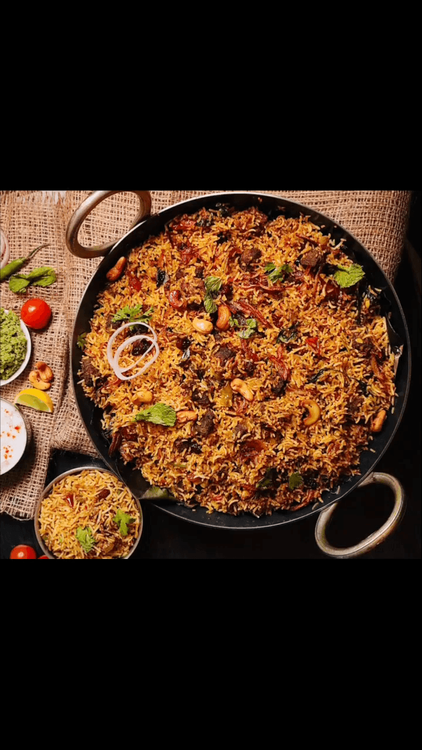
- Indian
- Non-Vegetarian
- Main Course

- North Indian
- Vegetarian
- Dinner
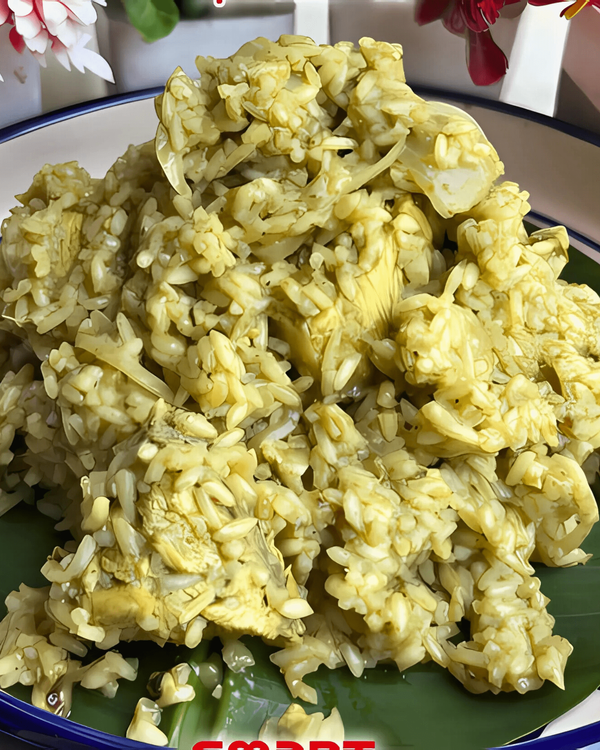

- Indian
- Non-Vegetarian
- Lunch
Rice: Choosing, Soaking and Par-Cooking
Use aged, long-grain basmati — aged rice has less surface starch and cooks up drier and longer, which is exactly what biryani wants. Rinse it in several changes of water until the water runs clear to wash off loose starch, then soak for 30 minutes. Soaking lets the grains hydrate so they cook evenly and elongate instead of breaking.
Par-cook the rice to about 70% in plenty of well-salted, aromatic water (whole spices, a little oil) — it should be cooked on the outside but still have a firm, raw core when you bite it. This is the single most important number in biryani: fully cooked rice here turns to mush after the dum. Drain the instant it hits that stage.
Salt the rice water generously — it is your only chance to season the grains from within, like pasta water. Aim for roughly 1.5 to 2 times as much rice as meat by volume for a balanced biryani, and resist the urge to add extra water during the dum; the steam trapped inside finishes the cooking.
Marinating the Meat or Vegetables
Marinate chicken or mutton in thick yogurt with ginger-garlic paste, chilli, turmeric, biryani masala and salt. The yogurt tenderizes and clings, carrying flavor deep into the meat. Give chicken at least an hour (overnight is better) and mutton several hours — tougher cuts need both the acid and the time, or a separate pressure-cook before they meet the rice.
Fried onions (birista) are not optional. Slice onions thin, fry slow and steady to a deep golden brown, and drain them crisp — they add the sweet, caramelized backbone that defines biryani, both in the marinade and layered on top. Reserve some for garnish. Burnt onions turn bitter, so pull them just before they go dark.
For vegetable biryani, the same marinade logic applies but you are building flavor without meat juices, so be aggressive with mint, coriander, fried onions and whole spices, and choose vegetables that hold their shape — carrots, beans, cauliflower, peas and paneer. Sauté them just until crisp-tender before layering so they do not turn to mush on the dum.
Layering and the Dum
Layer in a heavy-bottomed pot: a little gravy or meat at the base, then par-cooked rice, then fried onions, mint, coriander, saffron soaked in warm milk, and a drizzle of ghee — repeat, finishing with a rice layer on top. The saffron milk and ghee, poured over the top layer, paint the grains and carry aroma down as it steams.
Dum is the sealed, low-heat steam that finishes the biryani. Cover the pot with a tight lid (traditionally sealed with dough), start on a moderate heat for a few minutes to build steam, then drop to the lowest flame — many cooks set the pot on a flat tava to diffuse the heat — for 20 to 30 minutes. Do not lift the lid; you are trapping the steam that does the work.
Rest the biryani off the heat for ten minutes before opening, then fold gently from the sides with a flat spoon rather than stirring, so the grains stay whole and the layers show. A burnt base usually means the flame was too high or there was too little moisture; a mushy result means the rice was over-par-cooked or there was too much liquid.
Serving, Sides and Troubleshooting
Biryani is traditionally served with a cooling raita (whisked yogurt with onion, cucumber or boondi), a sharp salan or a simple salad of onion and lemon. The contrast of cool, tangy yogurt against the warm, spiced rice is part of the dish, not an afterthought — make the raita while the dum runs.
If the rice came out undercooked, sprinkle a little hot water around the edges, re-cover and steam a few more minutes. If it is mushy, spread it on a tray to stop the carryover steam and serve it as a pulao-style plate rather than fighting it. Always taste a grain at the par-boil stage rather than trusting the clock.
Make-ahead works in stages: fry the onions and prepare the masala a day or two early, marinate the meat overnight, and assemble fresh. Leftover biryani keeps three to four days and reheats well with a splash of water under a lid, or steamed — the microwave dries it out and breaks the grains.
Pro Tips from the Test Kitchen
- Use aged basmati and soak it 30 minutes — it cooks up longer, drier and separate.
- Par-cook the rice to only 70% (firm raw core); fully-cooked rice turns to mush after the dum.
- Salt the rice water heavily — it is your only chance to season the grains from inside.
- Fry onions (birista) slow to deep golden and drain crisp; they are the sweet backbone of biryani.
- Marinate chicken at least an hour in thick yogurt; pressure-cook tough mutton before it meets the rice.
- Bloom saffron in warm milk and pour it over the top layer for color and aroma.
- Seal the pot tight and run the dum on the lowest flame — set it on a tava to diffuse the heat.
- Rest 10 minutes after the dum, then fold gently from the sides instead of stirring.
- Keep the rice-to-meat ratio around 1.5–2:1 by volume for balance.
- Make raita while the dum runs — the cool yogurt against hot spiced rice is part of the dish.
Frequently Asked Questions
What rice is best for biryani?
Aged, long-grain basmati. Aging reduces surface starch so the grains cook up drier, longer and separate rather than sticky — exactly what biryani needs. Rinse until the water runs clear and soak for about 30 minutes before cooking so the grains hydrate and elongate evenly. Avoid short-grain or fresh-crop rice, which turns gummy.
What is dum in biryani?
Dum is the slow, sealed steaming that finishes a biryani. The layered pot is covered tightly (often sealed with dough), heated briefly to build steam, then cooked on the lowest possible flame for 20–30 minutes. Trapping the steam lets the flavors marry and the rice finish cooking gently without drying out or burning. Lifting the lid lets that steam — and the magic — escape.
Why does my biryani turn out mushy?
Usually the rice was cooked too far before layering, or there was too much liquid in the pot. Par-cook the rice to only about 70% — it should still have a firm, raw centre — because it keeps cooking during the dum. Drain it the instant it reaches that stage, keep the gravy thick rather than soupy, and fold gently at the end instead of stirring.
How do you layer a biryani?
Start with a little gravy or meat at the base of a heavy pot, then alternate layers of par-cooked rice with fried onions, mint, coriander, saffron milk and ghee, finishing with a rice layer on top. The saffron milk and ghee go over the final layer so they seep down during the dum. Two to three layers is typical; the goal is even distribution, not perfect stripes.
What is the difference between biryani and pulao?
Biryani is layered and finished on dum, with separately cooked rice and a heavily spiced, marinated meat or vegetable component, giving distinct grains and concentrated flavor. Pulao is a one-pot dish where rice and ingredients cook together in measured liquid, so it is lighter and faster but less layered in taste and texture. Biryani is the project; pulao is the weeknight.
How long should I marinate chicken for biryani?
At least an hour, and ideally four to eight hours or overnight in the fridge. A thick yogurt marinade with ginger-garlic, chilli and spices both flavors and tenderizes the chicken, and the longer it sits the deeper that goes. Tough cuts of mutton need several hours or a separate pressure-cook before they can finish in the same time as the rice.
Can you make biryani vegetarian?
Absolutely — vegetable and paneer biryanis are classics. The method is identical, but because you lose the richness of meat juices, lean harder on fried onions, mint, whole spices and saffron, and pick vegetables that hold their shape, such as carrots, beans, cauliflower and peas. Sauté them just to crisp-tender before layering so they do not collapse on the dum.
What do you serve with biryani?
A cooling raita (whisked yogurt with onion, cucumber or boondi) is the classic partner, along with a tangy salan or a simple onion-and-lemon salad. The cool, sour yogurt balances the warm, spiced rice. Many people add a boiled egg or papad on the side. Make the raita fresh while the dum runs so it is cold against the hot biryani.
How do you reheat biryani without drying it out?
Add a small splash of water, cover, and warm it gently on the stovetop or steam it — the trapped moisture loosens the grains again. The microwave tends to dry the rice and break the grains, so if you must use it, cover the bowl and add a teaspoon of water. Leftover biryani keeps three to four days in the fridge.
What is Hyderabadi biryani?
Hyderabadi biryani is a famous dum style where raw marinated meat (kachay gosht) is layered directly with par-cooked rice and steamed together, so the meat cooks in its own juices under the rice. It is intensely fragrant, often hotter than other styles, and traditionally served with mirchi ka salan and raita. It is more advanced than the cooked-meat method, so master a standard chicken biryani first.
Why is my biryani burnt at the bottom?
The dum flame was too high or there was not enough moisture at the base. Use a heavy-bottomed pot, set it on a flat tava or griddle to diffuse the heat, keep the flame at its lowest, and make sure there is a little gravy or ghee at the bottom layer. A faint, intentional crust (the prized "tahdig"-like base) is fine; an acrid burnt smell means too much heat.
Every biryani here runs on the same rhythm: aged rice par-cooked just so, a well-marinated centre, careful layering and a patient dum. Get those four right and the style — chicken, vegetable, mutton or egg — is just a choice, not a different skill.
Start with a chicken biryani this week, then branch into a vegetable or mutton version, and save your favorites to a Chefadora cookbook. Come back for the masalas and raitas; this page is meant to be the biryani reference you keep returning to.
Related
- Biryani
- Rice
- Indian
- Chicken
- Dum
- One pot
- Dinner
- Festive
Popular Searches
- Best biryani recipes
- Easy biryani recipes
- Quick biryani recipes
- Healthy biryani recipes
- Simple biryani recipes
- Homemade biryani recipes
- Delicious biryani recipes
- Popular biryani recipes
- chicken biryani
- veg biryani
- hyderabadi biryani
Marnirni-apinthi Building, Lot Fourteen,
North Terrace, Adelaide, South Australia, 5000
Australia
