
Top 20 Granola Recipes: Clusters, Bars, Healthy Blends and More
Updated June 29, 2026 · Curated by Chefadora
Granola recipes are the quiet upgrade your breakfast has been waiting for: a handful of pantry staples — oats, nuts, seeds, a sticky sweetener and good fat — baked slow until the whole tray turns golden, fragrant and shatteringly crisp. The dishes below were chosen to show the full range rather than ten versions of the same tray: big-cluster classics, portable bars and bites, lighter low-sugar and grain-free blends, and the flavored granolas and parfaits that turn a jar into an actual meal.
What makes homemade granola worth the effort is control. Store-bought versions are usually drowning in sugar and oil and ground to a sandy rubble; at home you decide the sweetness, the nut-to-oat ratio, and whether you want loose, scoopable clusters or big shards you can snap. The technique is forgiving but precise in a few key places, and once you understand why granola clumps and why it browns, every batch after the first gets easier.
You will find four clusters here: classic nutty clusters, granola bars and energy bites, healthy low-sugar and grain-free blends, and flavored granolas with their parfaits. The base method — coat, press, bake low, cool flat — runs through all of them, so learning one tray well unlocks the rest. Change the sweetener, the add-ins or the bake and you change the dish entirely.
Treat this as a working reference. Each recipe links to full ingredients and steps on Chefadora, and the guides below cover the things that decide whether granola turns out clumpy and golden or scorched and sandy — how to bind big clusters, how to bake without burning, how to keep it crunchy in the jar, and how to build bars that hold their shape.
Classic Clusters & Nutty Granola
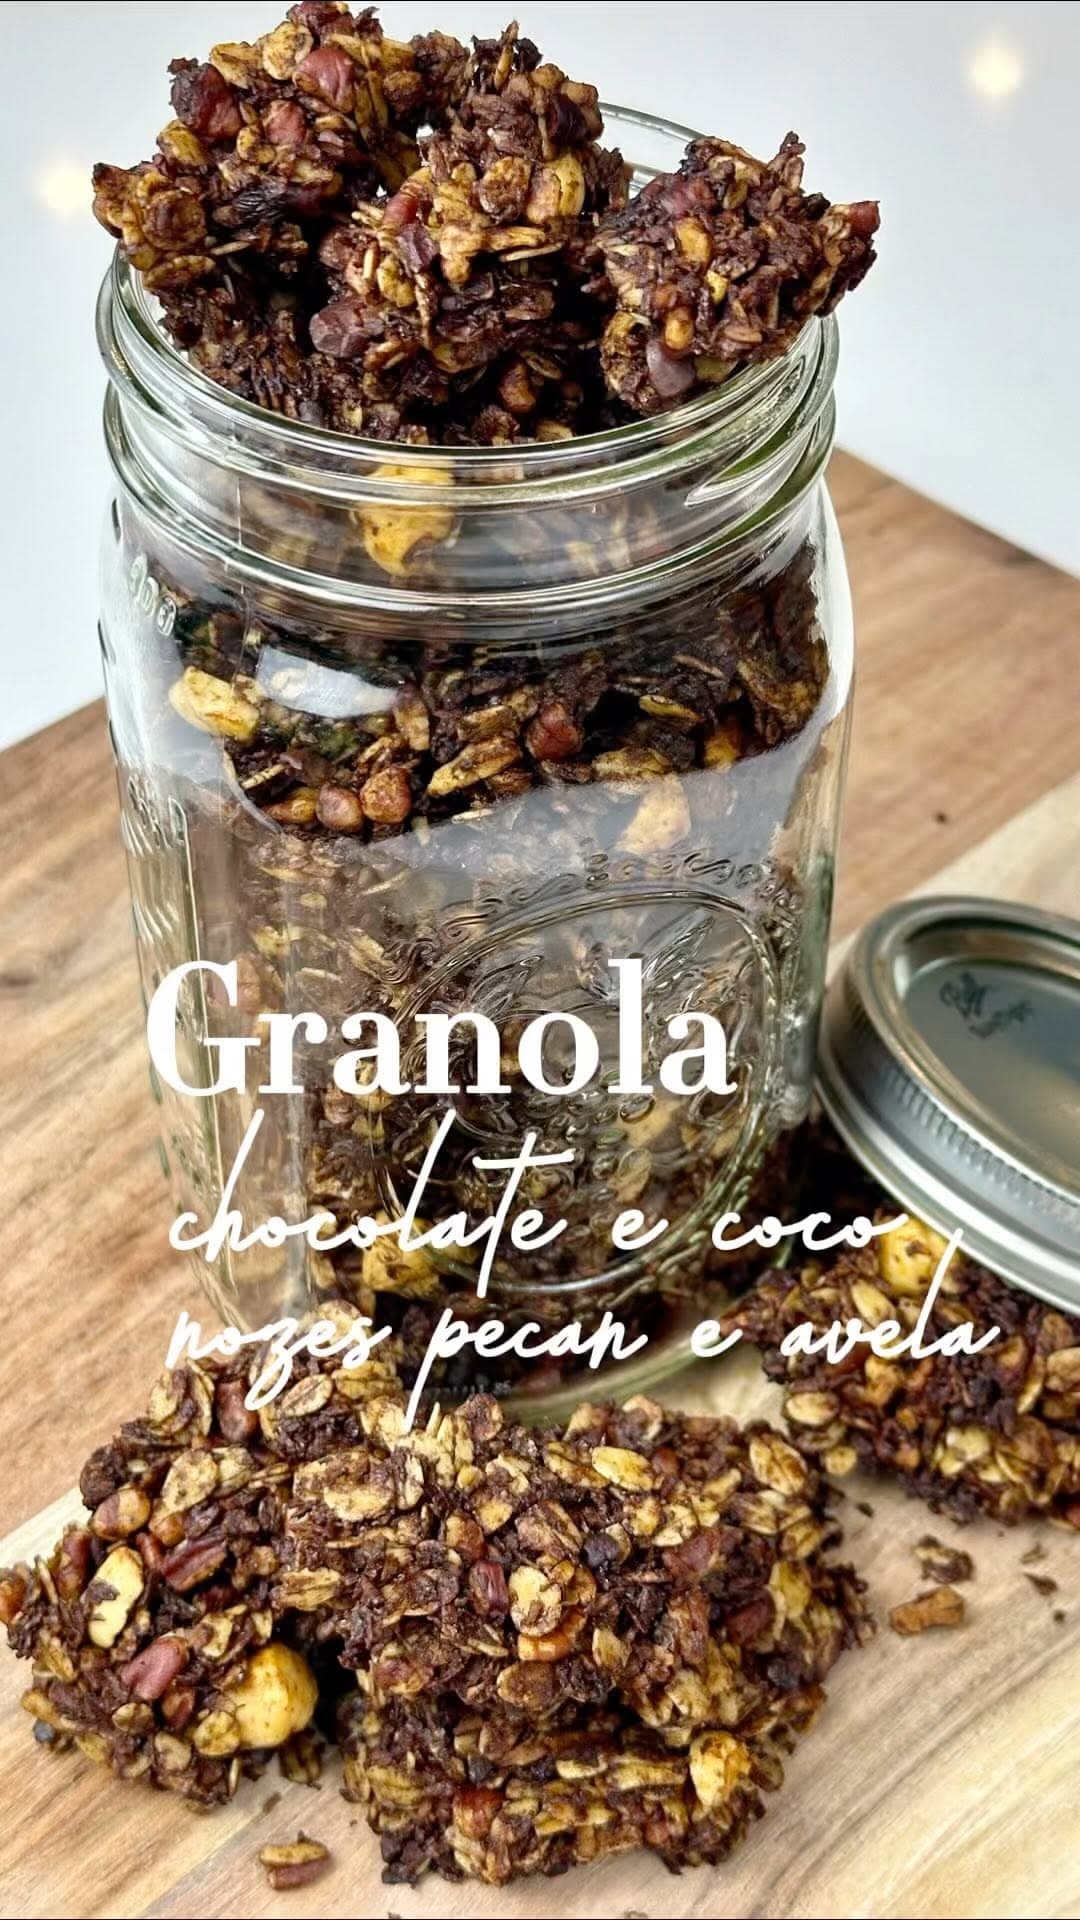
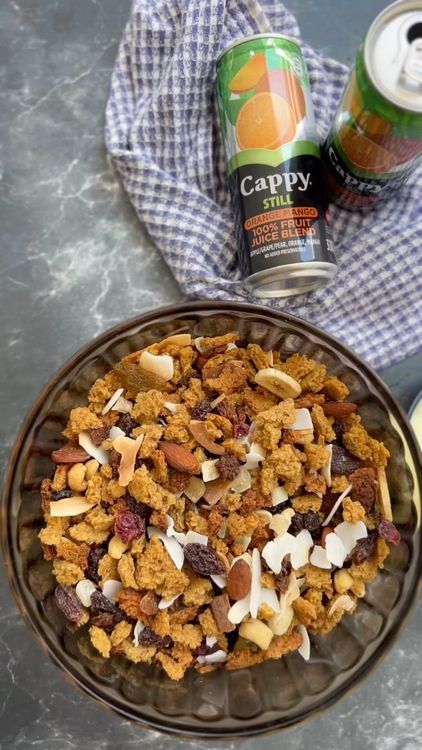
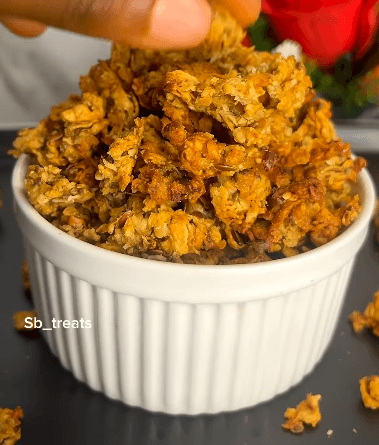
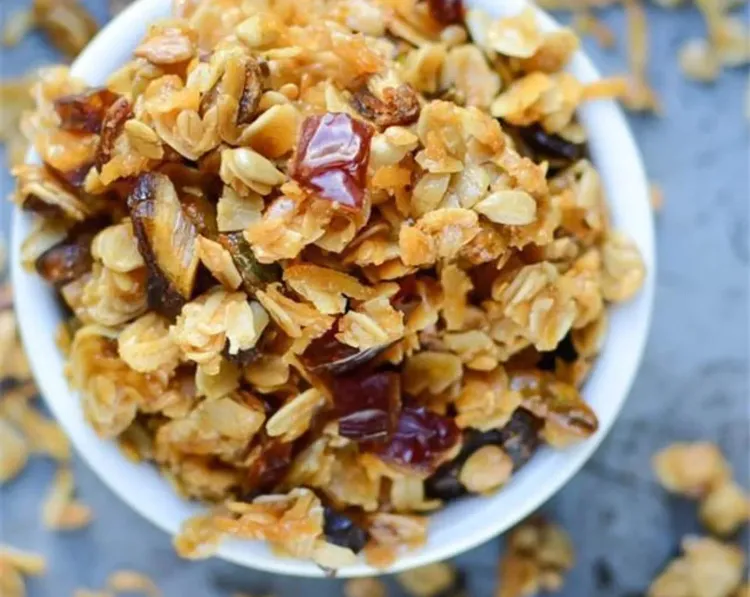
The whole point of a classic cluster granola is the clump: those big, craggy shards of toasted oats and nuts you can actually snap and scatter, not the sandy rubble that pours out of most boxes. Getting there is engineering, not luck. Coat the oats, nuts and seeds generously with a sticky syrup and enough oil or nut butter that every flake glistens, then tip the lot onto a lined tray and press it down hard into a compacted slab with the back of a spatula. Loose granola bakes loose; a pressed slab bakes into shards. Then comes the rule everyone breaks on their first batch: do not stir too soon. Every early stir shatters the slab before the sugars have set, and there is no rebuilding a cluster once it is broken, so bake it undisturbed until evenly golden. The clusters firm up as the tray cools, not in the oven, so let it sit completely untouched for half an hour before you break it by hand. Lean on almonds, pecans, walnuts or a swirl of peanut butter for the nutty backbone, and you have something far better than anything store-bought from the same humble pantry staples. Standouts here include Granola with Chocolate, Coconut, Pecan, and Hazelnut and Bulk Batch Crunchy Granola.

- Vegetarian
- Snack
- American
- Vegetarian
- Breakfast
Granola Bars & Energy Bites
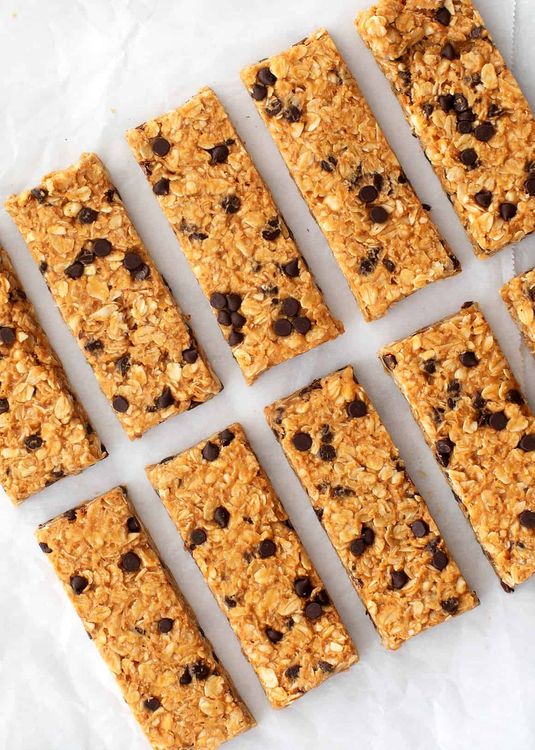
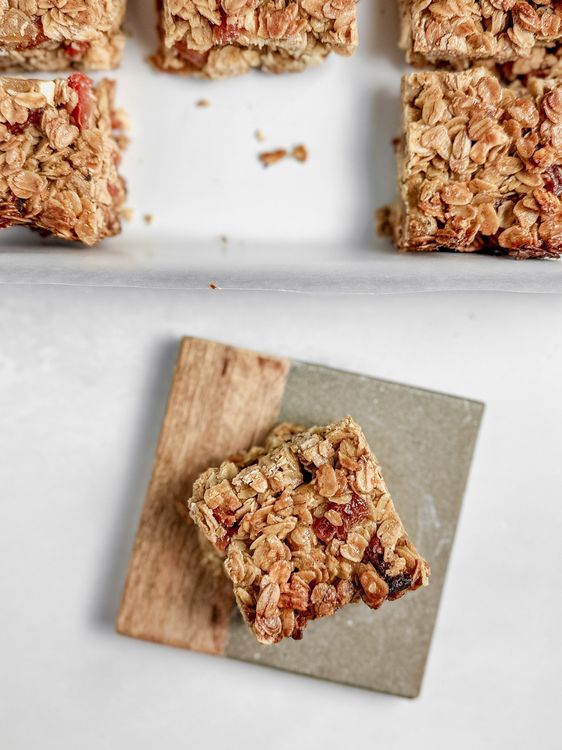
Bars and bites are granola made portable, and they live or die on two things: a sticky binder and serious pressure. For no-bake bars, gently warm a mixture of nut butter and a syrup that sets firm, honey or brown rice syrup, until it just bubbles, then stir it through the oats, nuts and seeds until every piece is slick and coated with no dry pockets, because granulated sugar simply will not hold these together. The classic mistake is a loose mix and a timid press; under-packed bars crumble to gravel the second you cut them. Tip the mixture into a parchment-lined pan and compact it as hard as you physically can, leaning your weight into the flat base of a glass, then chill it at least an hour so the binder sets into a sliceable block before you lift it out and cut with firm downward presses rather than a dragging saw. Energy bites follow the same logic in miniature, rolled into balls and refrigerated to firm. Wrap bars individually and keep no-bake versions cool in warm weather, since the binder softens with heat. These are the grab-and-go snacks worth batching on a Sunday for the whole week ahead. Standouts here include Homemade Granola Bars and No-Bake Granola Bars, plus Anything Goes Granola Bars.
- American
- Vegetarian
- Breakfast

- American
- Vegetarian
- Snack

- American
- Eggetarian
- Snack
Flavored Granola & Parfaits
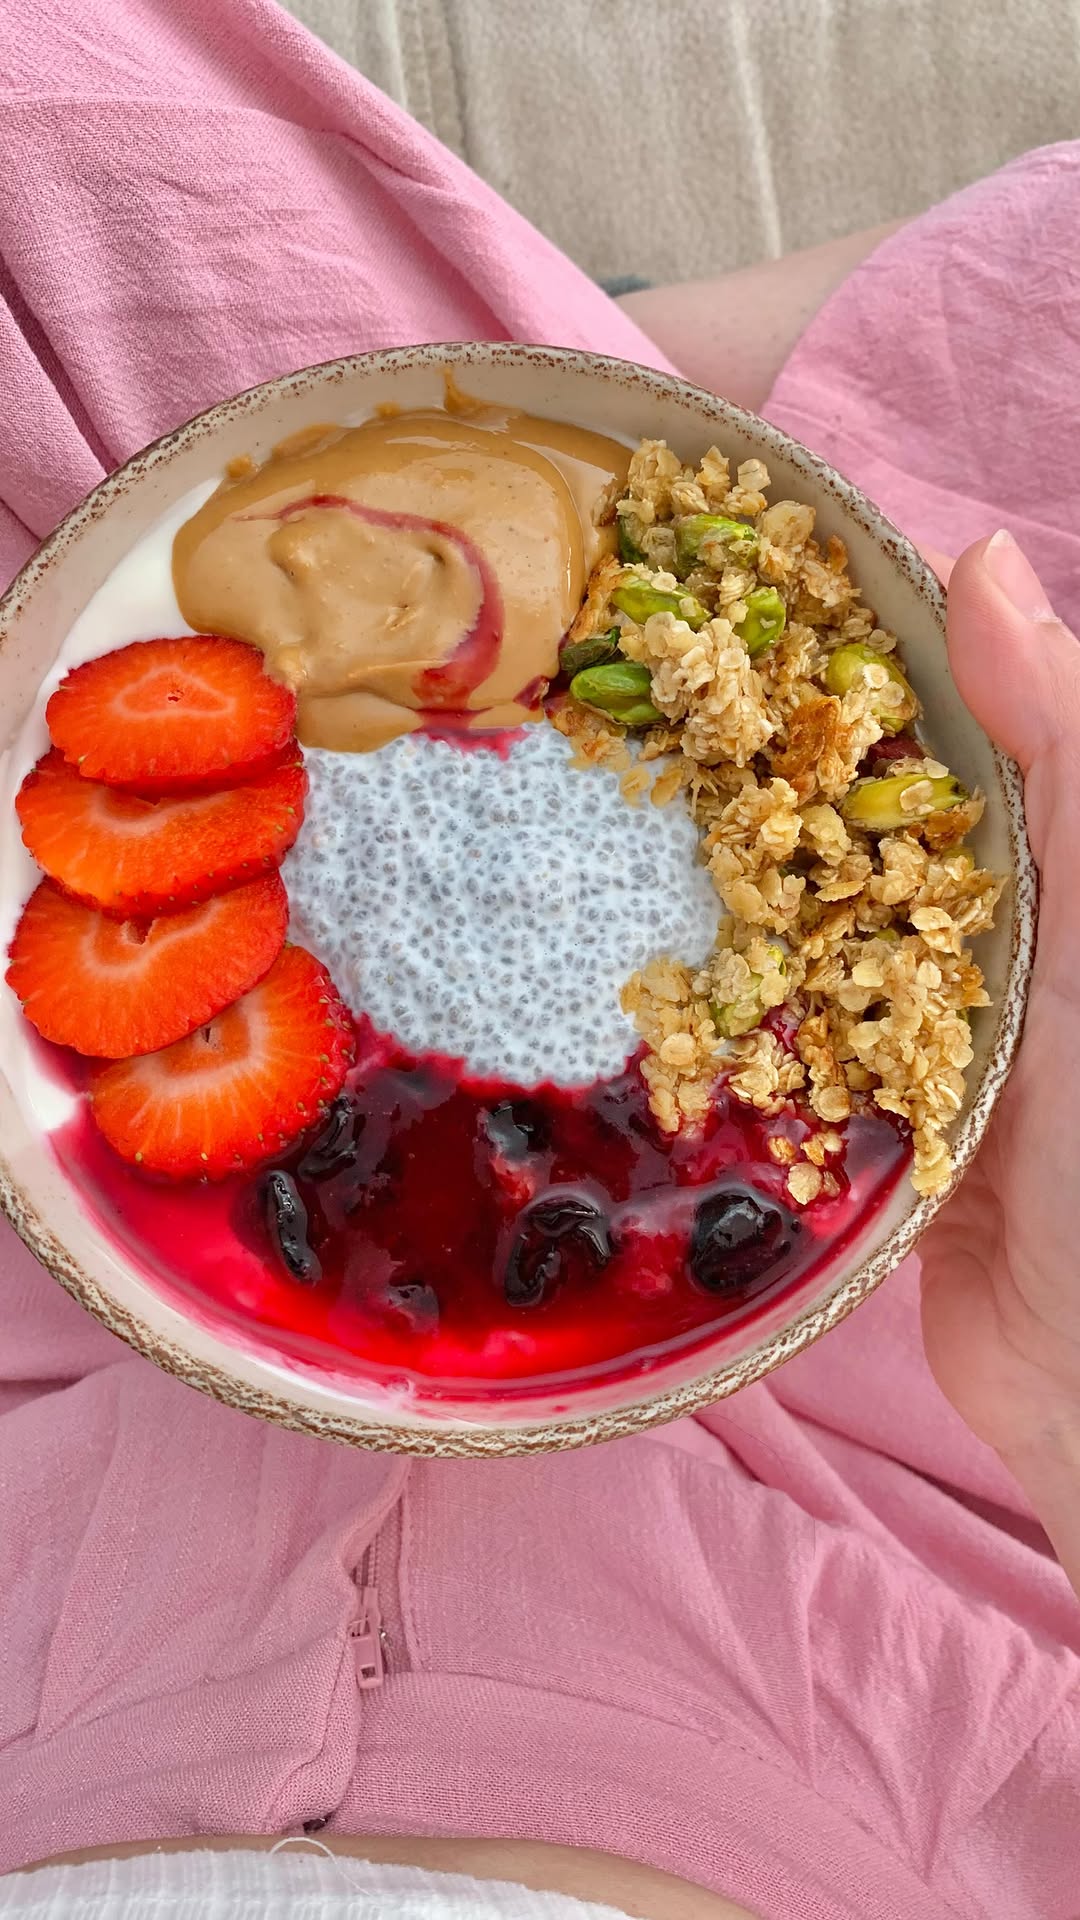
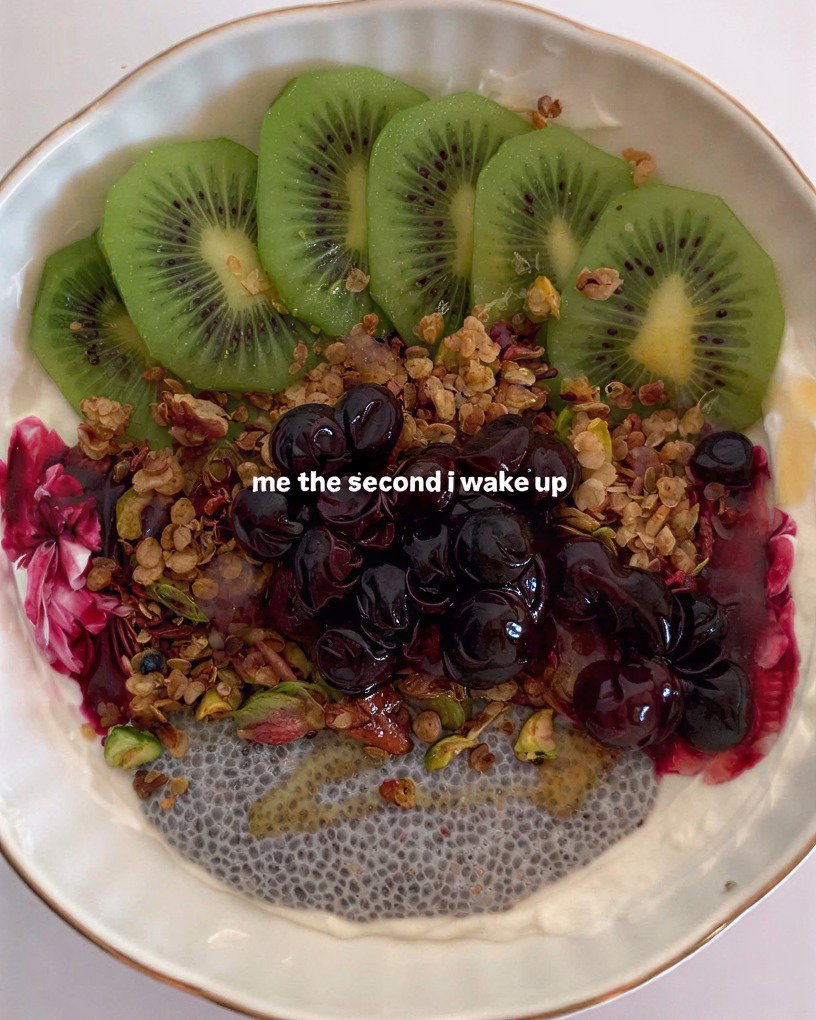
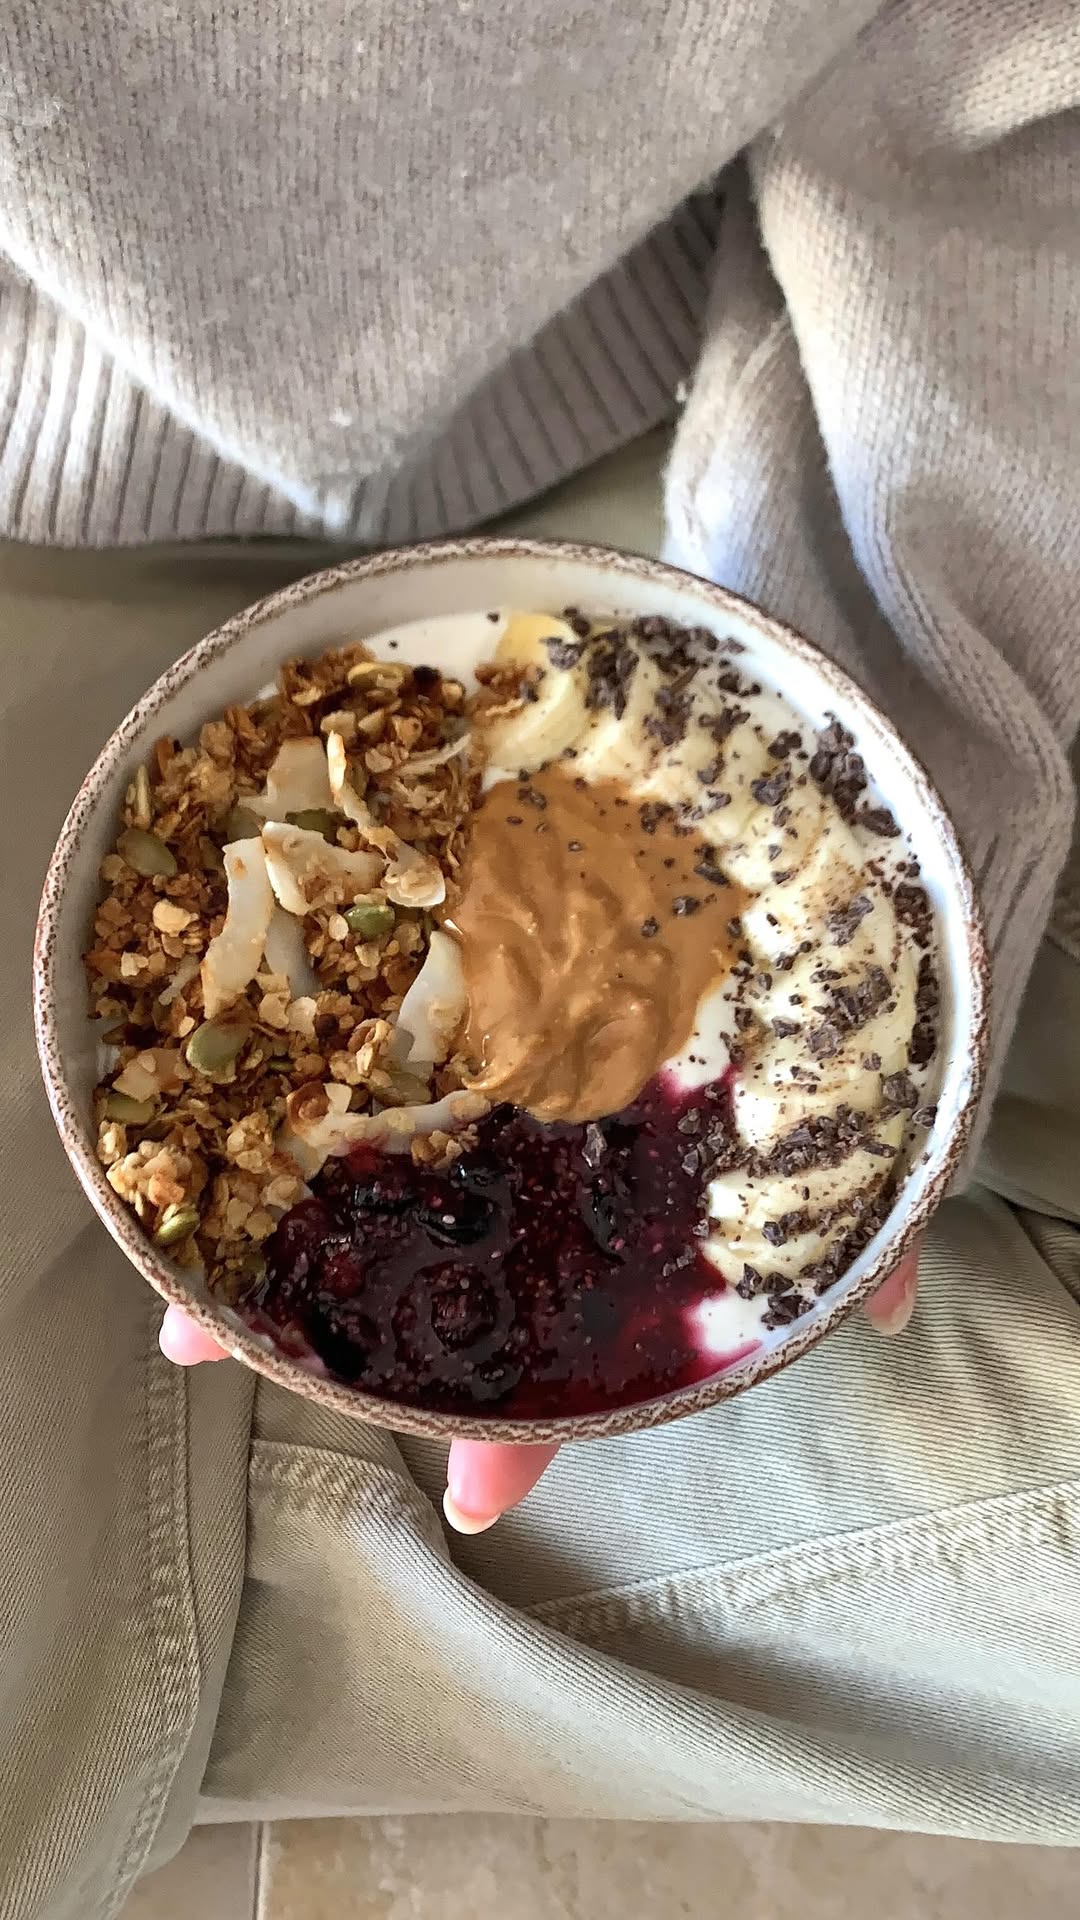
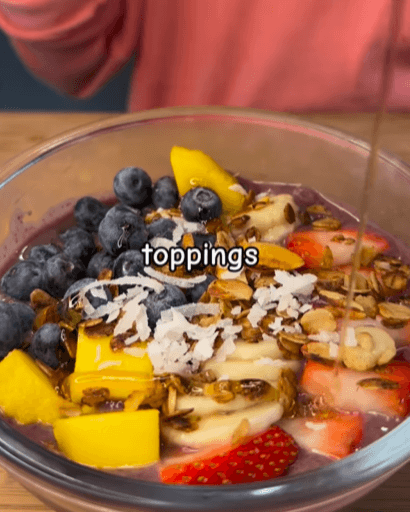
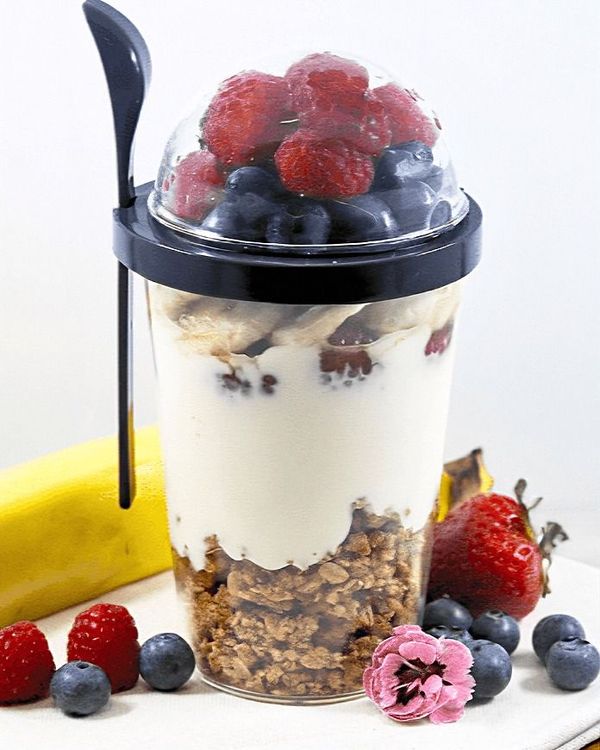
Here is where granola stops being a base and becomes a personality. The same toasted oats take on chocolate, warm pumpkin-spice, apple-cinnamon, ginger or tropical fruit with little more than a spice blend stirred into the syrup or an add-in folded through at the right moment. Timing is everything with flavorings: spices and cocoa can go into the raw mix, but chocolate chips and dried fruit always wait until the granola is fully cooled, or the chocolate seizes and clumps and the fruit turns hard and bitter under oven heat. Once you have a flavored tray, the parfait is its natural home. Layer the granola into a glass with thick yogurt and fresh fruit, but assemble it just before eating rather than ahead, because granola sitting in yogurt goes soft and soggy within minutes, and the whole appeal is the contrast of cool, creamy yogurt against crunchy clusters. Scatter it over smoothie bowls, baked fruit or oatmeal for texture too. Treat this group as proof that one good base recipe, dressed four different ways, can carry you from a quick weekday bowl clear through to something that feels like dessert. Standouts here include Strawberry Yogurt Bowl with Chia Pudding, Granola, and Blueberry Jam and Coffee Yogurt Bowl with Homemade Granola and Caramelised Banana, plus Greek Yogurt Bowl with Chia Pudding and Homemade Granola.

- Vegetarian
- Breakfast

- Vegetarian
- Breakfast
- Vegetarian
- Breakfast
- Vegetarian
- Breakfast

- Vegetarian
- Breakfast

- Vegetarian
- Breakfast

- Vegetarian
- Breakfast
- Global
- Vegetarian
- Breakfast

- Healthy
- Vegetarian
- Breakfast

- Healthy
- Vegetarian
- Breakfast
More Granola Favourites
A few granolas never quite fit a single category, and these are the ones worth keeping in your back pocket once the staples feel routine. They lean on the same handful of techniques you already know, a sticky well-coated mix, a low patient bake, a firm press for clusters and a full cool before breaking, but steer them toward different flavors, textures and formats so the jar never tastes the same twice. Picking your next one is mostly about matching effort to mood: reach for a quick stovetop or skillet granola on a busy morning when you want something in fifteen minutes, and save the big-batch, slow-baked cluster trays for a weekend when you can let them toast properly and cool undisturbed. Pay attention to how thick you spread the mix, too, since a thin layer crisps faster and more evenly while a deep slab gives bigger, chewier clumps. Watch the corners where nuts and seeds toast quickest, and remember that every one of these still crisps on cooling rather than in the oven. Think of this group as the natural next step after the classics, the recipes that quietly earn a regular spot in the rotation once you have tried them. Standouts here include Granola and Choco Coco Granola, plus Make Your Own Granola.
- International
- Vegetarian
- Breakfast

- Vegan
- Snack
- American
- Vegan
- Breakfast

- American
- Vegetarian
- Breakfast
- American
- Vegetarian
- Breakfast
Building Big, Craggy Clusters
Clusters do not happen by accident — they are engineered. The two things that make oats clump are a sticky liquid binder and pressure. Use a generous hand with your sweetener (honey, maple syrup or brown rice syrup all work; syrups that set firm give the biggest clumps) and enough oil or nut butter to coat every flake, then tip the mix onto the tray and press it down hard into an even, compacted slab with a spatula or the back of a measuring cup. Loose, fluffed granola bakes into loose granola; a pressed slab bakes into shards.
The single most important rule for clusters: do not stir too soon. Every stir breaks the slab apart before it has set, and you cannot un-break it. Bake the pressed tray undisturbed until the edges are golden, then resist touching it. If a recipe calls for a stir, save it for late and turn the tray in large sections rather than tossing it. A beaten egg white or a tablespoon of aquafaba folded through the raw mix is a baker's trick that glues clusters together as it sets.
Clusters firm up as they cool, not in the oven — granola comes out of a hot oven soft and feels worryingly limp. This is normal. Let the tray cool completely, untouched, on a rack or counter for at least thirty minutes to an hour; the sugars crystallize and the slab hardens into crisp sheets you then break into clusters by hand. Breaking it warm gives you crumbs. Patience at the cooling stage is the difference between rubble and the big, snappable clumps you actually want.
Baking Low and Slow Without Burning
Granola is dense with sugar and oil, which means it scorches fast and unevenly at high heat. Bake low — most reliable trays sit between 150 and 165C (300–325F) — so the moisture drives off and the oats toast through to a deep, even gold rather than browning on top while staying raw underneath. A higher oven gets you bitter, blackened edges and a pale, chewy centre. Low and slow is slower but almost foolproof, and it is what lets the clusters set without the sugar burning.
Spread the mix in an even layer on a large rimmed tray lined with parchment, and rotate the tray once halfway through so the hot spots even out. Nuts and seeds toast faster than oats and faster still at the tray's edges, so keep an eye on the corners. Add delicate ingredients late: shredded coconut and chopped nuts can burn if they bake the whole time, so for the deepest flavor without bitterness, stir them in for the final ten minutes rather than at the start.
Trust your nose and eyes over the timer. Granola is done when it smells toasty and looks a shade darker than golden all over — it will not be crisp yet, because it crisps on cooling, so do not keep baking to chase crunch or you will burn it. Dried fruit always goes in after baking, never before; raisins, cranberries and apricots turn hard and bitter in the oven. Fold fruit through the cooled, broken granola so it stays soft and chewy.
Granola Bars That Hold Together
Bars fall apart for one reason: not enough sticky binder, or not enough pressure. For no-bake bars, the binder is everything — a warmed mixture of nut butter and a syrup that sets firm (honey or brown rice syrup, gently heated until it just bubbles) coats the dry ingredients and glues them as it cools. Skip granulated sugar here; it will not bind. Stir until every oat and nut is slick and coated, with no dry pockets, before it goes in the pan.
Press, press, press. Tip the mixture into a parchment-lined pan and compact it as hard as you possibly can — use the flat base of a glass or a second sheet of parchment and lean your weight into it. Under-pressed bars crumble the moment you cut them. The mixture should look dense and tightly packed, not loose. For baked bars, the same pressing applies before they go in the oven, and they will firm further as they cool.
Chill before cutting, and cut clean. No-bake bars need at least an hour in the fridge (the freezer for thirty minutes works in a hurry) to let the binder fully set into a sliceable block. Lift the whole slab out by the parchment overhang, set it on a board, and cut with a sharp knife in firm, downward presses rather than a sawing motion that drags and crumbles. Wrap bars individually so they stay firm and portable, and keep no-bake bars refrigerated in warm weather so the binder does not soften.
Storage, Crunch and Serving
The enemy of crunchy granola is moisture and warmth. Cool every batch completely before it goes anywhere near a jar — sealing warm granola traps steam that turns the whole batch soft and stale within a day. Once cold and crisp, store it in a truly airtight container at room temperature, away from the stove and any humidity. Properly stored, plain granola stays crunchy for three to four weeks; one trick is to fold a folded paper towel or a few rice grains into the jar to absorb stray moisture.
Keep add-ins separate if you want maximum shelf life. Dried fruit and chocolate are best stirred in just before serving rather than stored mixed through, since fruit releases moisture that softens the oats over time and chocolate can melt and clump. For longer storage, granola freezes beautifully for up to three months in a sealed bag — it does not freeze solid, so you can scoop straight from the freezer and it crisps back up at room temperature in minutes.
Serving is where granola earns its keep. Layer it into a yogurt parfait with fruit just before eating so it stays crunchy rather than going soggy at the bottom; scatter it over smoothie bowls, oatmeal or baked fruit for texture; or eat it dry by the handful as trail mix. For cereal, pour the milk at the table and eat promptly. A good homemade granola is a building block — keep a jar on the counter and it ends up on half the things you make.
Pro Tips from the Test Kitchen
- Press the raw mix into a hard, compacted slab on the tray — loose granola bakes loose, a pressed slab bakes into clusters.
- Do not stir too soon: every early stir breaks the slab before it sets, and you cannot rebuild a cluster.
- Bake low, 150–165C (300–325F), so the oats toast through evenly instead of burning on top and staying raw beneath.
- Granola crisps as it cools, not in the oven — let the tray cool fully and untouched before you break it into clusters.
- Add dried fruit after baking, never before; it turns hard and bitter in the oven.
- Stir coconut and chopped nuts in for the last 10 minutes so they toast without scorching.
- A beaten egg white or a spoon of aquafaba folded through the mix glues big clusters together as it sets.
- For no-bake bars, warm the nut butter and syrup binder until it just bubbles so it coats everything and sets firm.
- Press bars as hard as you can and chill at least an hour before cutting, or they crumble.
- Cool granola completely before sealing the jar — warm granola traps steam and goes soft within a day.
Frequently Asked Questions
How do you get granola to clump into big clusters?
Three things: a sticky liquid sweetener (honey, maple or brown rice syrup), enough oil or nut butter to coat every oat, and pressure. Press the raw mix into a compacted slab on the tray rather than spreading it loose, bake it undisturbed without stirring too soon, then let it cool completely before breaking it by hand. A folded-in egg white or aquafaba helps glue the clumps. Clusters set on cooling, so patience is half the trick.
Why is my granola not crunchy?
Almost always one of two things: it was not baked long enough at a low enough temperature to drive off the moisture, or it was sealed up while still warm. Bake low and slow until it smells toasty and looks evenly golden, then cool it completely on the tray — granola is soft straight from the oven and only crisps as it cools. Store it airtight once cold; trapped steam from warm granola turns the whole jar stale.
What temperature should I bake granola at?
Low — around 150 to 165C (300 to 325F). Granola is full of sugar and oil that burn quickly, so a hot oven scorches the top and edges before the oats toast through. The lower heat dries and toasts everything evenly and lets the clusters set without the sugar blackening. Rotate the tray halfway and judge doneness by colour and smell rather than the clock; it will not feel crisp until it cools.
Why does my granola burn?
Usually the oven is too high, the tray was not rotated, or you kept baking to chase crunch. Granola crisps as it cools, not in the oven, so baking until it feels hard guarantees burnt sugar and bitter, blackened edges. Drop to 150–165C, rotate the tray, watch the corners where nuts and seeds toast fastest, and pull it when it is a shade past golden and smells toasty rather than waiting for it to harden.
When should I add dried fruit to granola?
Always after baking, never before. Raisins, cranberries, apricots and other dried fruit turn hard, leathery and bitter under oven heat. Bake the oats, nuts and seeds on their own, let the granola cool, then fold the dried fruit through the broken clusters so it stays soft and chewy. The same goes for chocolate, which should be stirred in once everything is fully cool so it does not melt.
How long does homemade granola last?
Stored properly — cooled completely, then sealed in a truly airtight container at room temperature away from heat and humidity — plain granola stays crunchy for three to four weeks. Granola with dried fruit or chocolate mixed through has a shorter window because the fruit releases moisture, so add those just before serving if you can. For longer storage, freeze it in a sealed bag for up to three months and scoop straight from frozen.
Why do my granola bars fall apart?
Not enough sticky binder, or not enough pressure. For no-bake bars, warm a nut-butter-and-syrup mixture until it just bubbles and coat every oat so there are no dry pockets; granulated sugar will not bind. Then press the mix into the pan as hard as you possibly can and chill it at least an hour so the binder sets into a sliceable block. Cut with firm downward presses, not a sawing motion that crumbles the edges.
Can I make granola without oil?
Yes. Oil helps with crispness and browning, but you can swap it for extra nut butter, mashed banana, applesauce or just lean harder on a sticky syrup to coat the oats. Oil-free granola tends to be a little less shattery and can clump more, so bake it low, spread it thin and watch it closely, since it browns faster without the fat buffering the heat. Cool it fully before judging the crunch.
How do I make granola healthier or lower in sugar?
Cut the sweetener back gradually — most recipes have far more than they need — and lean on naturally sweet add-ins like dried fruit, banana or a little cinnamon and vanilla to compensate. Increase the ratio of nuts and seeds to oats for more protein and good fats, use a less-refined sweetener like maple or date syrup, and skip the chocolate. For grain-free or keto versions, replace the oats entirely with chopped nuts, seeds and coconut flakes.
Is homemade granola actually good for you?
It can be much better than store-bought, because you control the sugar and oil, which is where commercial granola tends to go heavy. Made with plenty of nuts, seeds and oats and a restrained hand on the sweetener, granola is a good source of fibre, protein and healthy fats. It is still calorie-dense, though, so portion it sensibly — a serving is a small handful, not a cereal bowl heaped to the brim. Pair it with yogurt and fruit for a balanced breakfast.
The thread through every granola recipe here is the same: a sticky, well-coated mix, a low and patient bake, and a full cooling before you touch it. Master those few moves in the guides — press for clusters, bake low to avoid burning, add fruit after, cool before sealing — and big-cluster classics, bars, low-sugar blends and flavored trays all fall into place.
Pick three to make this week — a craggy nutty cluster, a batch of bars and one lighter blend — and save your favorites to a Chefadora cookbook. Then work through the rest; this page is built to be the granola reference you actually come back to.
Related
- Granola
- Breakfast
- Oats
- Healthy
- Snacks
- Make Ahead
- Vegetarian
- Meal Prep
Popular Searches
- Best granola recipes
- Easy granola recipes
- Quick granola recipes
- Healthy granola recipes
- Simple granola recipes
- Homemade granola recipes
- Delicious granola recipes
- Popular granola recipes
- homemade granola
- granola bars
- healthy granola
Marnirni-apinthi Building, Lot Fourteen,
North Terrace, Adelaide, South Australia, 5000
Australia
