We use cookies on this website to ensure its proper functioning and to improve the quality of our services. Cookie Policy
Tags and nutritional info are auto-generated and may be inaccurate. Always check the full ingredient list before cooking.
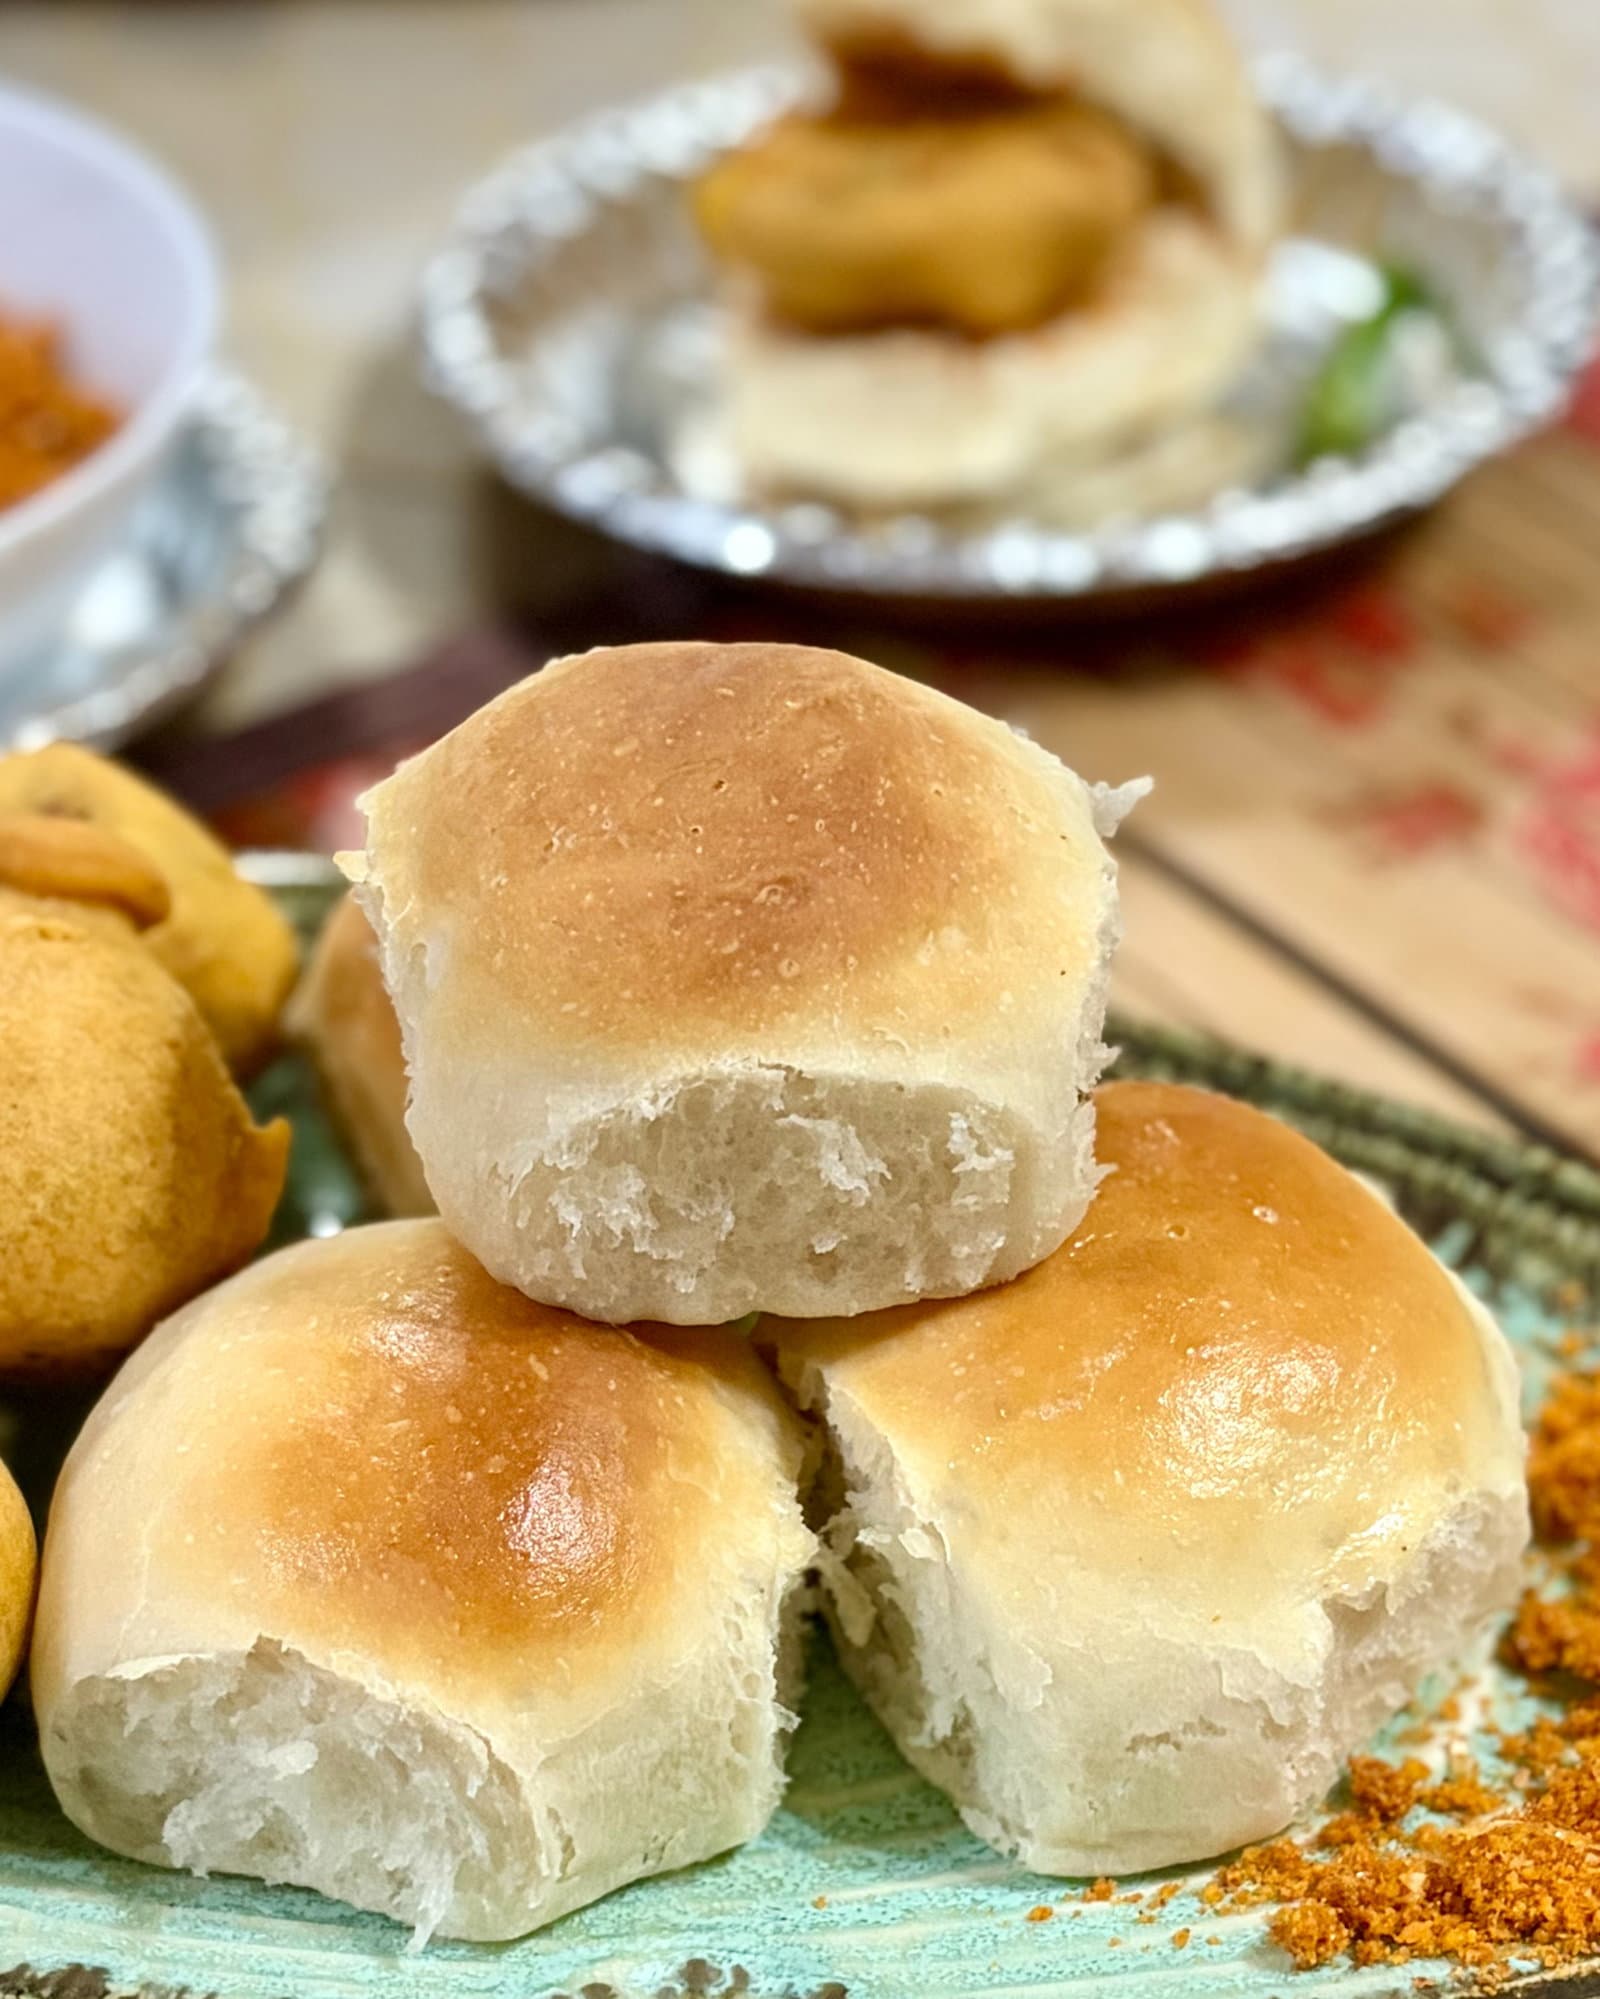
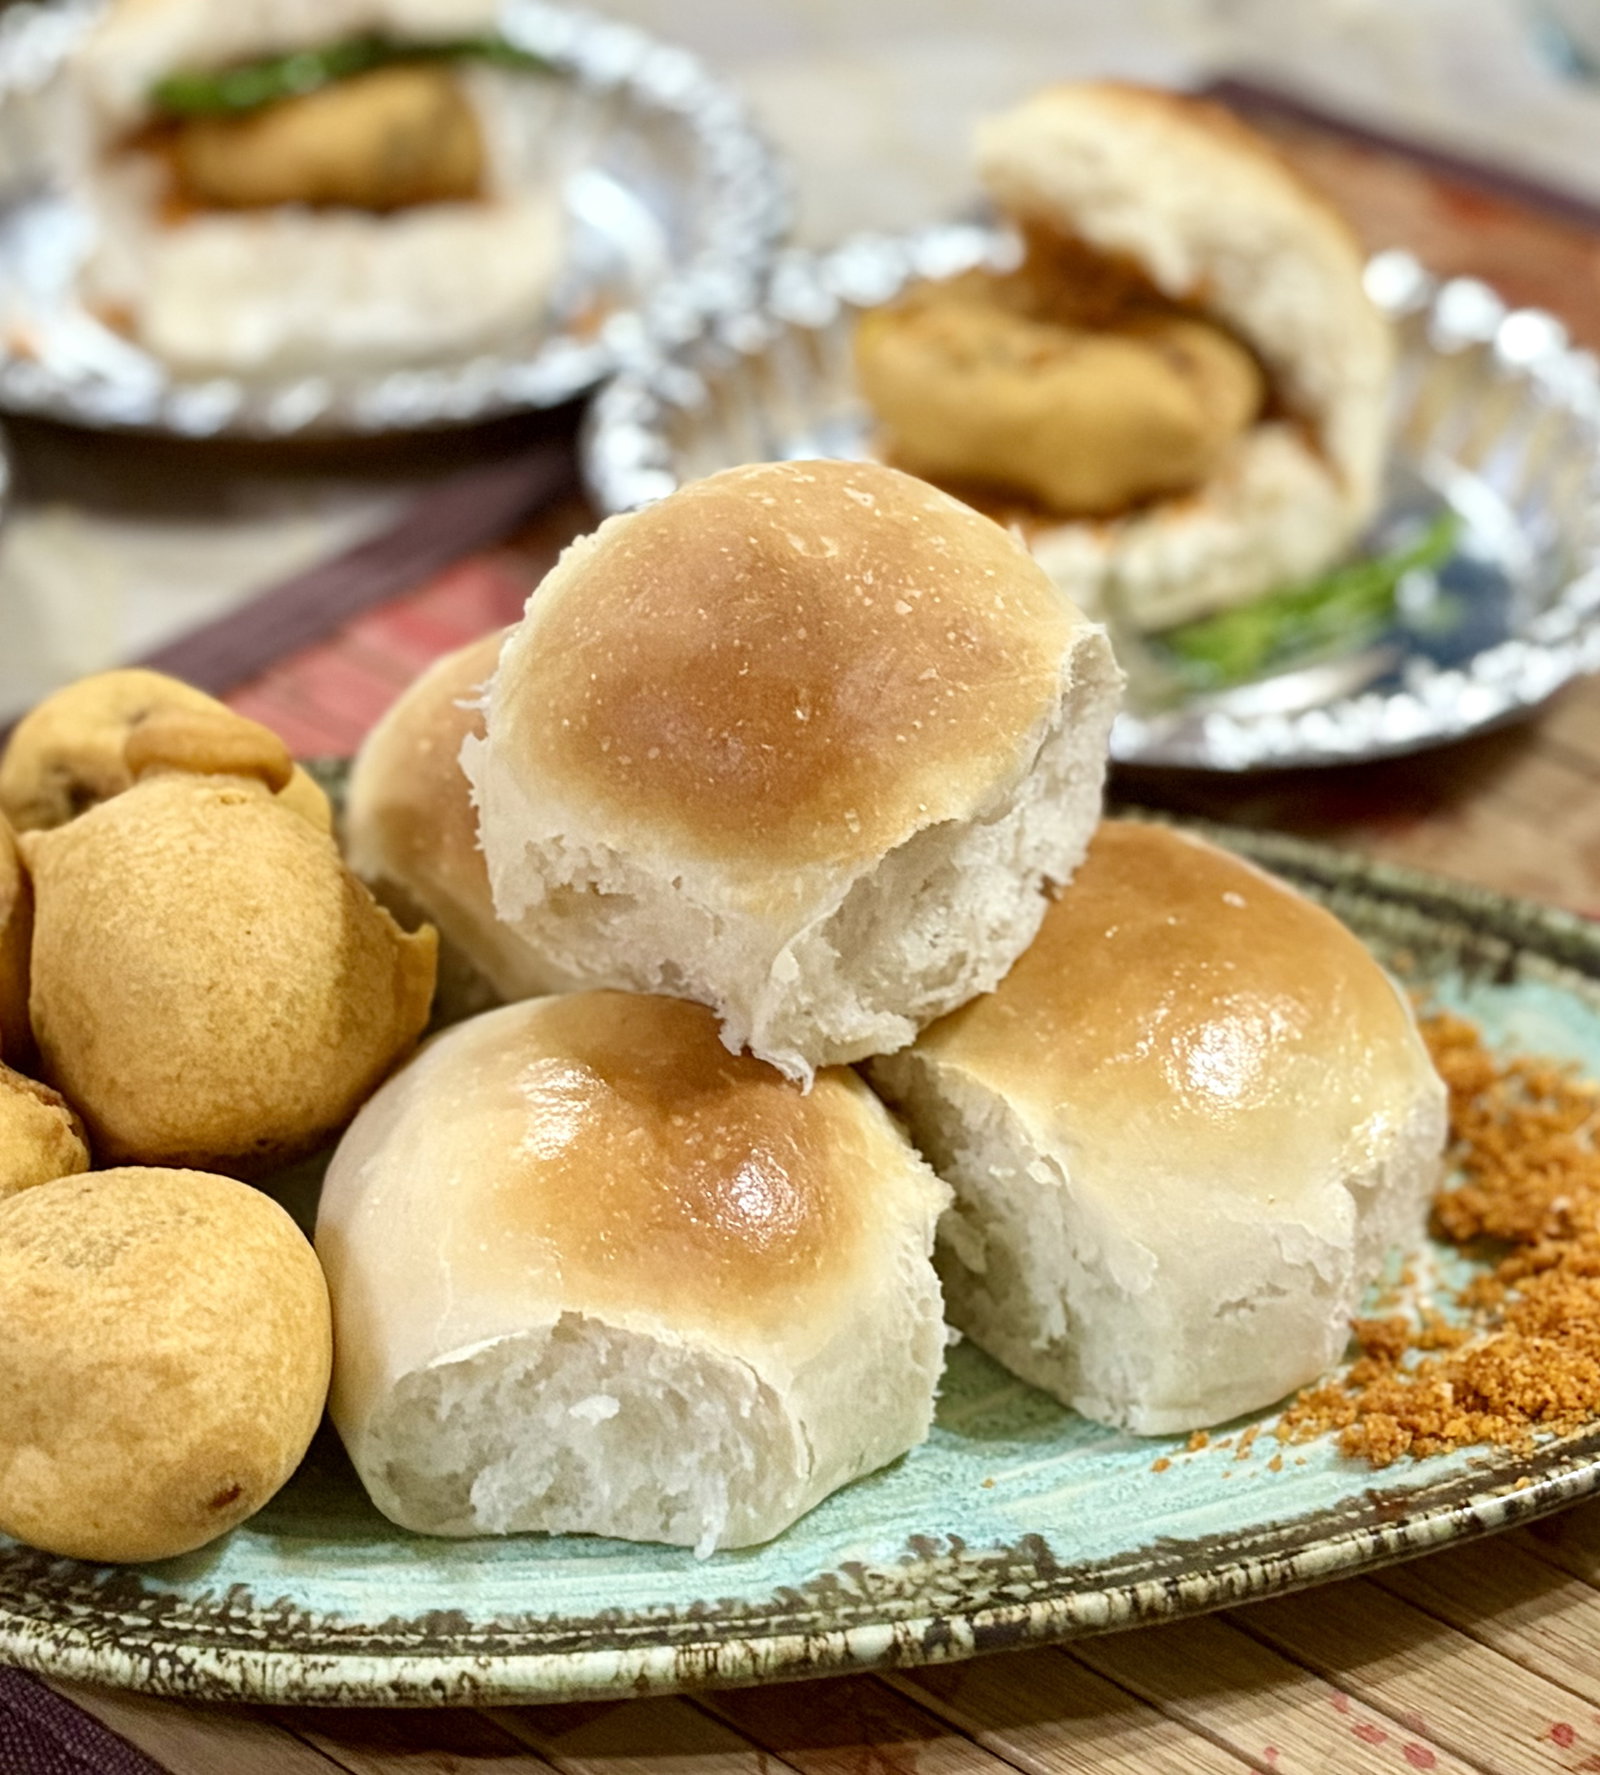
Nothing beats the aroma of freshly baked Mumbai Ladi Pav at home. These incredibly soft, fluffy, and eggless Indian bread rolls are a must-have for iconic street food dishes like Pav Bhaji, Vada Pav, and Misal Pav. If you are new to Indian baking, you might wonder what makes this bread so unique. The secret is in the name: "Ladi" means "string" or "batch," referring to soft bread rolls baked together in a connected slab, so you...
Chefadora AI has the answer - timers, swaps, step-by-step help.
Want to keep this recipe for later? We can email it to you!
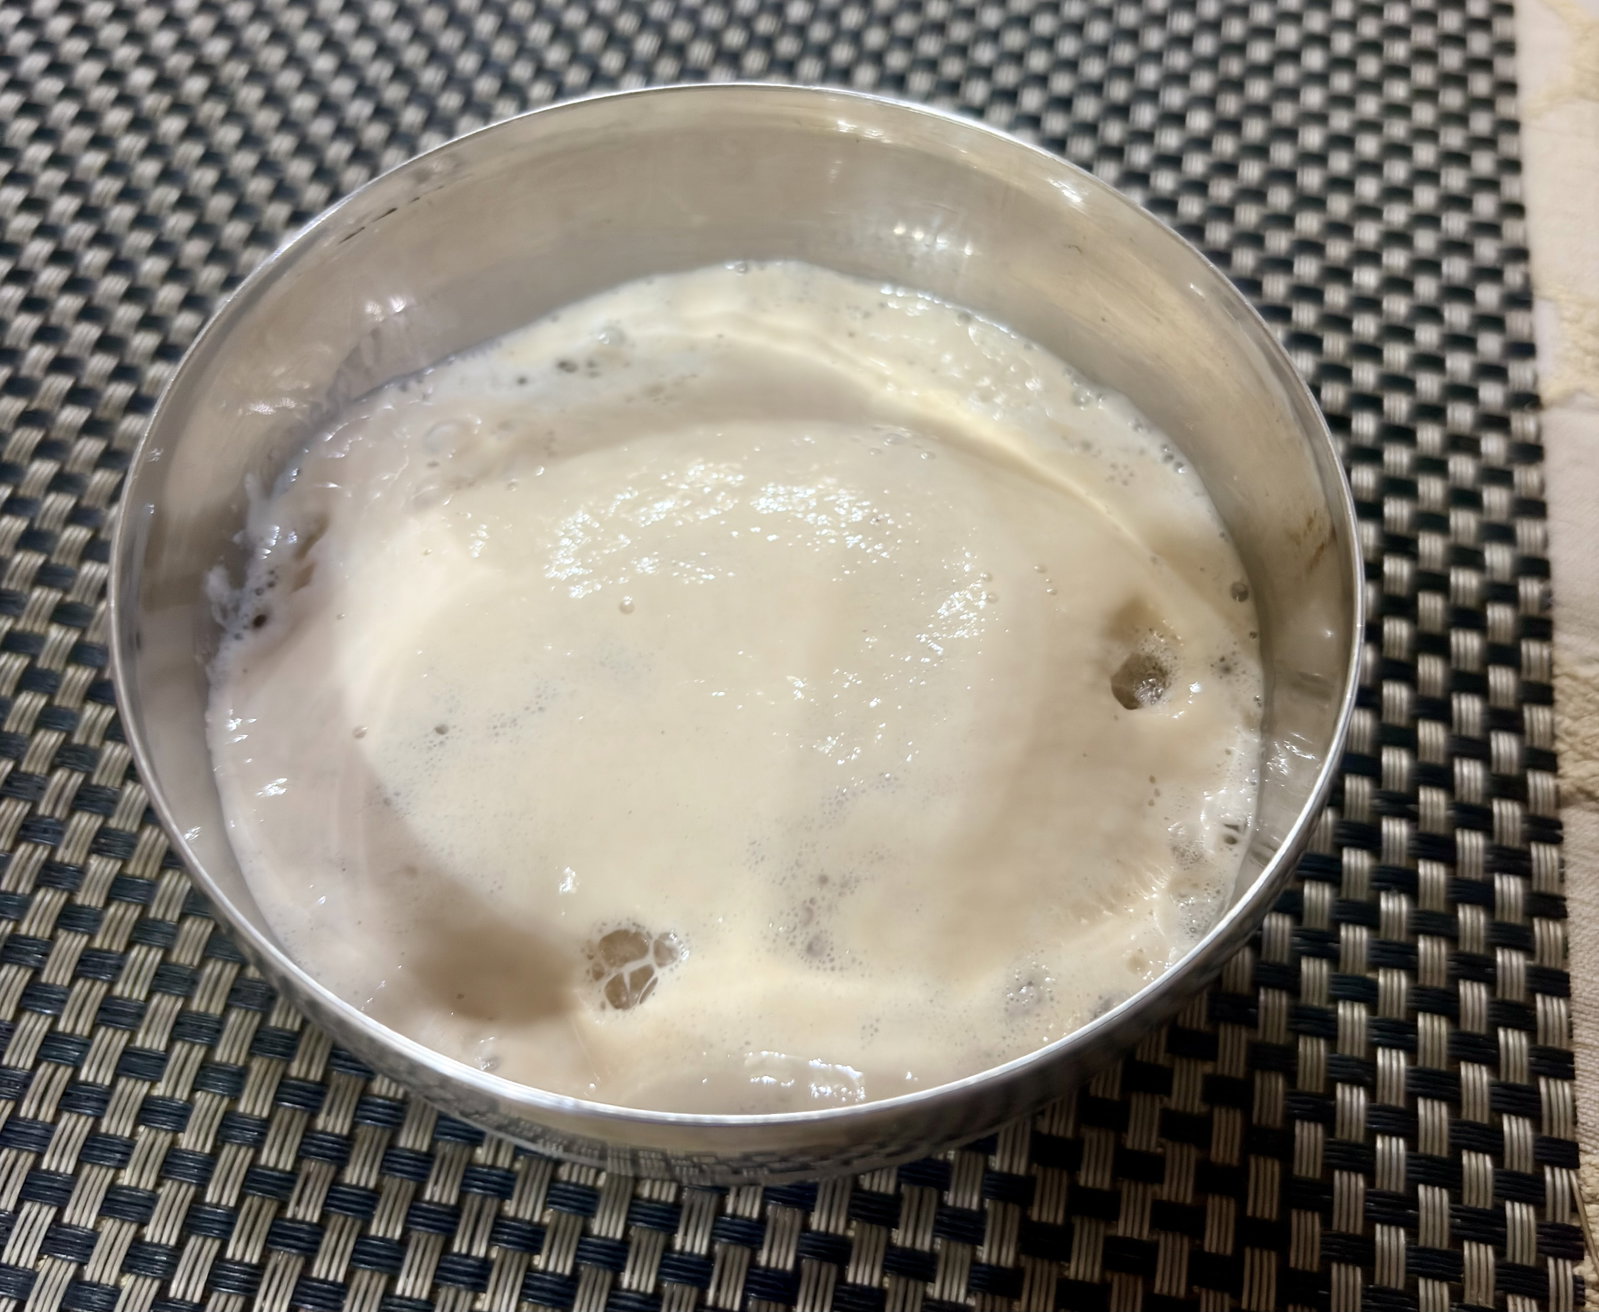
In a small bowl, mix the active dry yeast, sugar, and 2 tablespoons of the measured lukewarm water.
Let it sit undisturbed for 8–10 minutes, or until the mixture becomes frothy and bubbly.
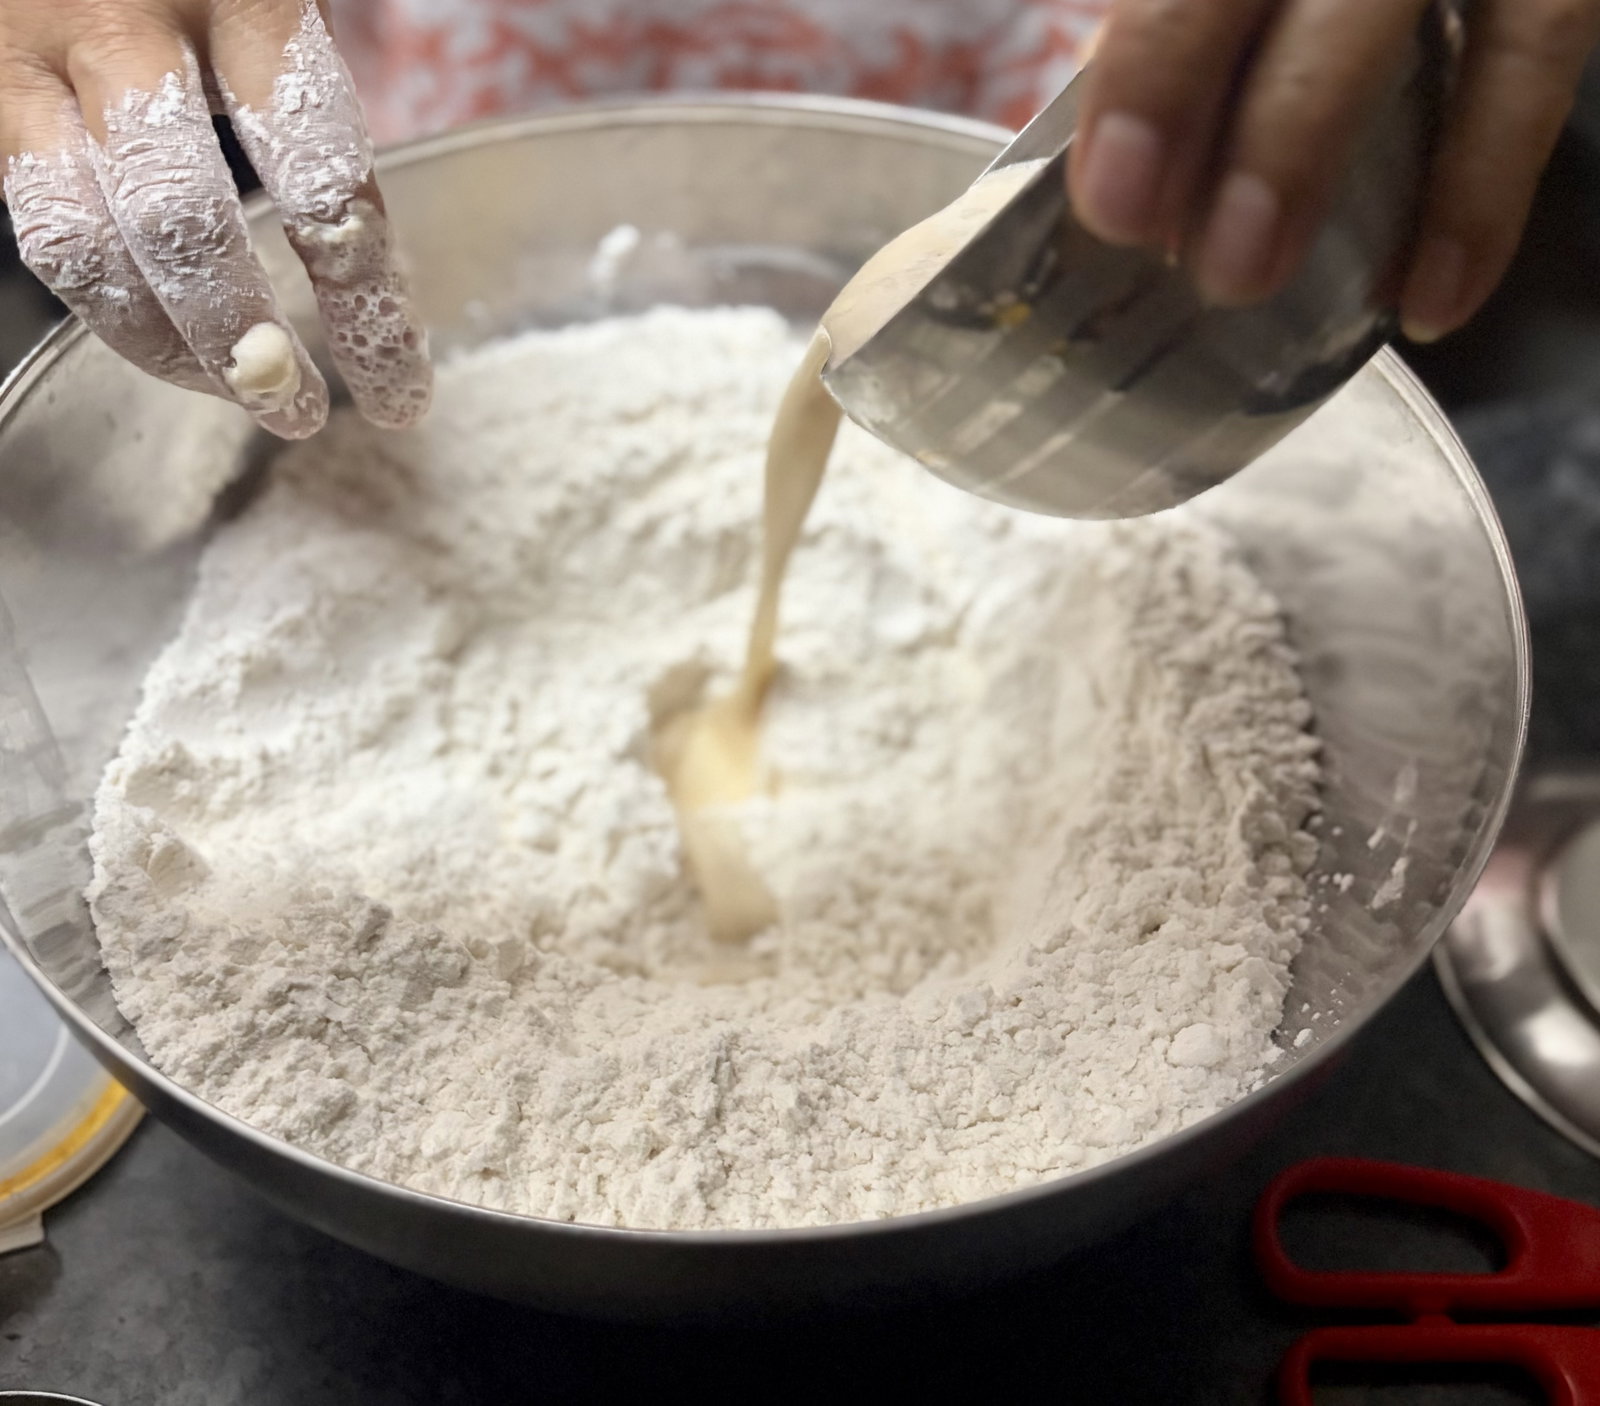
Combine flour and salt in a large mixing bowl.
Pour in the frothy yeast mixture, then gradually add the remaining lukewarm water to form a soft, sticky dough.
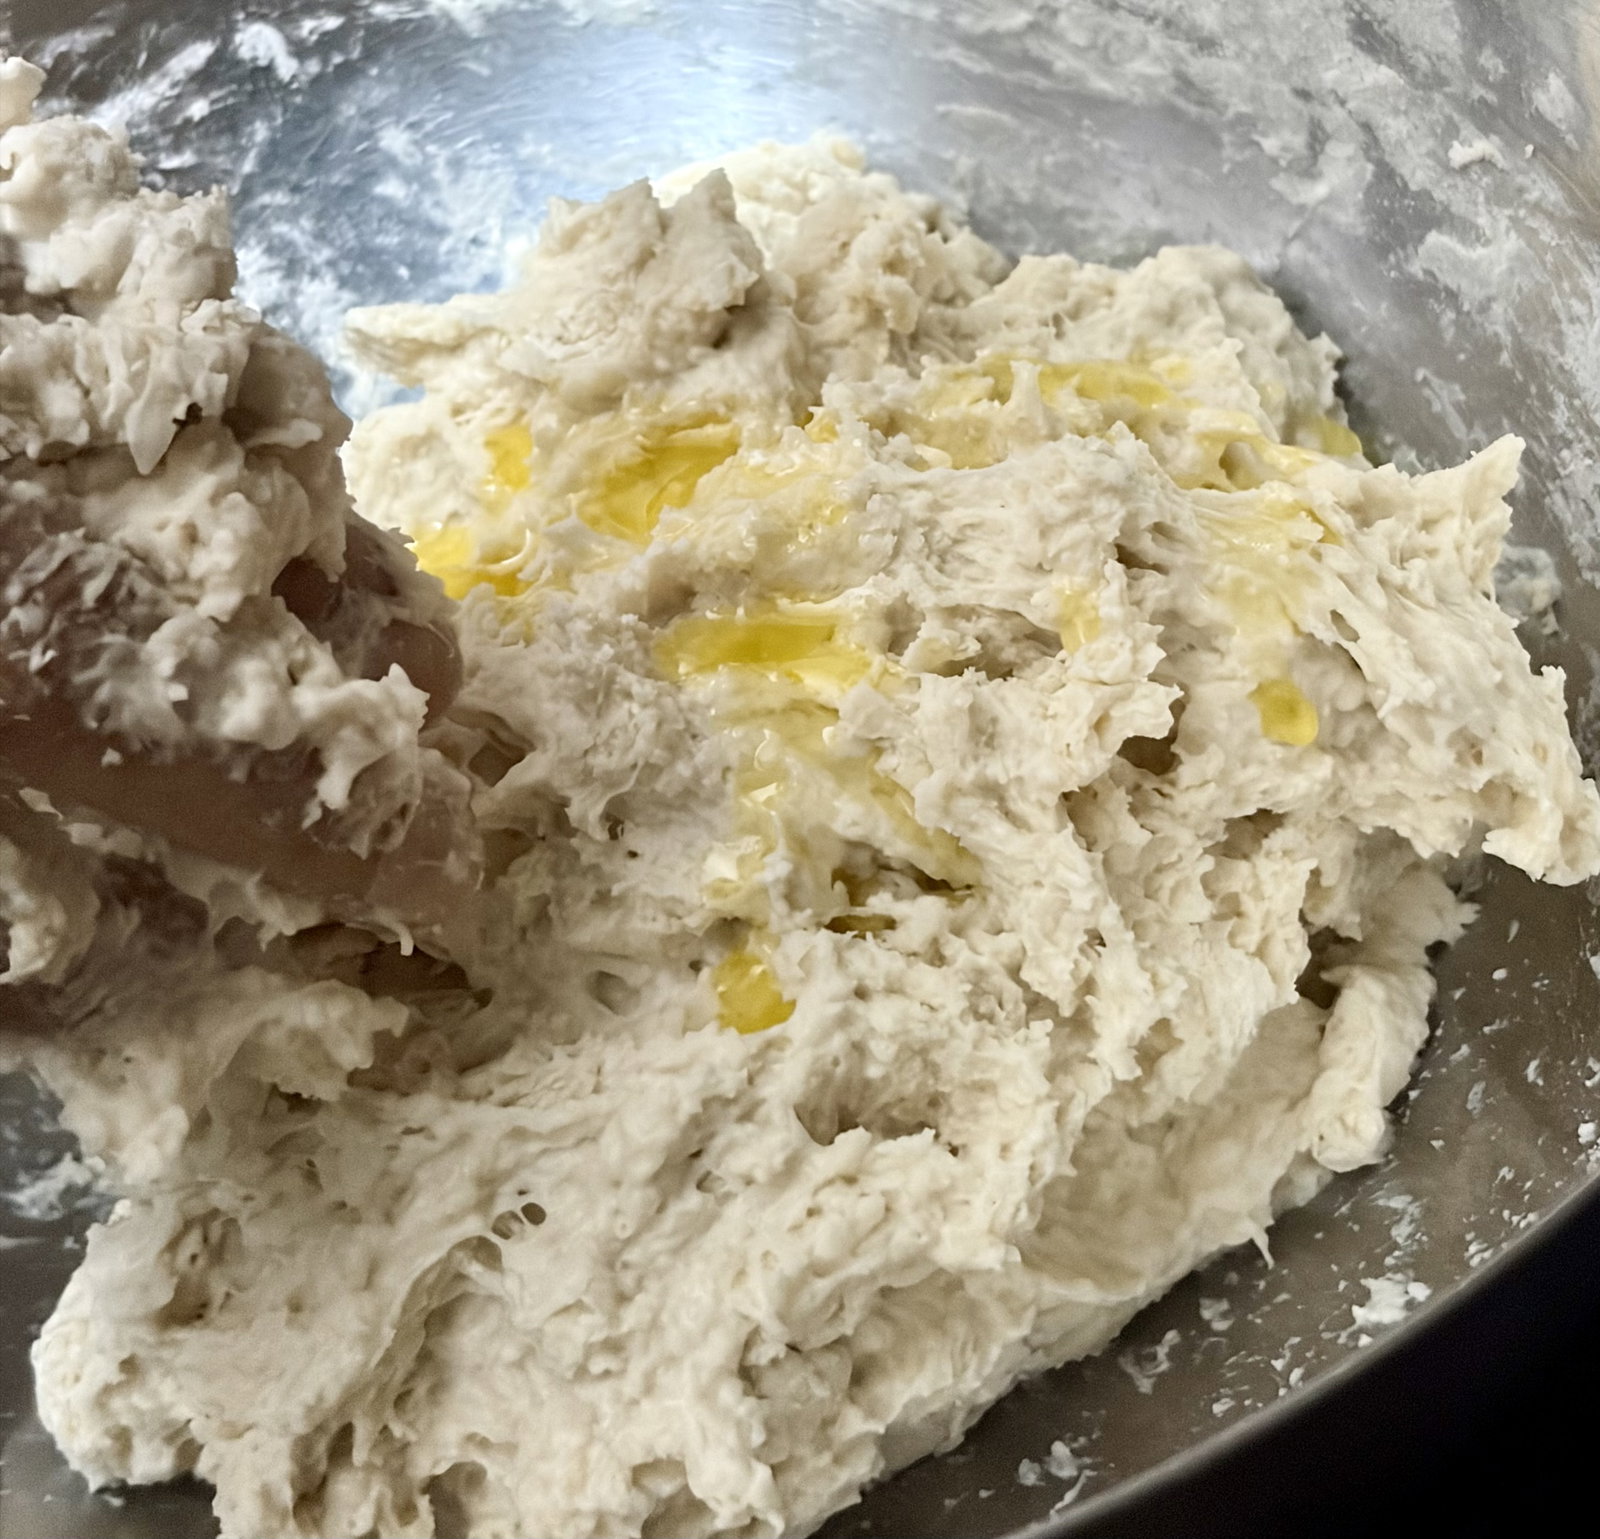
Add melted butter and knead vigorously for 8–10 minutes until the dough becomes smooth and elastic.
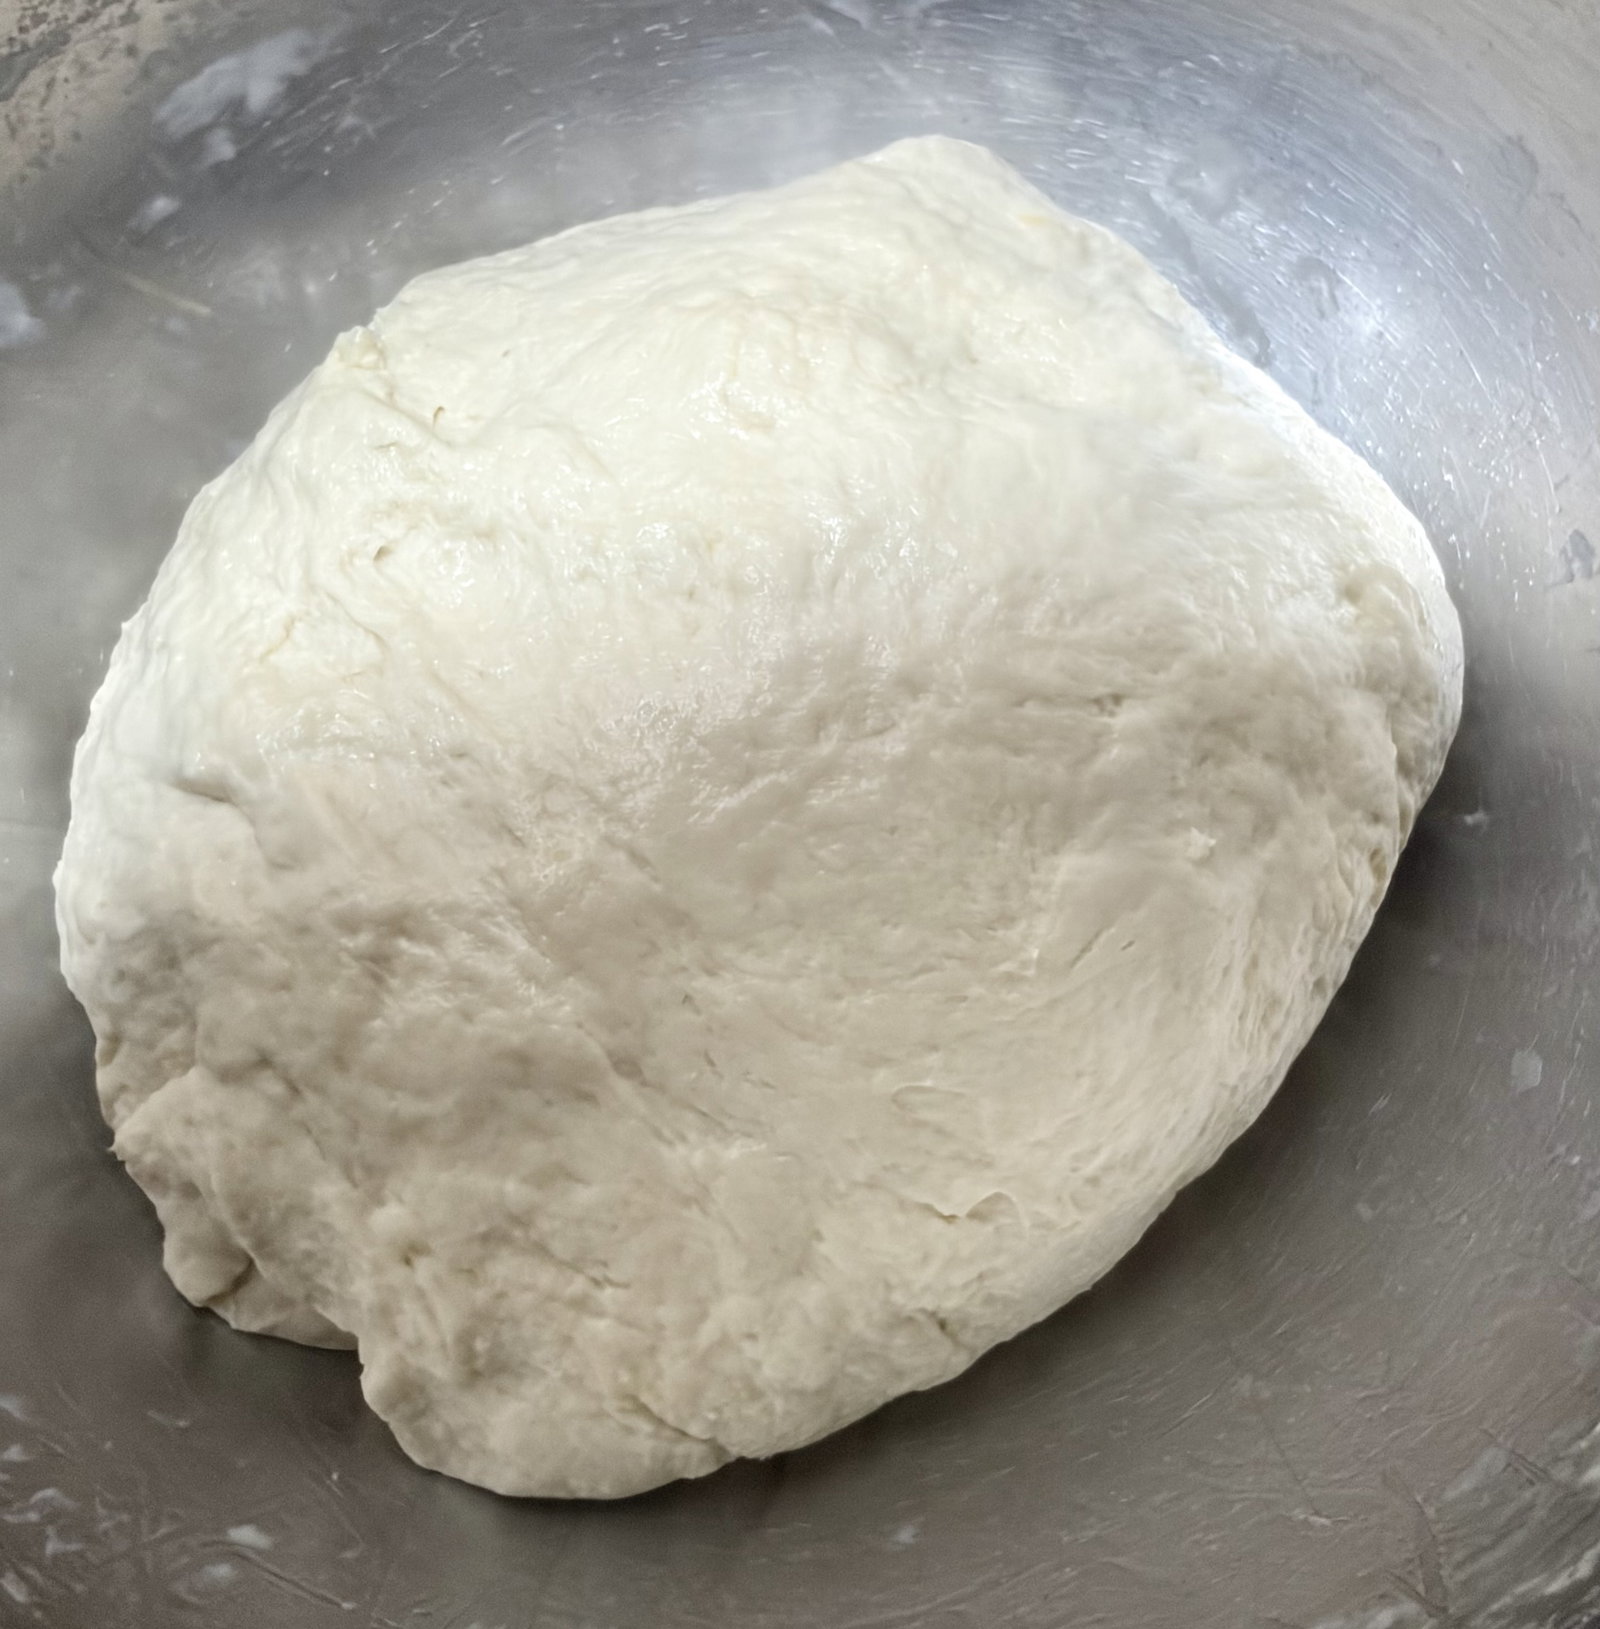
Shape the dough into a ball and lightly grease the surface with a little oil to prevent it from drying.
Cover the bowl with a damp cloth or cling film. Place it in a warm spot for 45 minutes to 1 hour, or until it has doubled in size.
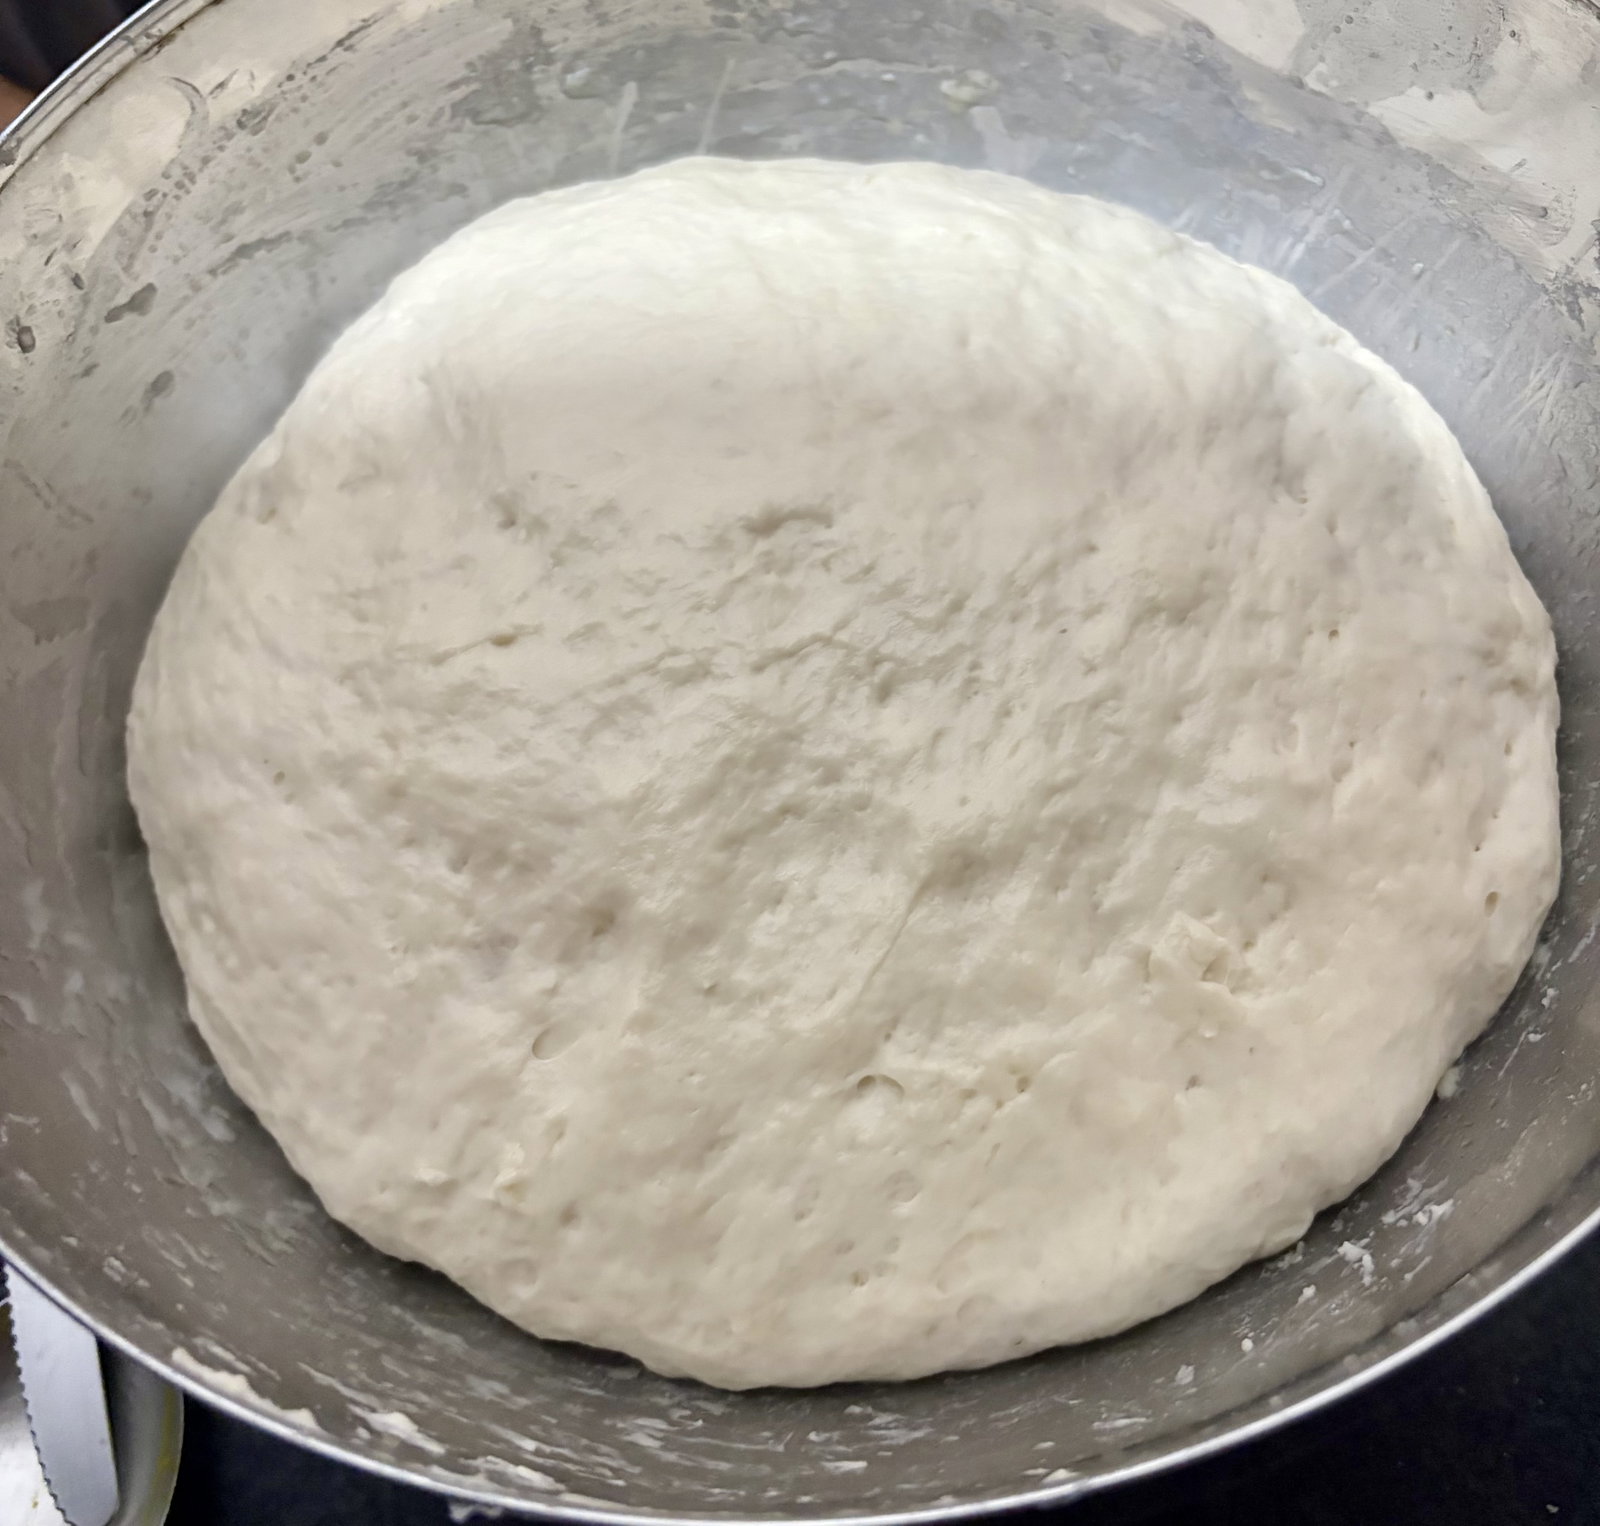
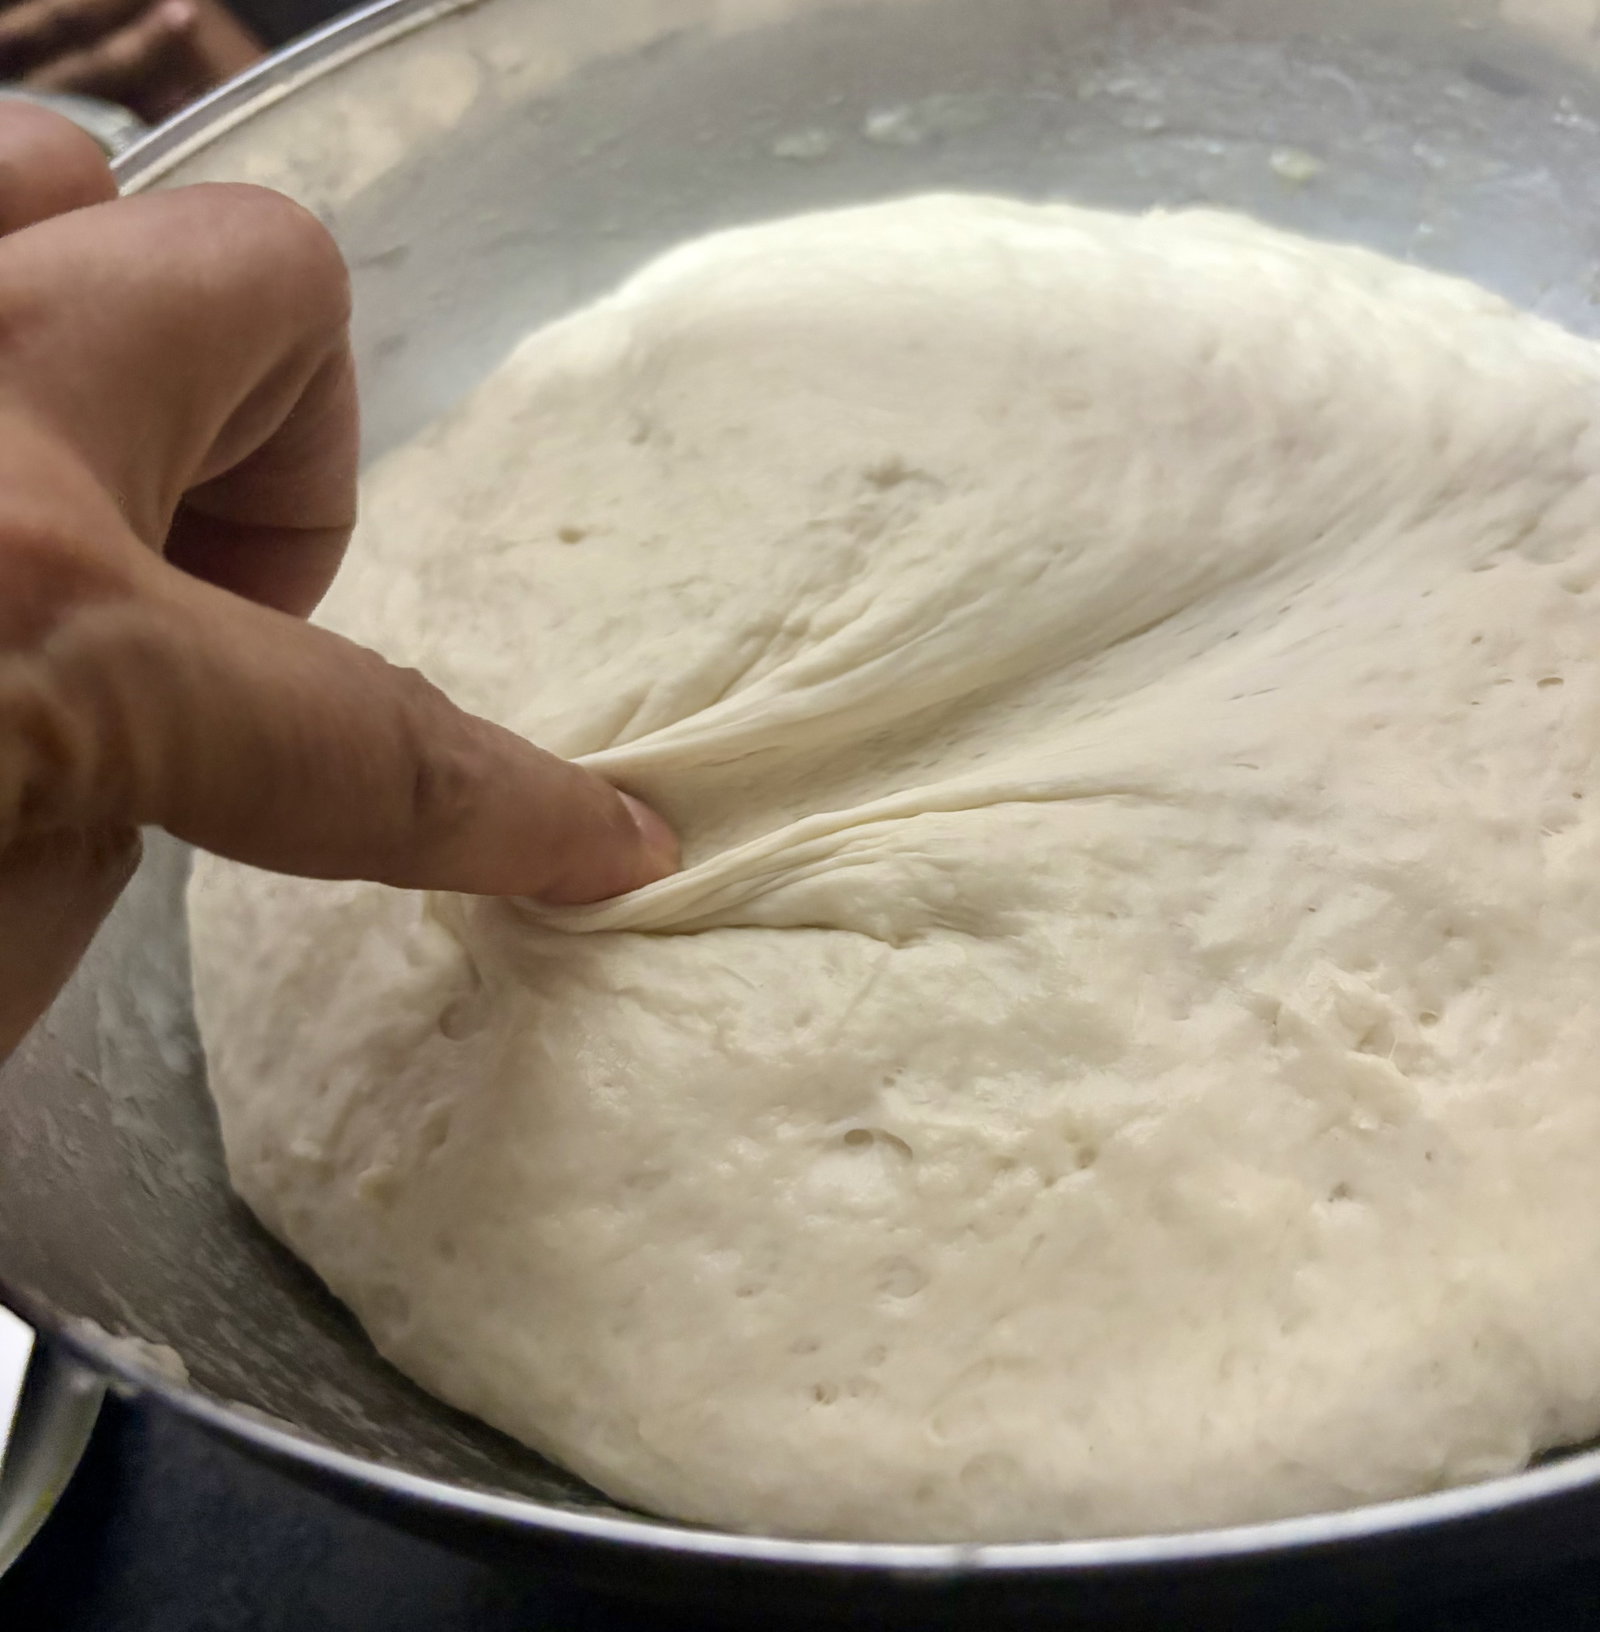
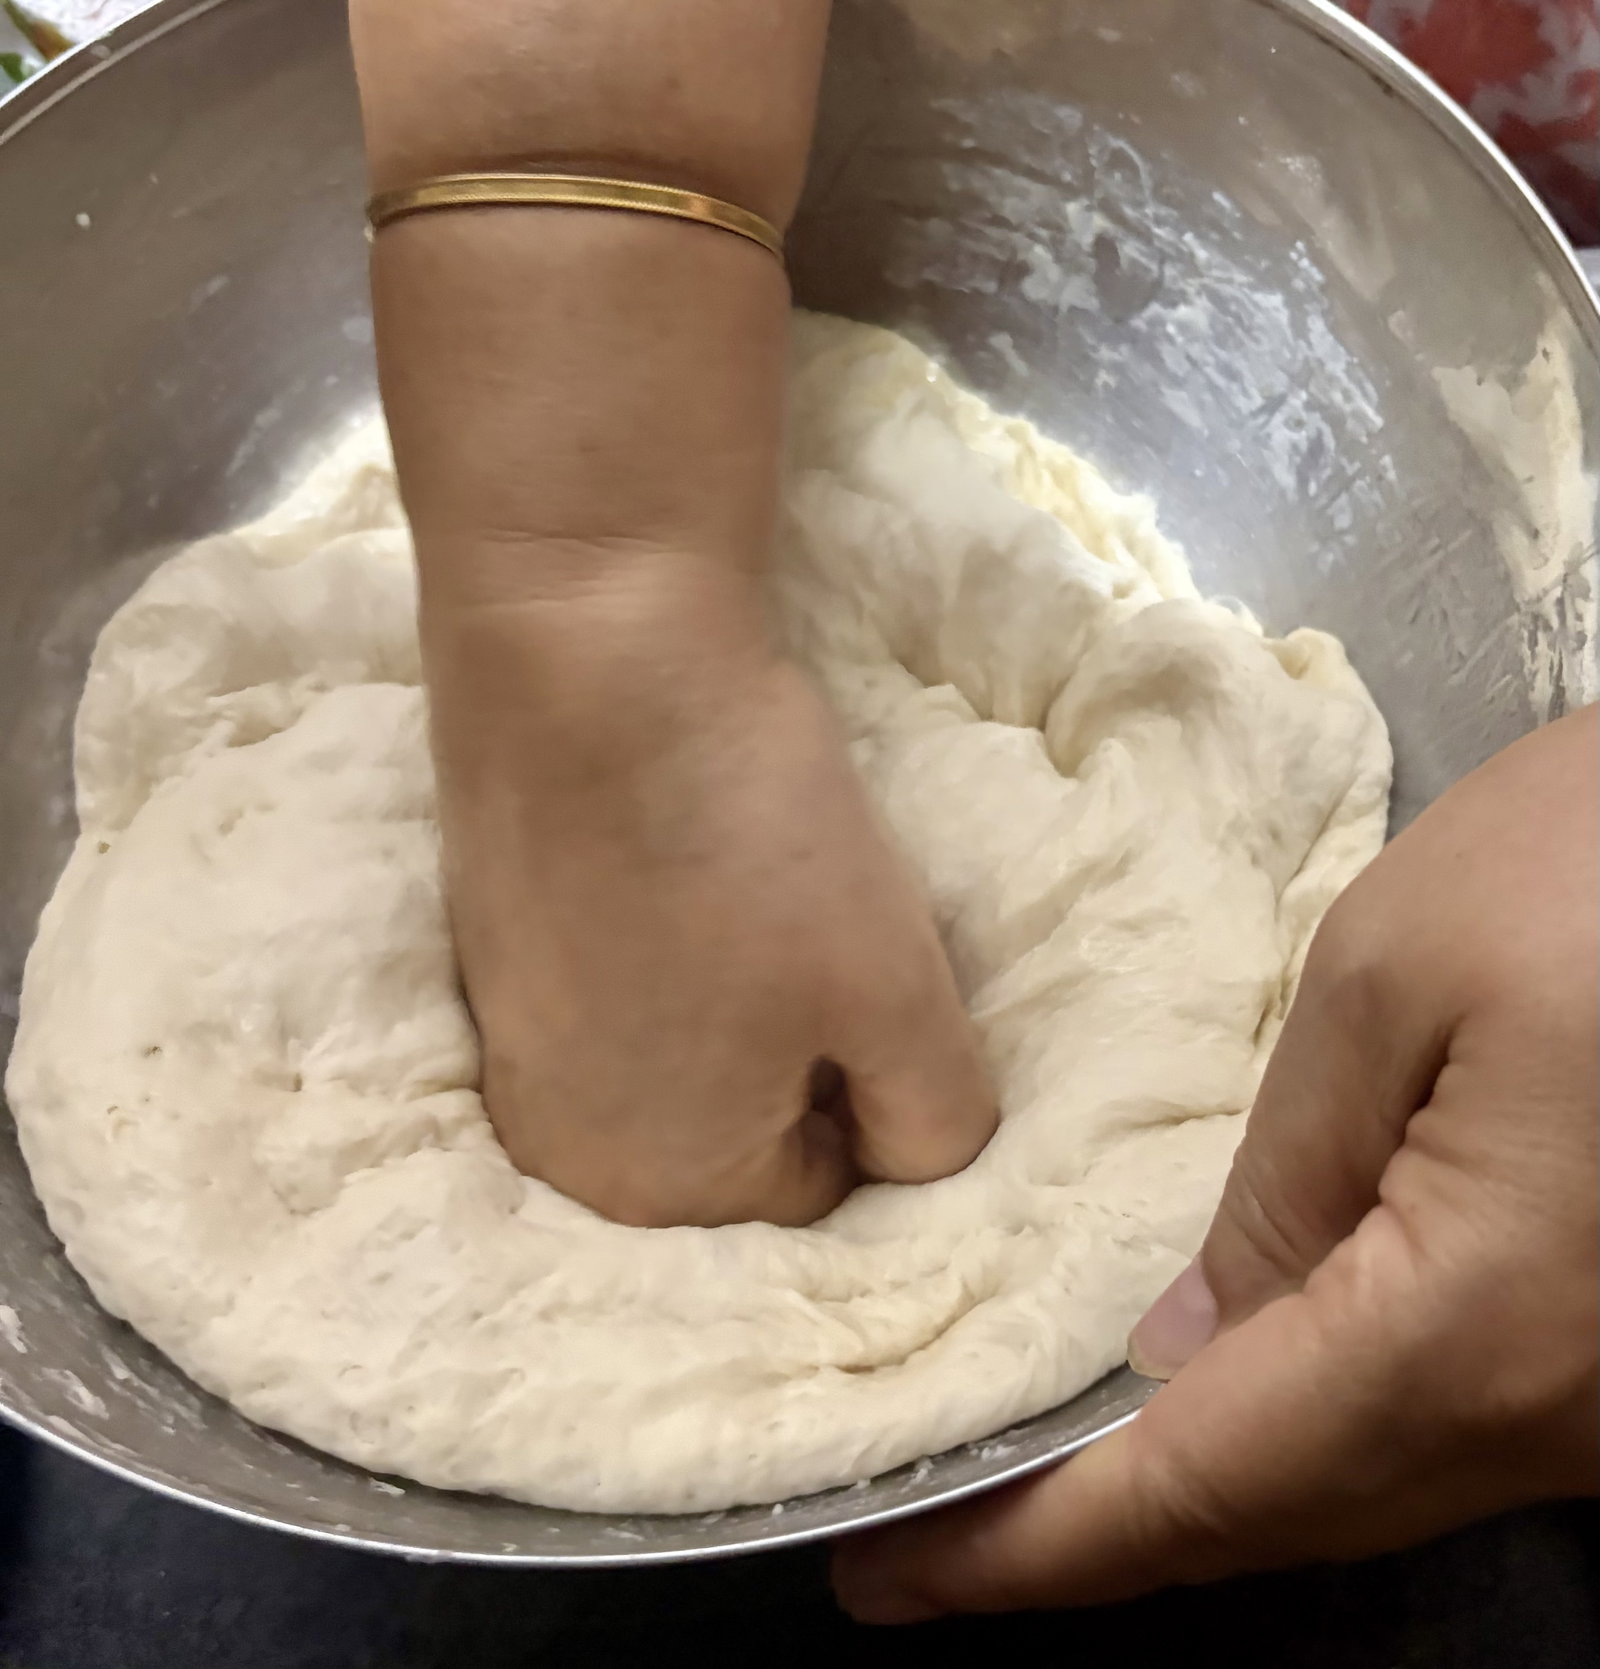
Gently punch the risen dough to release the trapped air.
Grease a small baking tray and lightly dust it with flour.
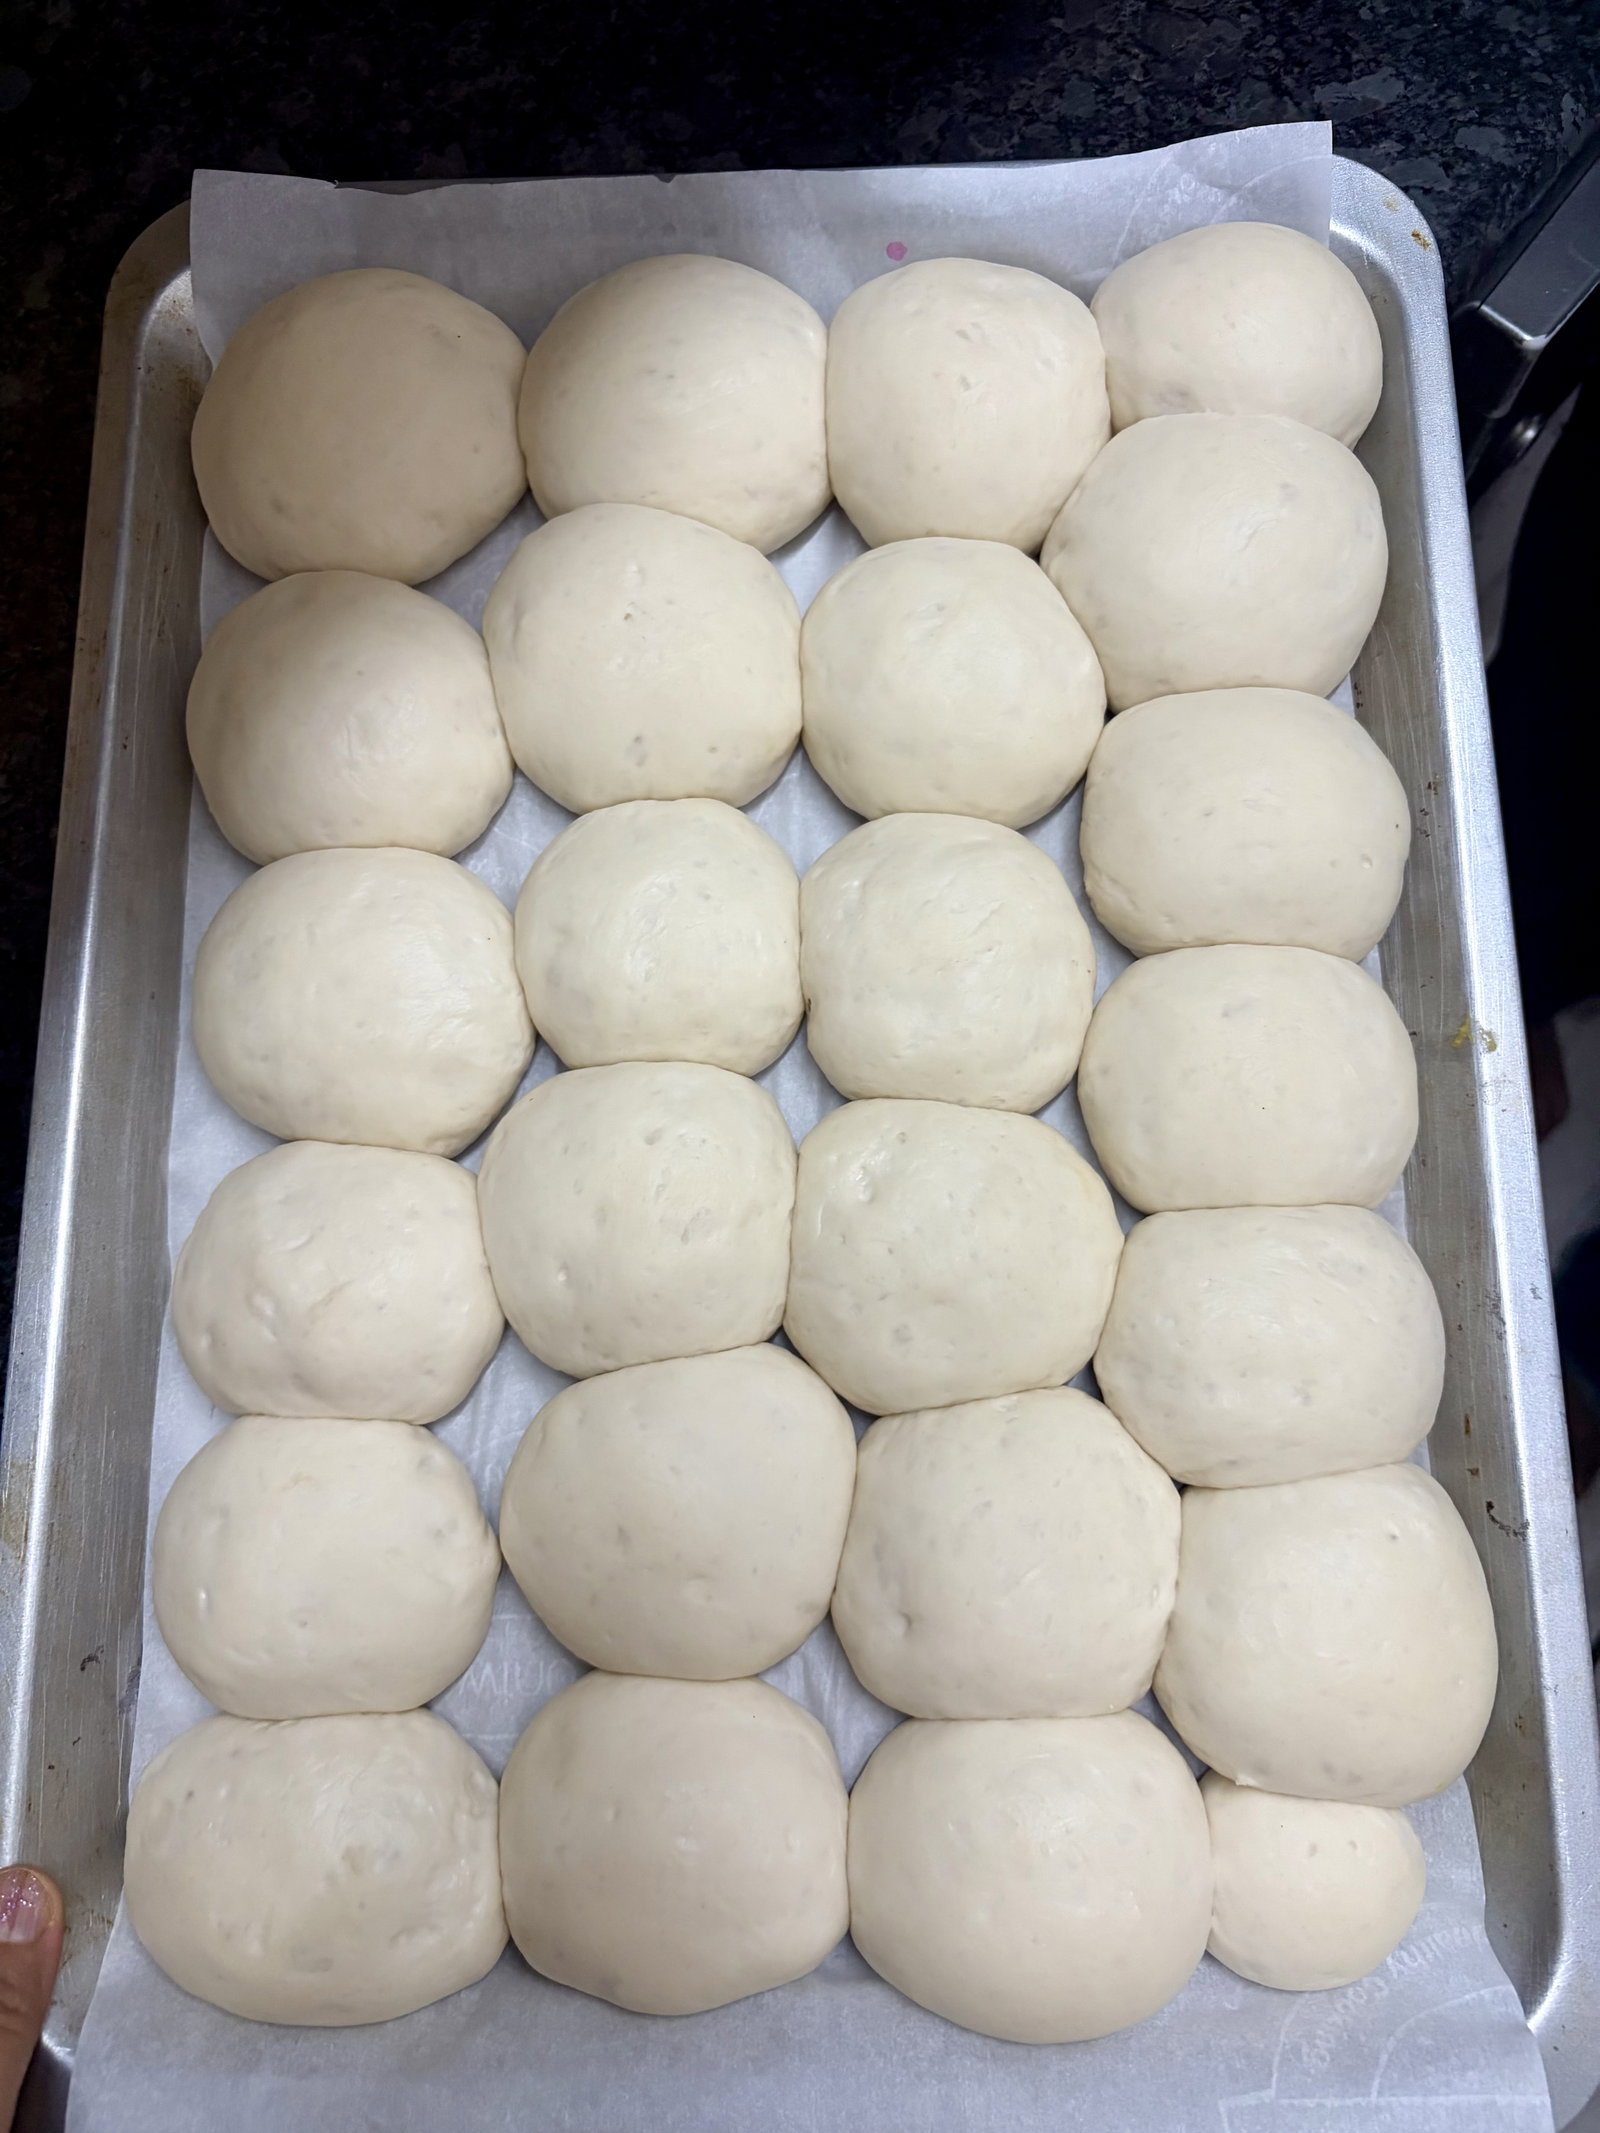
Divide the dough into 6-8 equal portions and roll into smooth, crack-free balls.
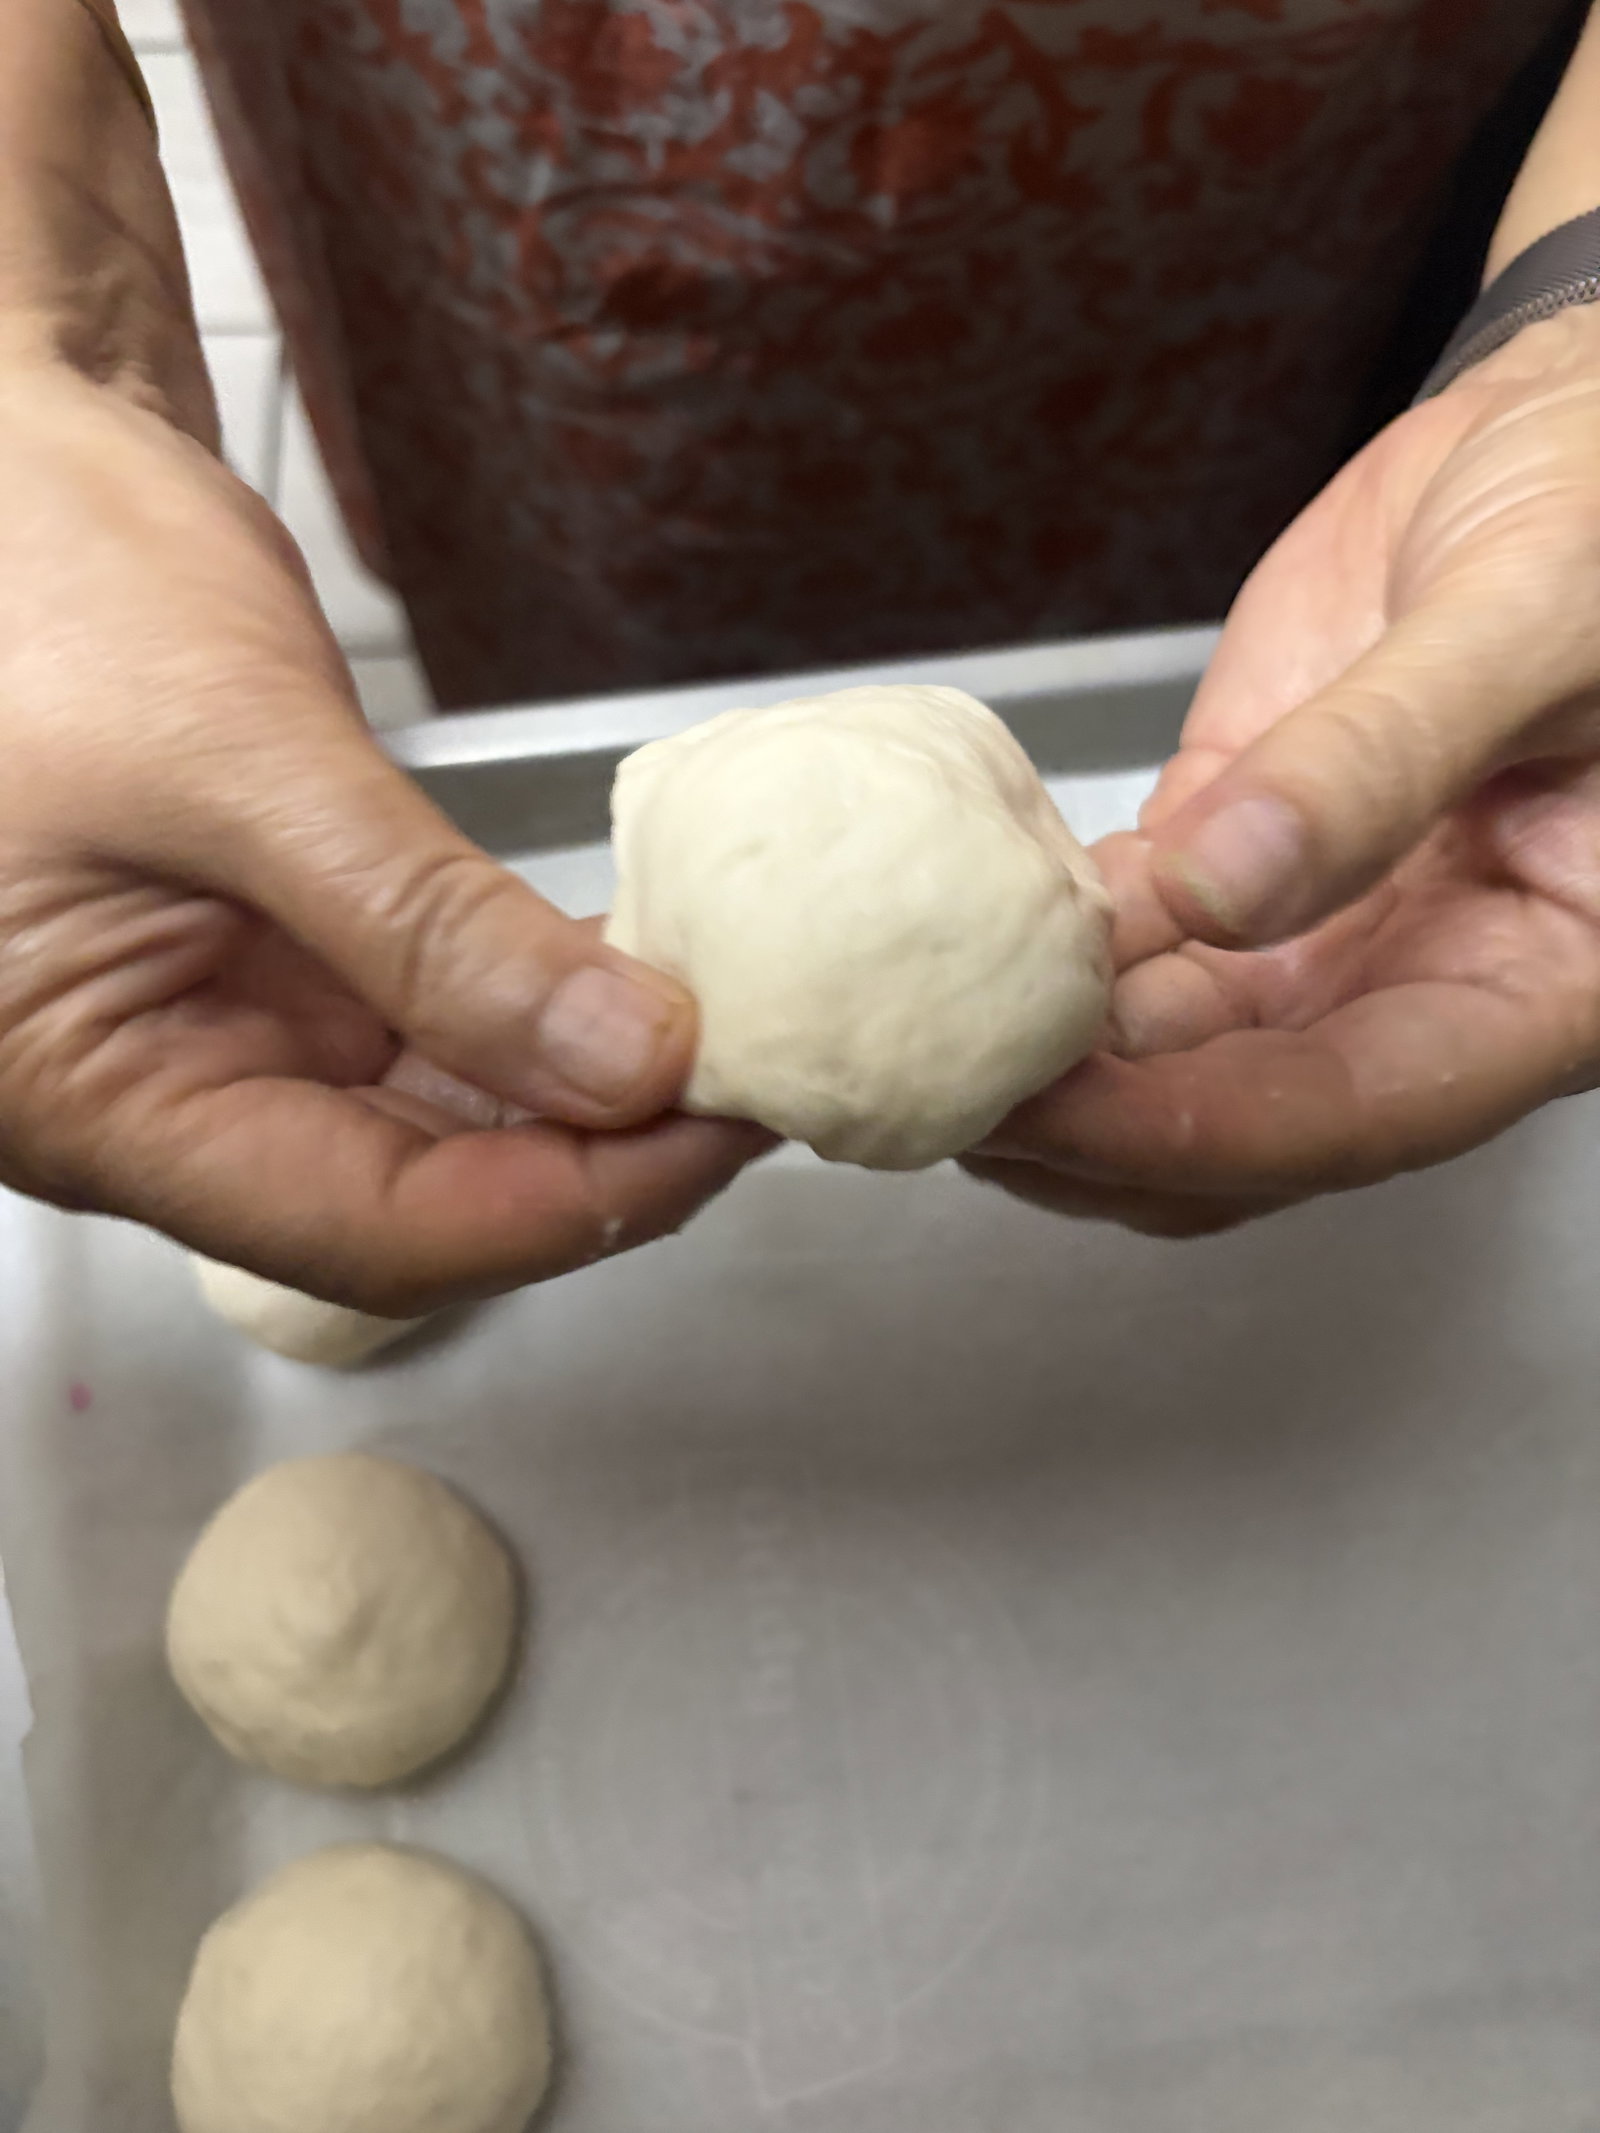
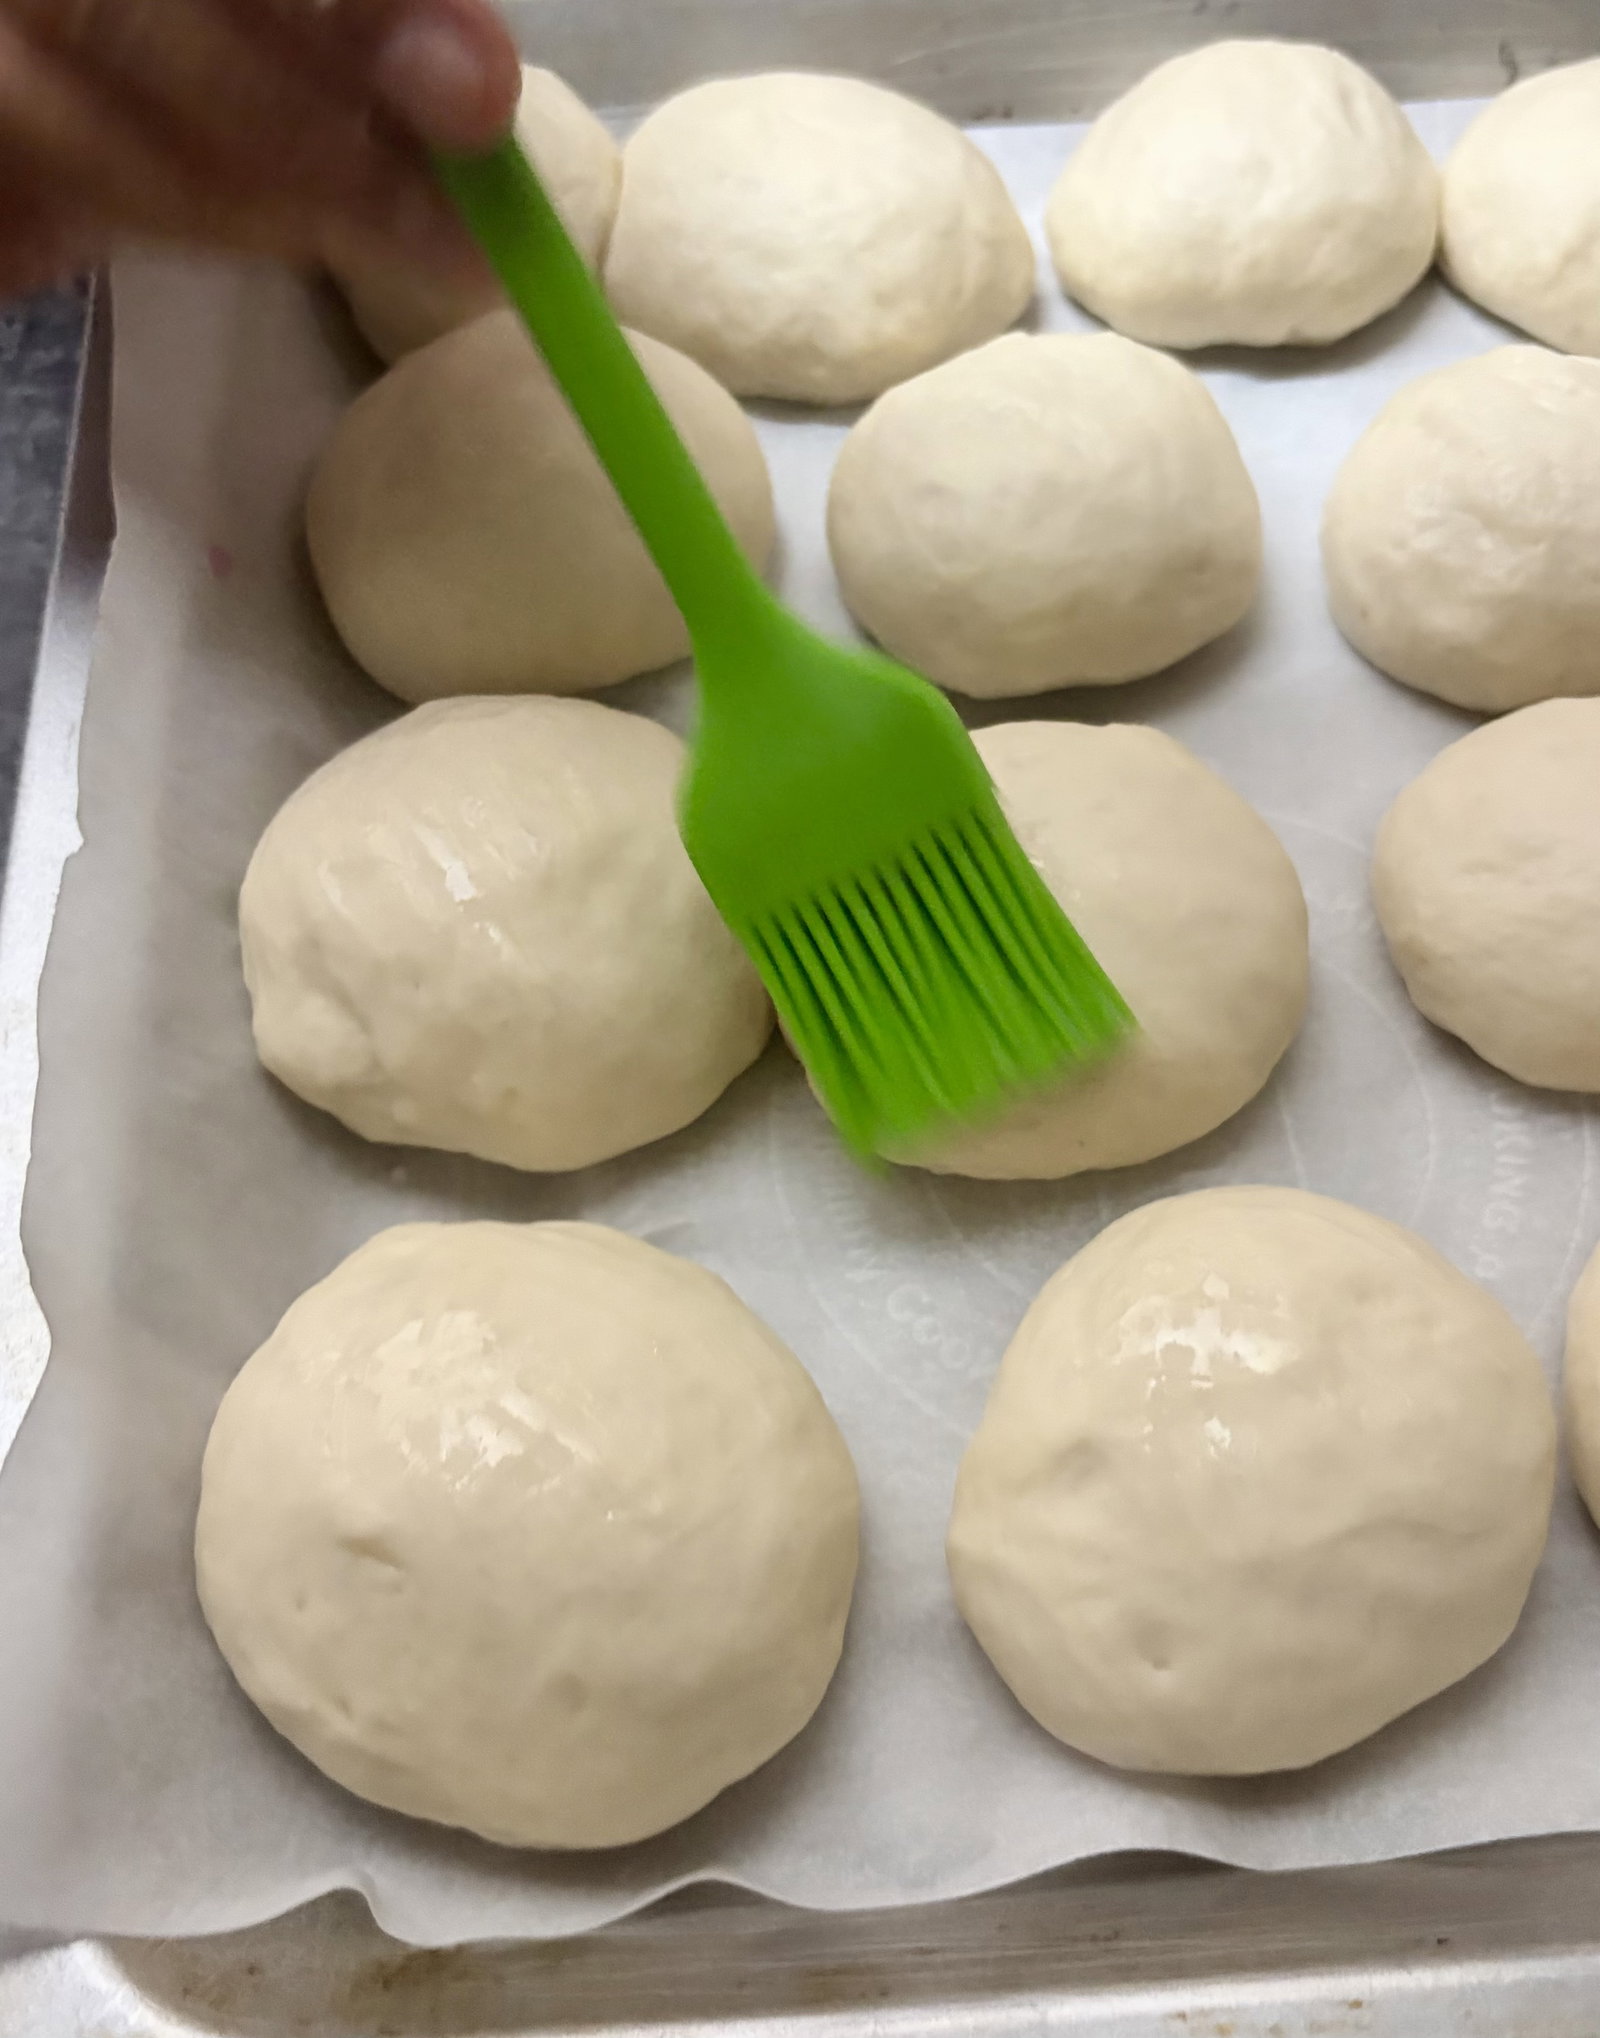
Arrange the dough balls closely together in rows on the baking tray.
Gently brush the tops of the dough balls with milk.
Cover loosely with a damp cloth and let them rise for 45–60 minutes until doubled in size and tightly crowded together.
Preheat the oven to 200°C.
Bake the pavs for 25–30 minutes until the tops turn a beautiful, deep golden brown.
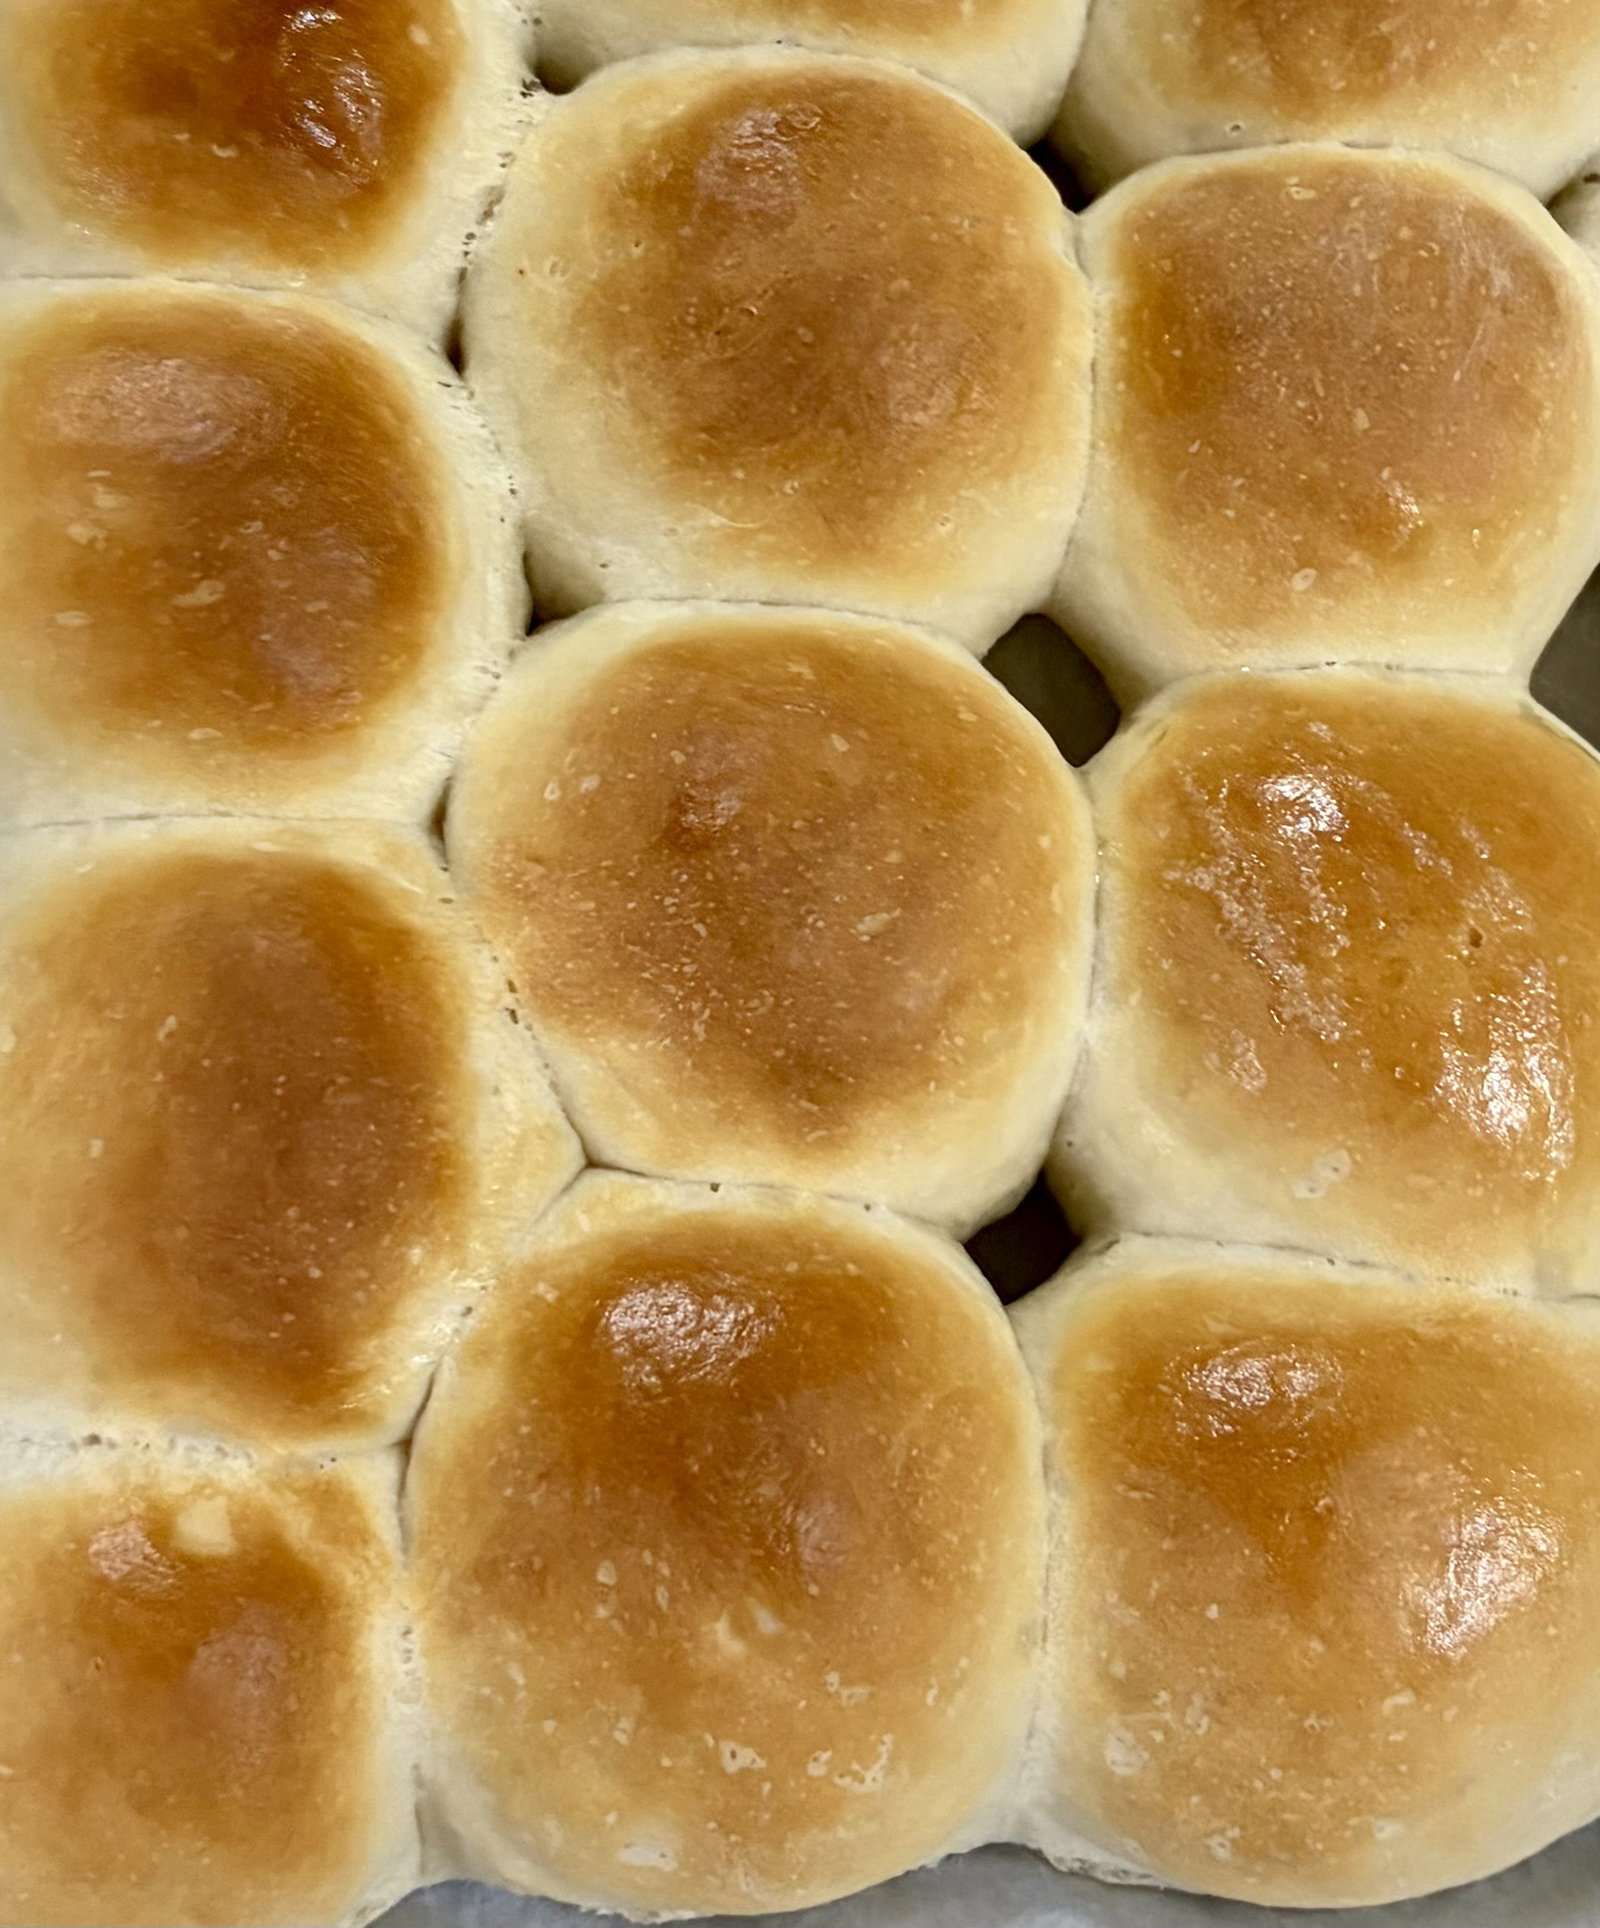
Remove the pavs from the oven and immediately brush the tops generously with melted butter for a soft, glossy finish.
Let them cool slightly before pulling them apart.
Want to keep this recipe for later? We can email it to you!
Ensure the water is lukewarm; too hot will kill the yeast, and too cold won't activate it.
Proper kneading develops the gluten network, which is key to achieving soft, airy rolls.
The second rise is crucial for light and fluffy rolls rather than dense bread.
Brushing with butter after baking traps steam, keeping the crust soft and enhancing the flavour.
Oven temperatures can vary slightly, so keep an eye out to ensure the pav tops don't over-breathe or burn.
Can I use instant yeast instead of active dry yeast?
Yes, you can use instant yeast. Skip the activation step and mix it directly with the dry ingredients.
What if my dough doesn't rise?
Ensure the yeast is fresh and the water temperature is lukewarm. Place the dough in a warm spot for rising.
Can I freeze the pav buns?
Yes, you can freeze them after baking. Let them cool completely, wrap them tightly, and store in the freezer for up to a month.
How do I make the pav buns vegan?
Replace milk with a plant-based alternative and use vegan butter for brushing.
Why are my pav buns dense instead of fluffy?
This could be due to insufficient kneading or skipping the second rise. Ensure both steps are done properly.
Elevate your confidence through the magic of home cooking with my easy-to-follow recipes 👩🍳✨