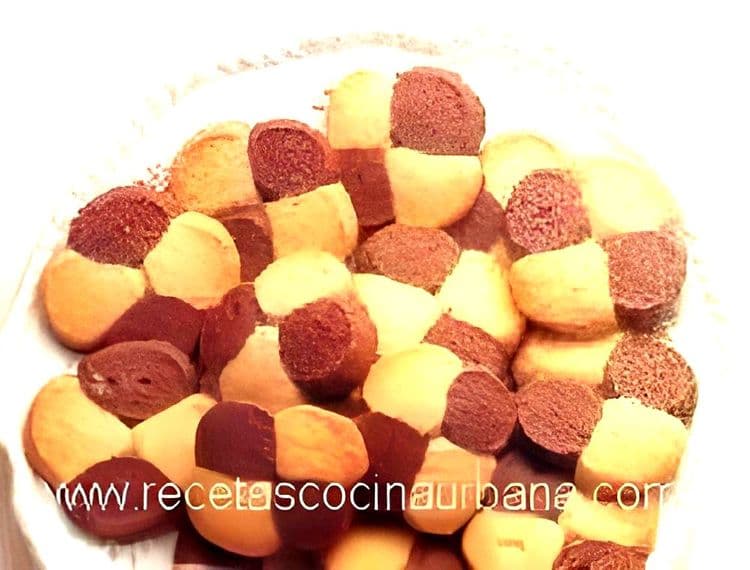
Kids love them, and adults do too! These dry cookies are the perfect companions for breakfast, but they also pair wonderfully with tea or coffee. And if you add the joy of making them at home, the benefits double. That’s why today’s recipe is for Marbled Dry Cookies—simple to make and delicious. Kids can even help out in the kitchen! You can also prepare them for kids to take to school as a snack or...
Chefadora AI has the answer - timers, swaps, step-by-step help.
In a bowl, combine the powdered sugar and butter at room temperature. Beat until you achieve a smooth, creamy consistency. Add the vanilla extract and the egg, and beat vigorously again.
Using a spatula, gradually add the flour in two stages, alternating with the milk. Knead until you achieve a medium-consistency dough.
Divide the dough into two portions. To one portion, add the unsweetened cocoa powder and cocoa liqueur, mixing thoroughly until you have a homogeneous dough. Leave the other portion plain.
To create the marbled effect, use a piping bag fitted with a plain or star-shaped nozzle. Fill one side of the bag with the vanilla dough and the other side with the chocolate dough.
Alternate layers of vanilla and chocolate dough in the piping bag. This way, when the cookies are piped out, they will have two colors.
On a baking tray greased with butter and dusted with flour, pipe the cookies into your desired shapes—rings, sticks, or simple circles. Ensure all cookies are of a similar size.
Bake in a preheated oven at 220°C (425°F) for approximately 15 minutes, or until the bottoms are lightly golden.
Remove from the oven and let the cookies cool before taking them off the tray.
Ensure the butter is at room temperature for easier mixing and a smoother dough.
If you don't have a piping bag, you can use a plastic bag with a corner cut off to pipe the cookies.
For a more pronounced marbled effect, avoid over-mixing the two doughs in the piping bag.
Store the cookies in an airtight container to maintain their crispness.
Experiment with different nozzle shapes to create unique cookie designs.
Can I use a substitute for cocoa liqueur?
Yes, you can substitute cocoa liqueur with a small amount of coffee or milk for a similar consistency, though the flavor will differ slightly.
How do I know when the cookies are done baking?
The cookies are done when the bottoms are lightly golden. Avoid overbaking to keep them from becoming too dry.
Can I make these cookies without a piping bag?
Yes, you can shape the dough by hand or use a plastic bag with a corner cut off as a makeshift piping bag.
How should I store these cookies?
Store the cookies in an airtight container at room temperature for up to a week to maintain their crispness.
Can I freeze the dough for later use?
Yes, you can freeze the dough for up to a month. Thaw it in the refrigerator before using.
