Food Photography at Home Without Equipment : A Beginner’s Guide Using Natural Light & Phone
A beginner-friendly guide to food photography at home without equipment, using natural light and a phone to capture real, authentic food photos.
by Aashita Jain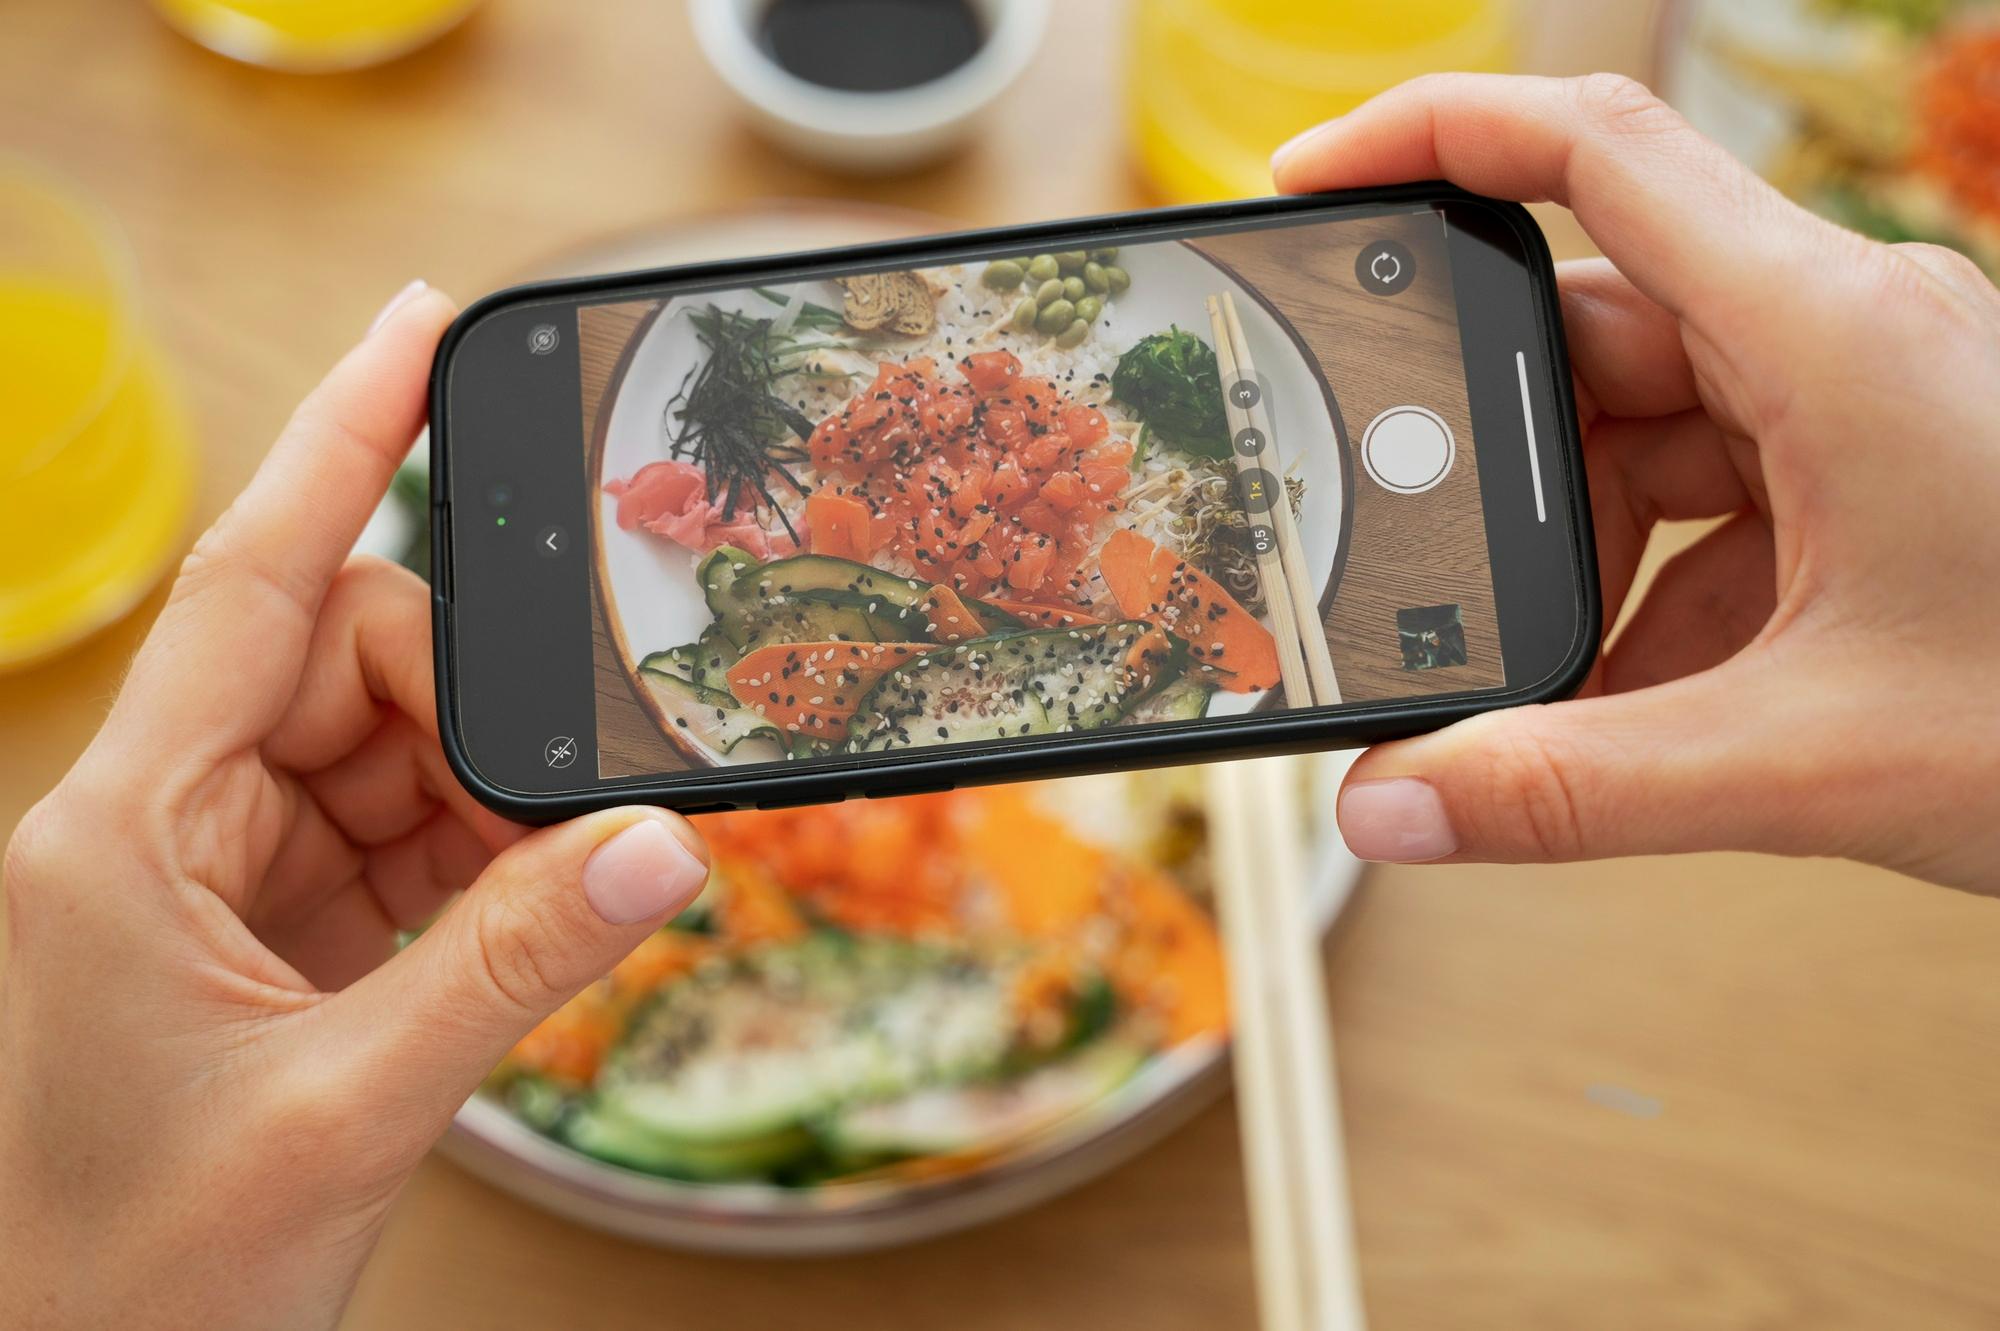
Food photography at home without equipment is not about a compromise, but about simplicity and trust. This guide shows home cooks and beginner food creators how to take beautiful food photos using only a phone and natural light. Perfect for beginners starting food blogging or content creation from their own kitchen.
Table of Contents
- Tip 1: Use your own kitchen for food photography at home without equipment
- Tip 2: Natural light food photography at home works better than any setup
- Tip 3 : Phone food photography is enough to start as a beginner
- Tip 4: Food photography without props or equipment
- Tip 5: Food photography basics that improve photos instantly
- Tip 6: Take food photos at home that look natural and real
- Tip 7: Use simple food photography tips with phone that actually work
- Tip 8: Food photography ideas for beginners who feel stuck
- Tip 9: Food blogging basics - Visual consistency matters
- Tip 10: Food photography without equipment builds trust
- Must-Know food photography rules for beginners
- Pro tips for food photography using a phone at home
- Build your food creator journey beyond social media
- Frequently asked questions (FAQs)
Photographing your food, or clicking pictures of your dishes can feel intimidating when you are just starting. Scrolling through Instagram or food blogs and it looks like everyone has studio lights, styled kitchens, and expensive cameras.
But the reality is simpler.
Many strong food photos are taken at home - only with a phone, in natural light.
Food photography without equipment is not a shortcut. It is a creative approach which is all about finding comfort in your own kitchen. If you are a home cook, a beginner food creator, or someone learning food blogging basics, this style works in your favor.
This guide breaks down food photography at home into simple, creator-friendly tips. Just practical ways to take good food photos without a camera or a complicated setup.
Tip 1: Use your own kitchen for food photography at home without equipment
Food photography does not begin with a camera. It begins with noticing light and space.
All your food photography set up needs is - windows, doors, tables, and light-colored walls to help shape natural light food photography.
And your kitchen already offers what you need at home!
If you cook near a window, you already have a food photography near window setup. Even indirect daylight bouncing off walls works well for phone food photography.
When we talk about food photography at home without lights it is about the correct timing. Morning and late afternoon light is softer and easier to work with.
Walk around your kitchen once without shooting. Just notice where light falls naturally during the day.
Tip 2: Natural light food photography at home works better than any setup
Natural light food photography at home will work the best when light comes from one direction.
- When light comes from the side, your food looks more real and detailed.
- Light from behind adds a soft glow that feels inviting.
- Light from straight above can make food look dull and flat.
Turn off the tube lights whenever possible. Mixed lighting can make food look dull and uneven in phone photos.
If your kitchen is small, try moving your plate closer to the window. You can also try shooting in another room. Home kitchen food photography often works best on dining tables or window sills.
Tip 3 : Phone food photography is enough to start as a beginner
Phone food photography - clicking pictures from your phone is more than enough to get you started.
Most phones today allow you to:
- Tap to focus
- Adjust brightness
- Lock exposure
You can stop worrying about how to take good food photos with an iPhone or a specific model.
What really matters is learning and practicing taking food photos with a phone at home using light and angles.
Food photography with a phone will improve quickly when you start shooting often and observing the results.
Always tap on the brightest part of the food before taking the photo. It creates a balance of light throughout the picture.
Tip 4: Food photography without props or equipment
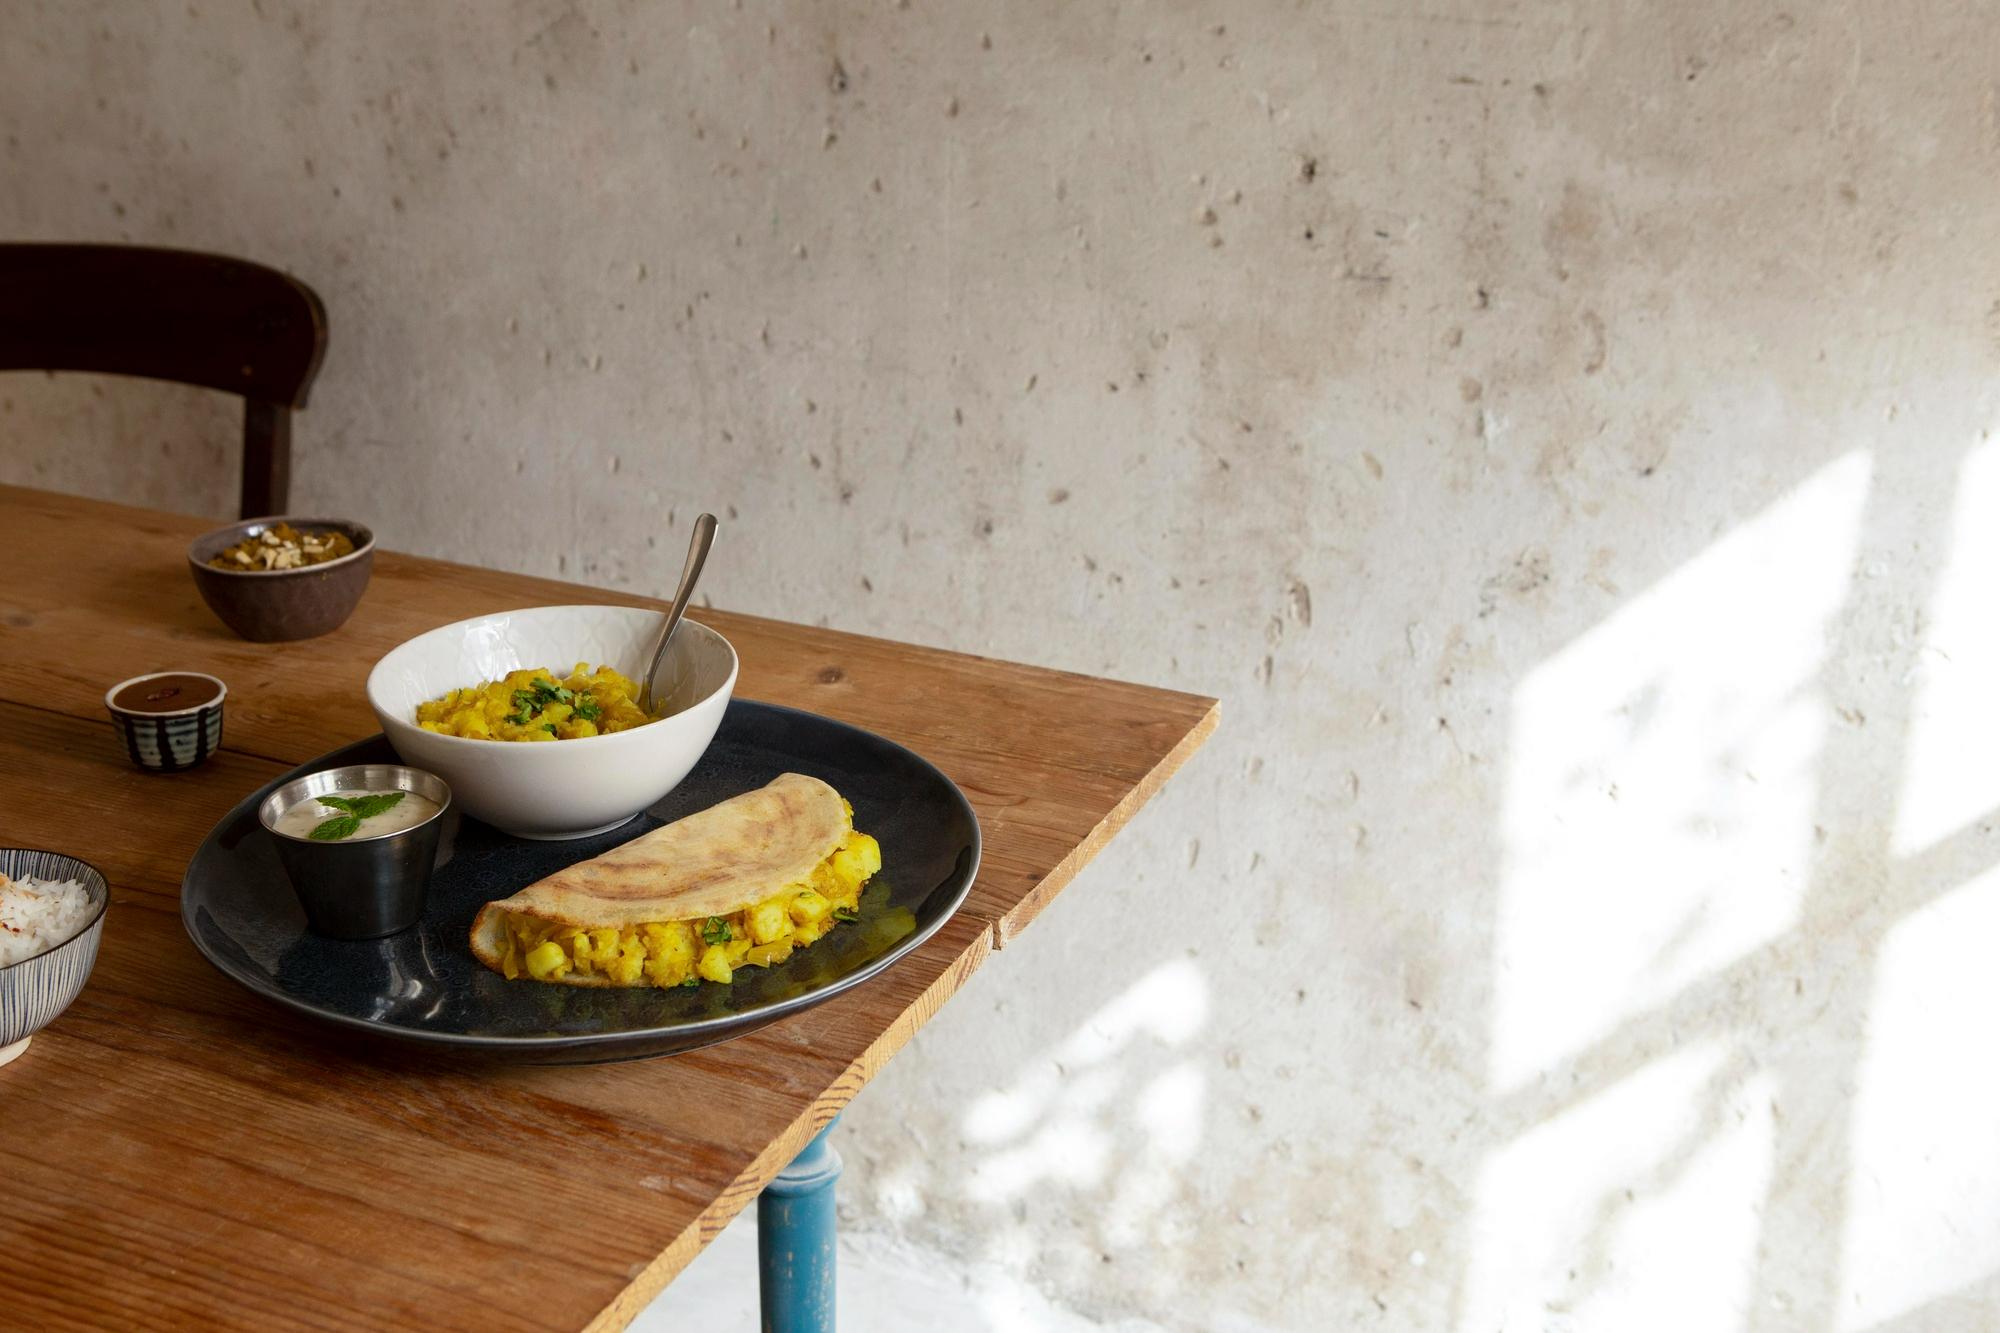
Yes, you heard it right! You don’t need those expensive equipment, or fancy props to make your photos look good.
Rather, food photography without props or equipment feels more honest and real. It adds to the authenticity of the creator and lets the food shine.
Use what you already have:
- Everyday plates
- Simple cutlery
- Kitchen towels
- Wooden boards
- Neutral surfaces
Simple food photography for Instagram and blogs is known to connect better with audiences because it feels achievable. Food photography ideas at home work best when the food stays the hero.
If a prop pulls attention away from the food, it is not helping the photo.
Tip 5: Food photography basics that improve photos instantly
Food photography basics do not need you to be professionally trained or understand technical explanations. It's about your homely surroundings that will bring out the best in your food.
- Place food where the light looks best.
- Shoot from the angle that flatters the dish.
- Adjust the plate, not the camera.
- Take multiple shots - choose what you like the most.
These habits can help you take good food photos without a camera and without stress.
Try moving the plate slightly left or right before changing angles as small shifts might make all the difference.
Tip 6: Take food photos at home that look natural and real
Food photography for home cooks can work the best when food looks fresh and real.
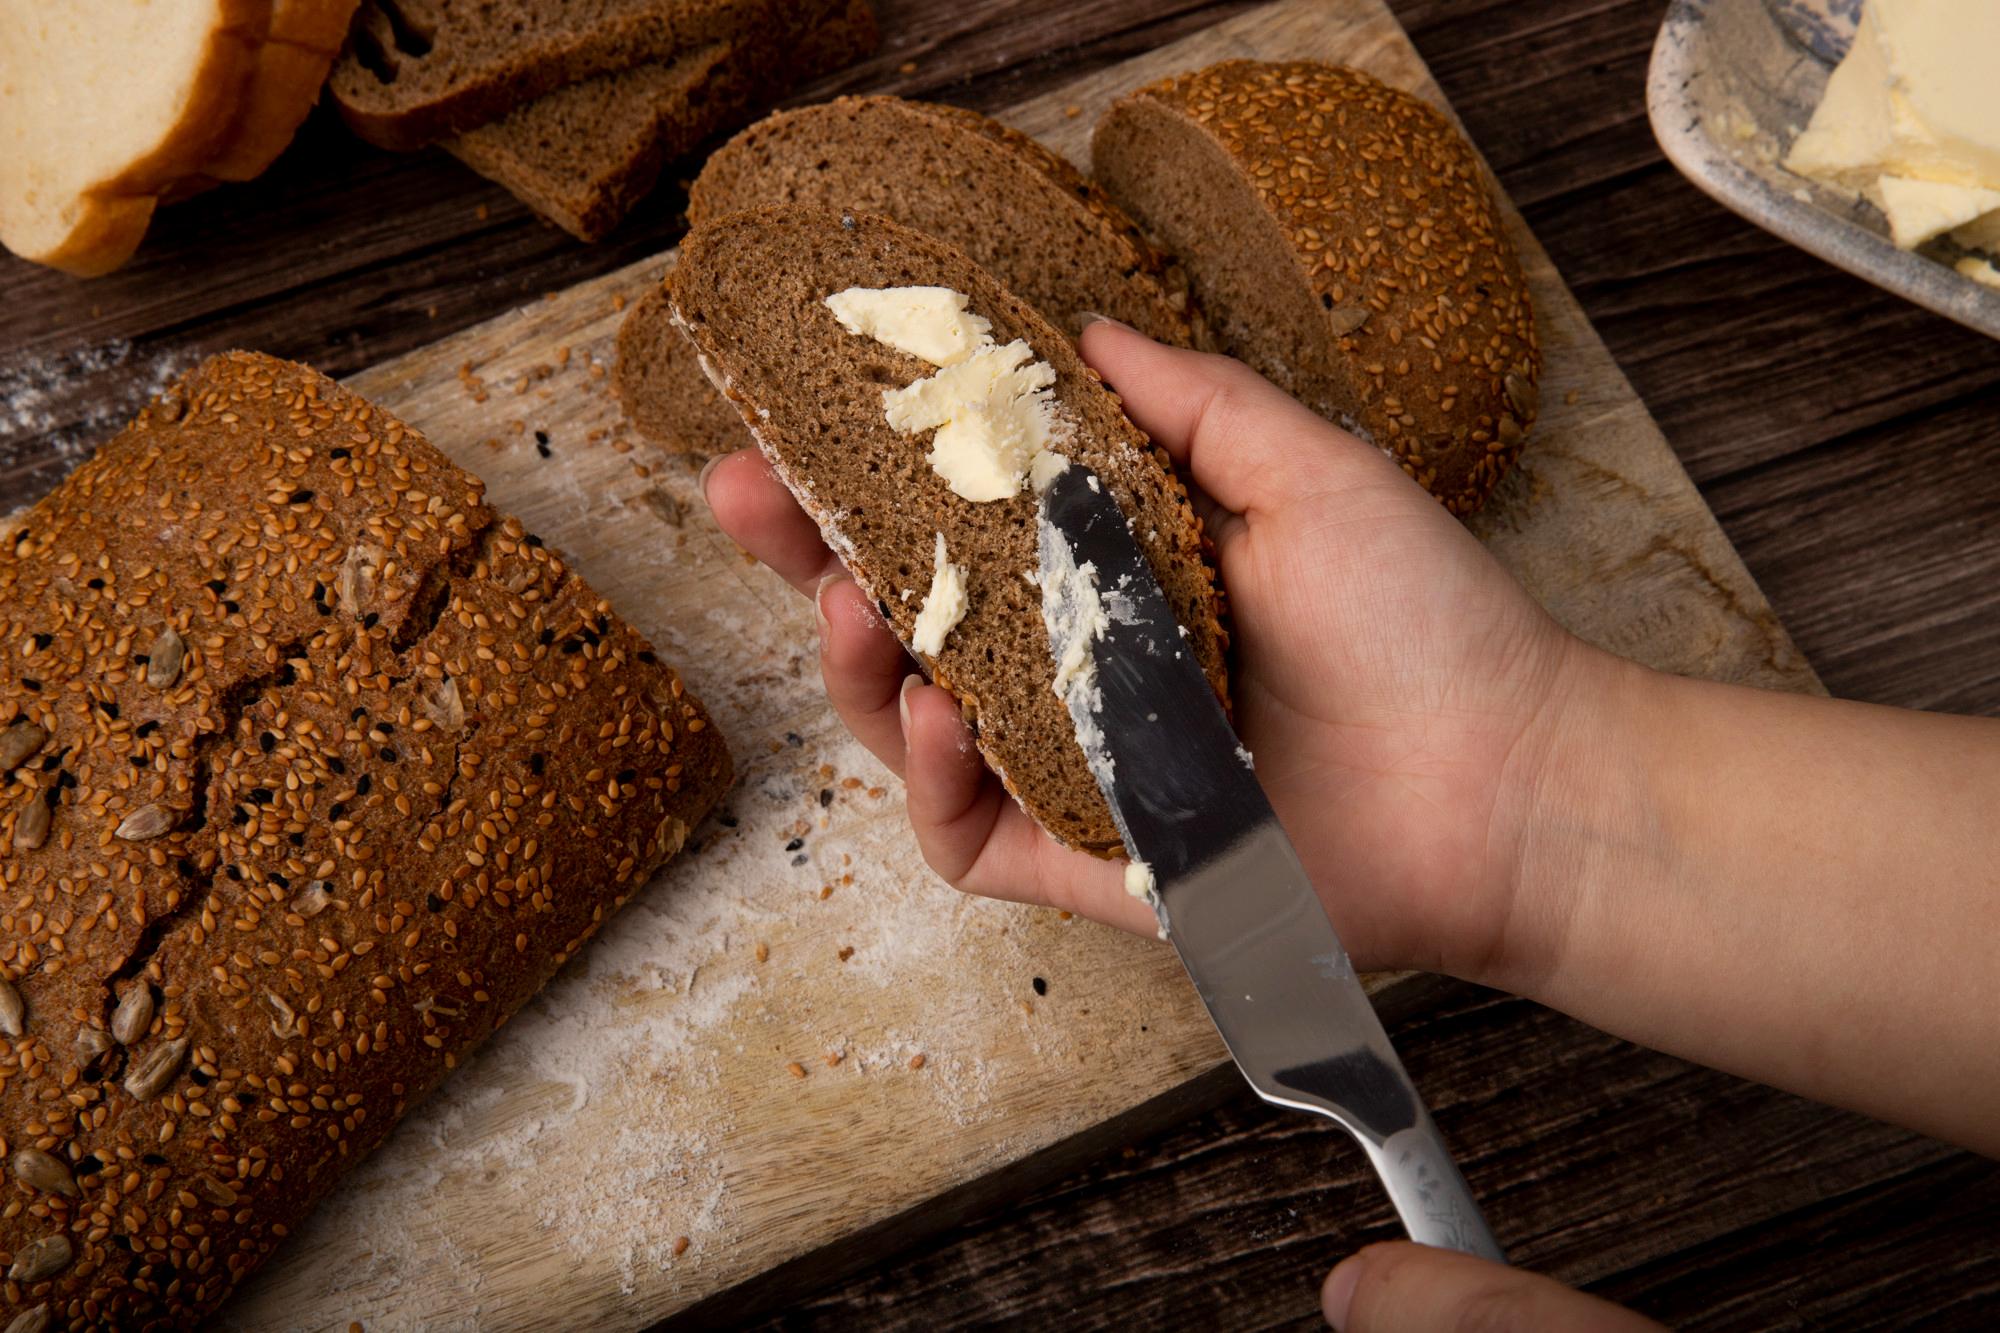
That steam coming out from your pot. The texture of your bread.
Try to shoot while the food is still warm. Keep your phone nearby while cooking.Every small imperfection will add life to your food.
If you are transitioning into content creation, this mindset shift might help help, so checkout Home cook to food content creator | A beginner’s guide
Tip 7: Use simple food photography tips with phone that actually work
These food photography hacks are small but might prove to be effective:
- Clean your phone lens before shooting
- Avoid a lot of zooming, move closer instead
- Slightly underexpose and brighten later
- Keep the backgrounds simple
- Use airplane mode to stay focused (maybe)
These tips for food photography with a phone can help beginners stay consistent.
A dirty lens can ruin an otherwise perfect photo without you noticing.
Tip 8: Food photography ideas for beginners who feel stuck
It is very normal to feel stuck, especially if you are just starting out and nare new to food content creation.
It is nothing to worry about, instead try rotating simple ideas:
- Same dish, different angles
- Same recipe, different lighting
- Same setup, different plates
Food photography ideas for beginners can work the best when they are repeated.
Many creators may also slow down due to avoidable mistakes that often go unnoticed. If you are looking to avoid those, 10 Common Food Creator Mistakes That Slow Your Growth might help.
Repeating the same setup can help you improve faster than constantly changing styles.
Tip 9: Food blogging basics - Visual consistency matters
Food blogging basics are not just about writing. Consistent visuals can equally fuel your growth and make your content more visually appealing.
When your food photography at home follows similar lighting and framing, your blog or feed will feel intentional and carefully curated. It keeps your aesthetics in a check, without much effort.
Food photography, or content creation should not feel overwhelming, and if it does, give a chance to Burnout as a Creator: Should You Push Through or Take a Break?
Tip 10: Food photography without equipment builds trust
Food photography without equipment can feel honest. It allows the viewers to connect with food made in real kitchens by real people.
This trust will matter when you want to grow beyond social media and build something stable with your recipes.
Explore how creators do that here:
Make Money with Your Recipes on Chefadora - Ditch the Social Media Algorithms
People trust the food they feel they could cook themselves.
Must-Know food photography rules for beginners
- Light matters more than the camera quality
- Natural light will always beat artificial light
- Simple setups are known to perform better than complex ones
- Consistency beats perfection
- Practice will improve photos faster than equipment upgrades
These are not a set of rules to memorise in one go. Come back to them at chefadora.com whenever you feel like your photos need some improvement. Sometimes one small reminder is all it takes.
Pro tips for food photography using a phone at home
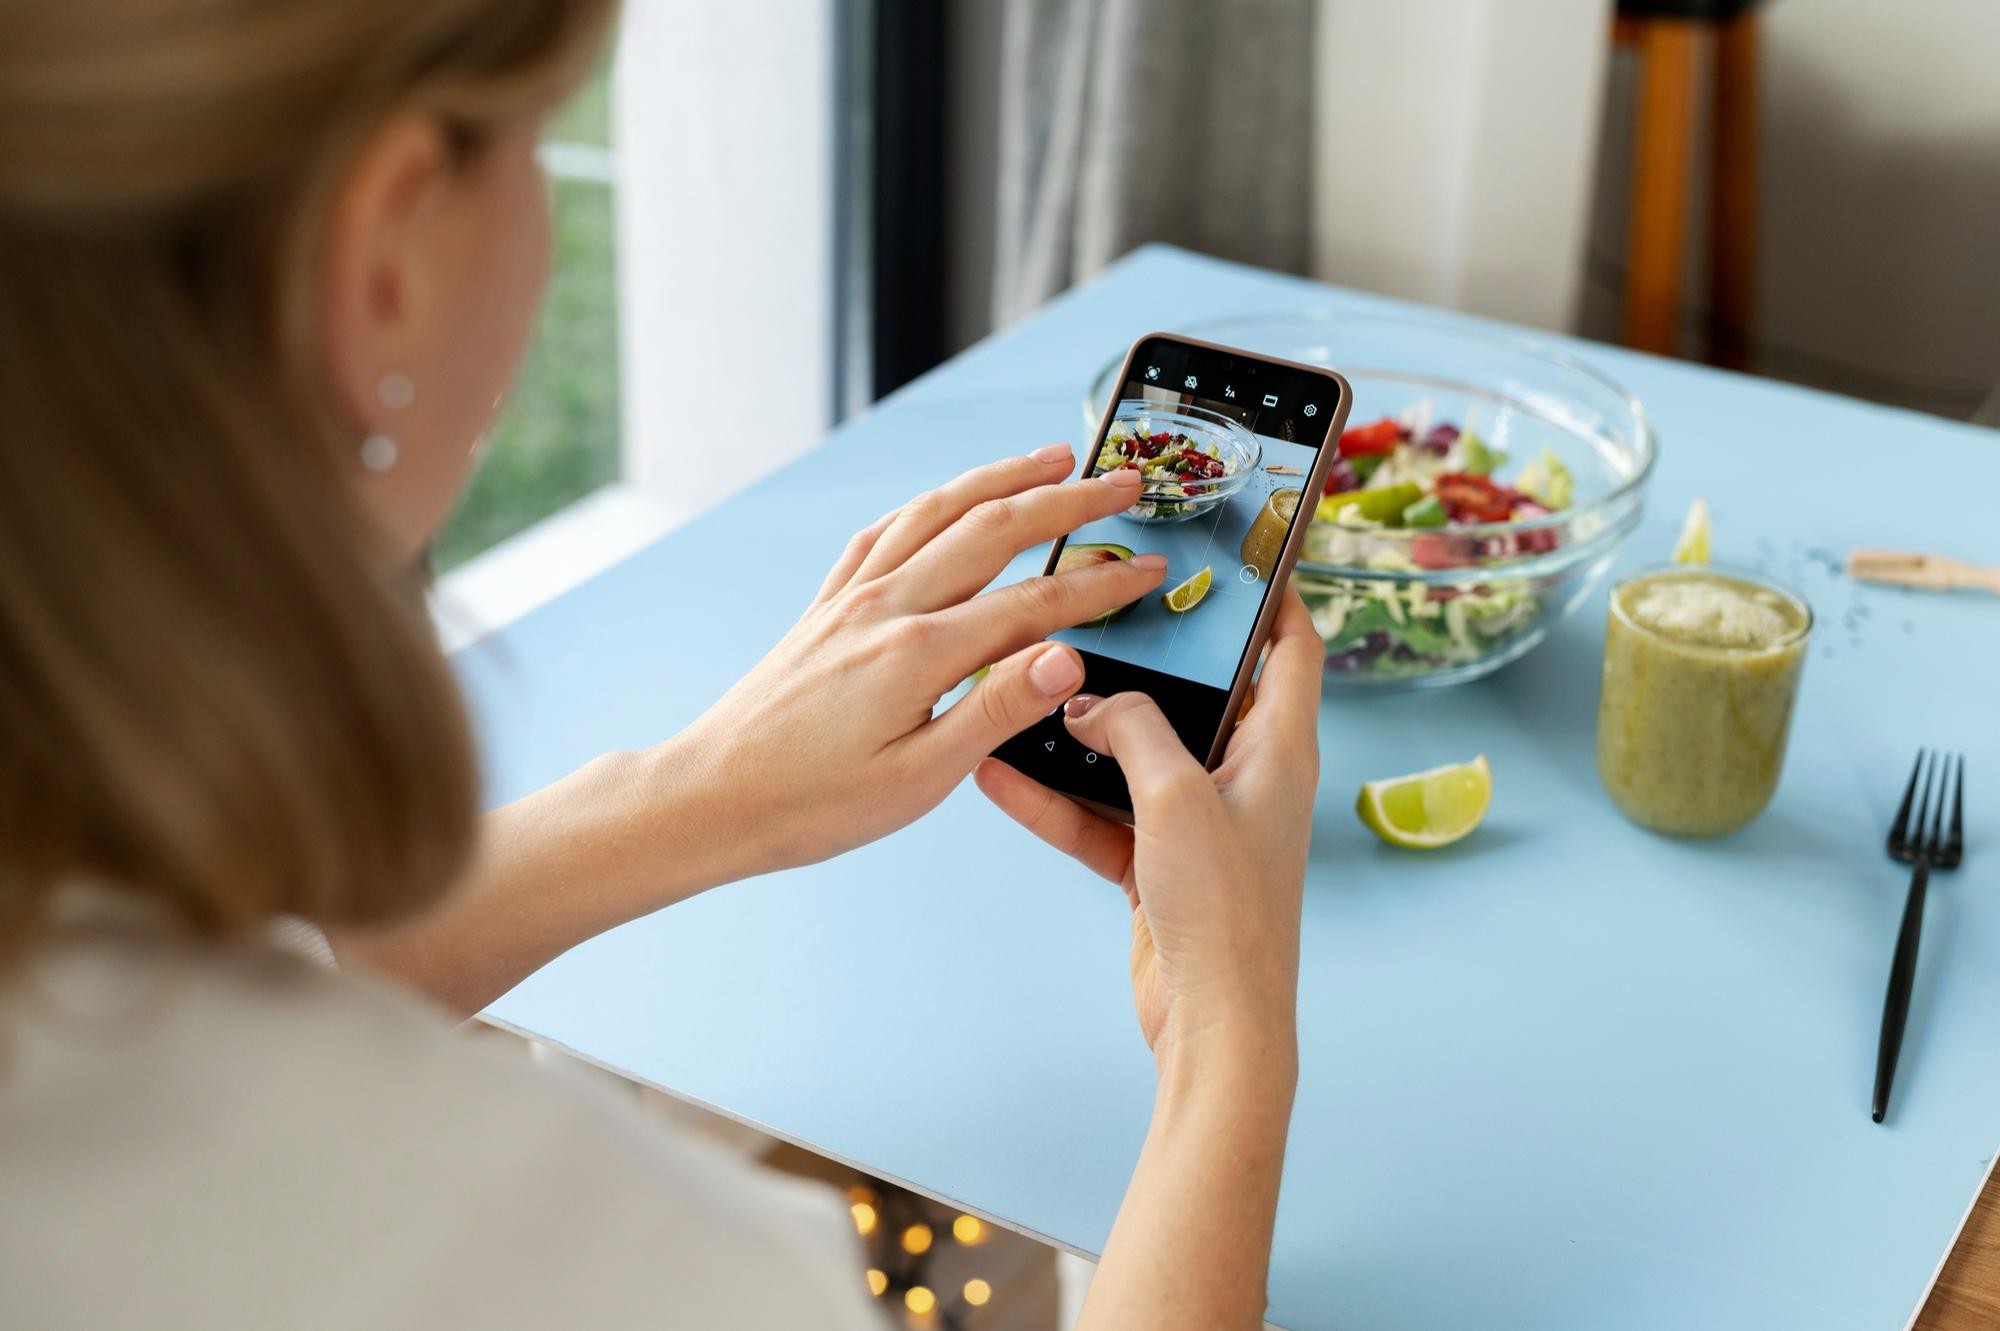
- Shoot near windows, not under direct lights
- Use darker plates for light food and vice versa
- Leave space around the dish for balance
- Let shadows exist, they add depth to your plate
- Trust your eye more than camera settings
Revisit these tips slowly, one dish at a time, and let your style find its own rhythm.
Build your food creator journey beyond social media
If you are serious about growing as a home cook or beginner food creator, food photography without equipment is the best place to start. It will keep creations simple, honest, and sustainable.
Chefadora.com is built for creators who cook and want to share food the way they actually make it. No pressure to perform. No algorithm chase. Just recipes, photos, and real growth.
If you want to turn your cooking into content, build a food portfolio, and grow at your own pace, Chefadora.com gives you the space to do it.
Frequently asked questions (FAQs)
Q1. How to photograph food for beginners?
A1. Use natural light food photography at home. Place food near a window, turn off harsh lights, and shoot with your phone.
Q2. Do I need a camera setup to take food pictures?
A2. No. Food photography without equipment works well for beginners.
Q3. How to take photos of food with your phone?
A3. Clean the lens, use daylight, tap to focus, and move food closer to light instead of adjusting settings.
Q4. How do I take good pictures of my food at home?
A4. Keep it simple. Natural light, clean background, fresh food, and multiple shots help.
Q5. Can I start food blogging with only a phone?
A5. Yes. Many food bloggers begin with phone food photography and grow through consistency.
Q6. Is food photography at home good enough for blogs?
A6. Yes. Simple food photography at home often performs better because it feels real and relatable.
Q7. What if my kitchen is small and dark?
A7. Move closer to windows, shoot during brighter hours, and use nearby rooms if needed.
Q8. How long does it take to improve food photography?
A8. Most beginners see improvement within a few weeks of regular shooting and reviewing photos.
Food photography without using fancy equipment is not about limitation. It is more about freedom. Freedom that allows you to create without pressure, to learn by doing, and to share food as it exists in your home. If you cook regularly, you already have a lot of content. If you have a phone and a window, you already have a food photography setup at home. The key is to start simple and stay consistent. Let your food photography grow alongside your cooking. Some days the light will be perfect, some days it will not, and that is part of the process. What matters is that you show up, clicking and slowly finding what feels right to you.
And when you feel ready to turn those moments into something more structured, Chefadora.com is there to quietly support you, so you can keep creating for the world to see!
Posted on 21 Jan 2026

About the author
Aashita JainContent strategist
Aashita Jain is a content strategist at Chefadora who writes about food content creation, recipe monetisation and tools for food creators.
More from Aashita Jain
Your recipes can talk now 👀
Save recipes from anywhere, and get answers, swaps, and help as you cook.
