We use cookies on this website to ensure its proper functioning and to improve the quality of our services. Cookie Policy
Tags and nutritional info are auto-generated and may be inaccurate. Always check the full ingredient list before cooking.
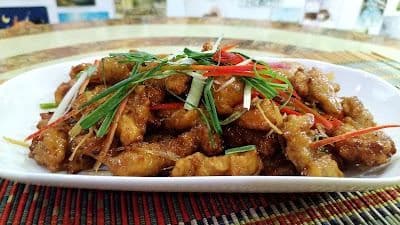
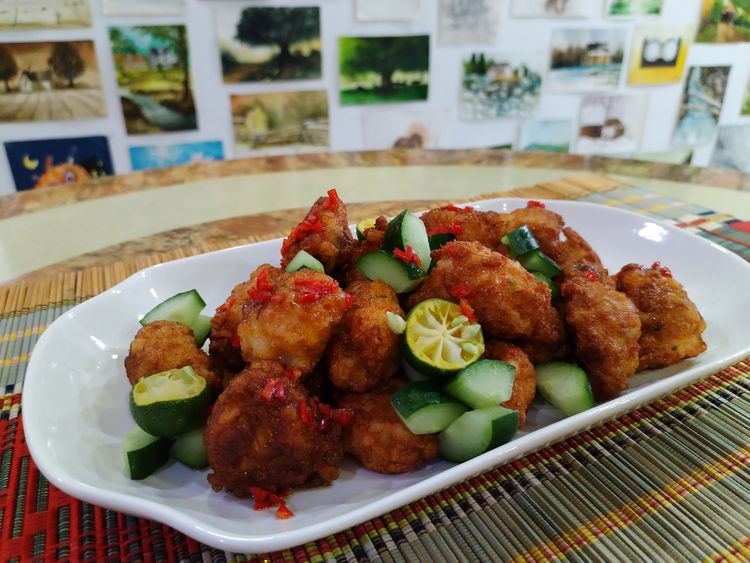
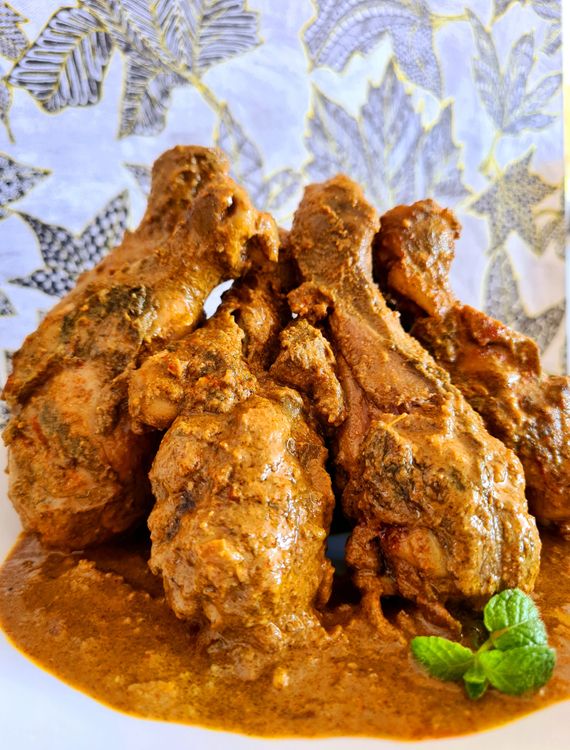
A delicious and crispy fried pork dish with a tangy vinegar sauce, perfect for a flavorful meal.
Want to keep this recipe for later? We can email it to you!
Cut the tenderloin into thin slices and put it into a bowl. Add the light soy sauce, Shaoxing wine, and pepper to the pork. Marinate for 30 minutes.
Combine all the sauce ingredients in a bowl. Taste and adjust. Set aside.
Combine the potato starch and water in a bowl. Add 2 tsp of cooking oil to the batter. Add the marinated pork slices into the batter and mix well until all pork slices are well coated.
In a deep bottom wok, heat up the oil. Carefully add the coated pork slices to the heated oil. Fry them in hot oil until golden brown. Remove the deep-fried pork slices. Wait until the oil reaches the proper temperature. Continue with the following batch. Once all the meat slices have been fried, wait until the oil reaches the right temperature once more before placing the meat slices back in for an additional one to two minutes of double frying.
Add a little oil to the wok, heat up at high heat, and sauté the shredded spring onion, ginger, and garlic until aromatic. Pour in the sauce and stir well until the sauce is bubbling.
Pour the fried meat slices in and stir-fry rapidly to coat them equally in sauce. Serve it when it is still warm. Enjoy!
Want to keep this recipe for later? We can email it to you!
Double frying the pork slices will make them extra crispy.
Be cautious when adding the vinegar sauce as it can be quite pungent.
What is the best way to store leftover Crispy Sweet and Sour Pork Guo Bao Rou?
To store leftover Crispy Sweet and Sour Pork Guo Bao Rou, place it in an airtight container and refrigerate it for up to 3 days. For best results, reheat in a skillet over medium heat to maintain its crispiness.
Can I make Crispy Sweet and Sour Pork Guo Bao Rou gluten-free?
Yes, you can make a gluten-free version of Crispy Sweet and Sour Pork Guo Bao Rou by using gluten-free soy sauce and ensuring that the potato starch is certified gluten-free. This way, you can enjoy this delicious dish while adhering to a gluten-free diet.
What can I substitute for Shaoxing wine in the Guo Bao Rou recipe?
If you don't have Shaoxing wine, you can substitute it with dry sherry or a mixture of rice vinegar and a little sugar. This will help mimic the flavor profile of the dish while still keeping it delicious.
What side dishes pair well with Crispy Sweet and Sour Pork Guo Bao Rou?
Crispy Sweet and Sour Pork Guo Bao Rou pairs wonderfully with steamed jasmine rice or fried rice. You can also serve it alongside stir-fried vegetables or a simple cucumber salad to balance the flavors.
How can I achieve the perfect crispy texture for my Guo Bao Rou?
To achieve the perfect crispy texture for your Guo Bao Rou, ensure that the oil is hot enough before frying the pork slices. Double frying the pork is also key; fry once until golden brown, then let the oil heat up again before frying for an additional 1-2 minutes to ensure maximum crispiness.
I loved to cook and enjoyed learning about all sort of cuisines. Today, I am still in the kitchen and every chance I get, I cook. Some days it isn’t even fancy or a hard recipe. Some days it’s a classic, but something that I’ve created. Cooking is my time to be me.
...